background image

10

11

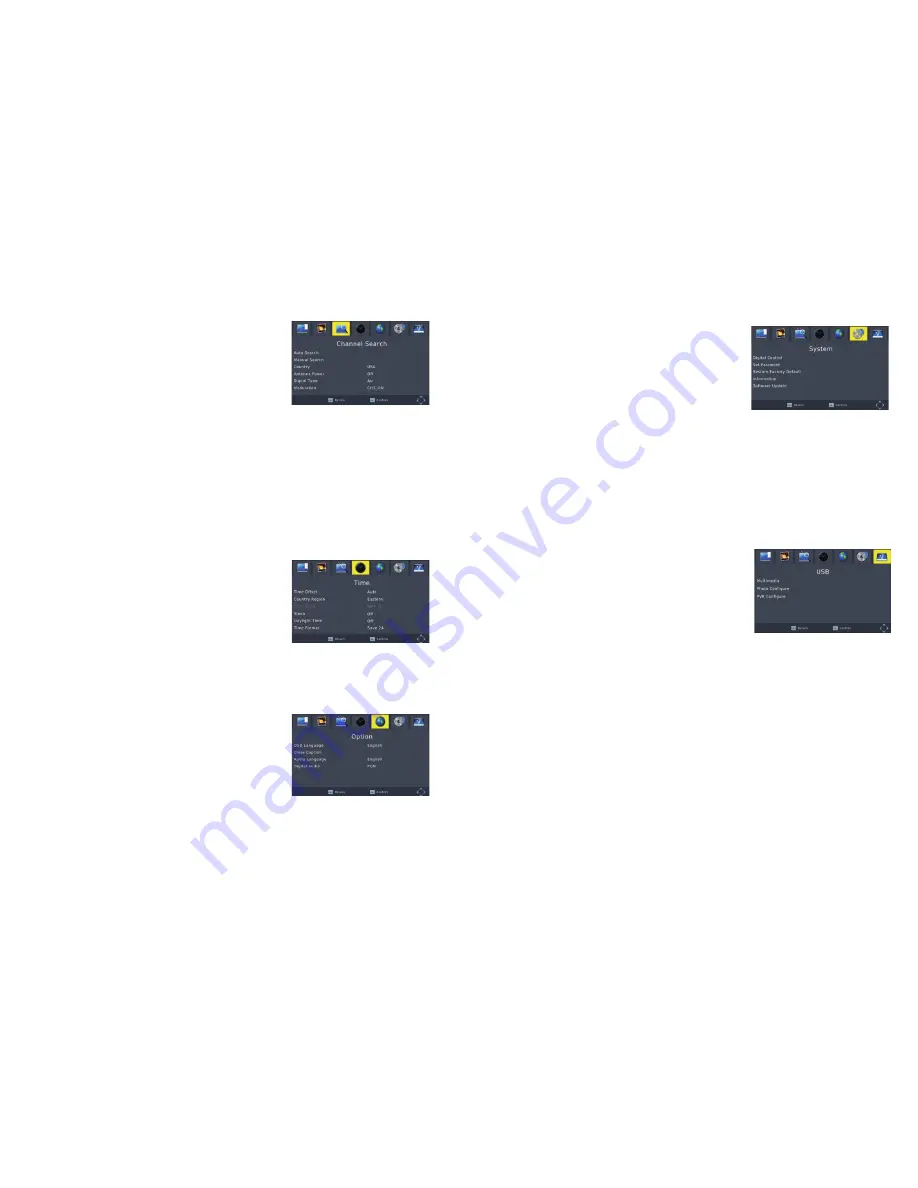
Channel Search Settings

(a.) Auto Search: 

This option will automatically 

search for TV and Radio channels and save 
them once scanning is complete. All previously 
saved channels and settings will be deleted.

(b.) Manual Search: 

This option allows user 

to scan for new channels without deleting 
previously saved channels and settings.

1. Select “Manual Search” and press the OK button. The manual channel search 

screen will appear.

2. Press the LEFT/RIGHT buttons to select the channel frequency.
3. Press the OK button to start scanning for new channels.
4. If a new channel is found, it will be saved and stored along with the rest of the 

channels. If no channels are found, the unit will automatically exit after finishing 
the scanning process.

Time Settings

Time Offset: Select auto or manual for GMT offset 
adjustments.
Country Region: Select the Country Region when 
Time Offset is set to AUTO.
Time Zone: Select the Time Zone offset when Time 
Offset is set to MANUAL.
Power Down (Sleep): Select the desired time for the Auto-shutoff function (from 1 
hour to 12 hours or set function to Off ).

Option Settings

OSD Language: Change the ON Screen Display 
language.
Subtitle Language: Select the subtitle language.
Audio Language: Set preferences here if the 
program has multiple languages.

System Settings

The menu allows users to change settings for the following items:
Parental Guidance: Setting the age preference 
from 4 years old to 18 years old. To access this 
function, enter the default password of “000000” or 
the custom set password.. This function can also 
be deactivated by simply switching this setting to 
“OFF”.
Set password: Modify the default password of “000000” to a custom password.
Restore Factory Default: Restore the unit to its default factory settings. Enter the default 
password of “000000” or the custom set password. Press the OK button once done.

NOTE: 

This function will delete all saved channels and all personal settings.

Information: Check the software version currently running on the converter box.

USB Settings

(a.) Multimedia

Press the USB button while on TV mode to 
access the Multimedia menu. This menu 
contains 4 different icons: Music, Photo, Movie 
and PVR.

MUSIC: 

Select the MUSIC icon and move the 

cursor to the desired audio file. Press the OK 
button to play the selected audio file.

PHOTO: 

Choose the PHOTO icon and move the cursor to the desired photo file. 

Press the OK button to view the selected photo file.

MOVIE: 

Choose the MOVIE icon and move the cursor to the desired video file. 

Press the OK button to play the selected video file.

PVR: 

Select the PVR icon. Select the desired recorded file and press the OK 

button to begin playback. Press the RETURN button to move a file to another 
folder. Press the SCHEDULE button to switch between Preview and Full Screen 
modes. Use the EPG button to delete a recorded file. Press the ASPECT button to 
rename a recorded file.

(b.) Photo Configure

 - Adjust the slide time, slide mode and aspect ratio.

(c.) PVR Configure

 - View information for the connected USB storage device, 

including Format Type, Total Space, and available Free Space on the drive. 
Select FORMAT to format the compatible USB device in FAT32 or NTFS.

(d.) 

The USB port is also used to perform Software Updates.

Summary of Contents for 212NA-0003-NEW

Page 1: ...Digital TV Converter Box Instruction Manual 1byone Products Inc 1230 E Belmont Street Ontario CA 91761 Customer Service 1 909 391 3888 www 1byone com ...

Page 2: ...n experienced radio TV technician for help IMPORTANT SAFETY INSTRUCTIONS To reduce the risk of electric shock do not remove the cover There are no user serviceable parts inside Refer servicing to qualified service personnel The exclamation mark inside an equilateral triangle symbol indicates that there are important operating and maintenance instructions in the literature accompanying this product...

Page 3: ...converter box in areas of Direct sunlight or heating radiators High temperatures over 95 F 35 C or high humidity over 90 Dirt and dust as the internal parts may be seriously damaged 3 Non use periods Turn the converter box off when it is not being used Disconnect from power if the converter box will not be used for a long period of time 4 Do not open and touch internal parts Touching internal part...

Page 4: ...of the recorded program 18 Numeric Buttons 0 9 Enter numeric information and select specific channels 19 REV Fast rewind during media playback 20 FWD Fast forward during media playback 21 PREV Return to the previous track during playback 22 NEXT Skip to the next track during playback 23 PLAY Start media playback 24 PAUSE Pause playback or recording 25 STOP Stop media playback 26 REPEAT Turn on off...

Page 5: ...LE INPUT HDMI OUT Wall Outlet HDTV HDMI IN 3 Using included RCA Component Cable default output modes Video AV or Input AV cable is included Television INPUT AUDIO VIDEO IN from OUT to OUT to Antenna TV INSTALLATION GUIDE If you are using the converter box for the first time or have restored the converter box to factory default the Installation Guide menu will appear on your TV screen OSD On Screen...

Page 6: ...The EPG Electronic Program Guide is an on screen TV guide that shows scheduled programs seven days in advance for every tuned channel Press the EPG button to access the Electronic Program Guide 3 Sort To sort channels NOTE It is important to deactivate the LCN Logical Channel Number function while sorting the position of the channels This function allows users to sort channels by different methods...

Page 7: ...ustom set password This function can also be deactivated by simply switching this setting to OFF Set password Modify the default password of 000000 to a custom password Restore Factory Default Restore the unit to its default factory settings Enter the default password of 000000 or the custom set password Press the OK button once done NOTE This function will delete all saved channels and all person...

Page 8: ... programs Audio Button Some programs may have multilingual audio language and this audio may be located on a different audio mode such as Stereo Left or Right All available audio languages will be displayed on the audio track window when the AUDIO button is pressed If there is no audio output after an audio language has been selected this indicates there is no audio on the current audio mode and t...

Page 9: ...ss the Menu Key to access the Program Edit Menu Select the channel to be skipped and press numeric button 2 A skip symbol will appear Now the channel is marked as a SKIP Press the EXIT button to save this setting and exit the menu Move a TV or Radio Program Press the Menu button to access the Program Edit Menu Select the desired channel to be moved and press numeric button 1 A MOVE symbol will app...

Page 10: ...llows for pausing of the TV program being viewed Once paused the TV program will be stored on the connected USB Hard Drive or Flash Drive While watching a program press the PAUSE button to activate the Timeshift function and pause the TV program Press PLAY to restart the program Press the REV button to fast rewind up to the point the Timeshift function began Press the FWD button to fast forward up...

Page 11: ... converter box Picture is breaking up The signal is too weak Check antenna cable and connections Specifications Item Sub item Parameter Tuner Input Frequency 170 230MHz 470 860MHz RF Input Level 25 82dBm IF Bandwidth 6MHz Modulation QPSK 16QAM 64QAM Video Decoder Format MPEG 4 AVC H 264 HP L4 MPEG 2 MP ML HL Output Format 576P 720P 1080i 4 3 and 16 9 1080P Output Port HDMI V1 3C Audio Decoder Form...

Page 12: ...om FR Pour vous assurez une assistance rapide en cas de problème veuillez envoyer un e mail Email euhelp 1byone com IT Per supporto immediato in caso di bisogno la invitiamo a contattarci via email Email euhelp 1byone com CA To ensure speedy handling of your issue please email us for assistance Email cahelp 1byone com DE Für eine zügige Bearbeitung ihres Problems melden Sie sich bei uns wie folgt ...

Reviews: