CONTOUR CT28 WALL & CEILING INSTALLATION
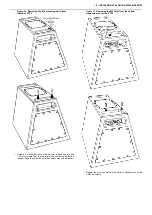
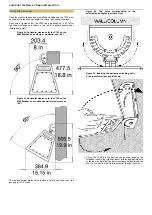
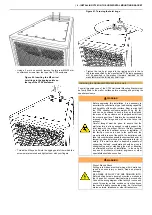
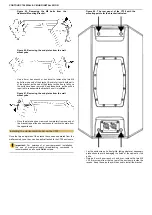
Figure 52. Removing the mounting screws from the
top of CT28.
•
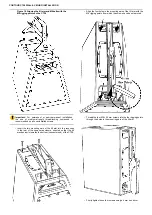
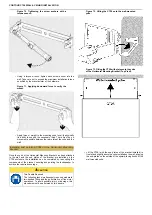
Place one of the ends of the bracket into the recess on the
enclosure with the flat surface of the bracket towards the
exterior (top) of the enclosure and the pivot lug pointed inward
toward the enclosure. Align the two mounting holes in the
bracket with the threaded holes in the rear of the enclosure.
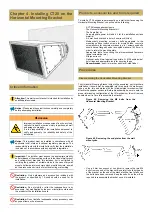
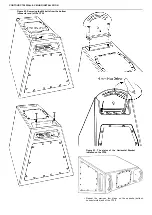
Figure 53. Installing the Horizontal Bracket plates
on the CT28.
•
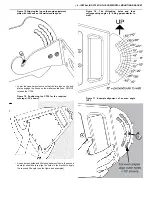
Insert the two M6 x 25 mm screws previously removed, and
thread them into the enclosure through the mounting holes in
the bracket end.
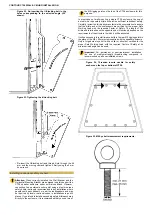
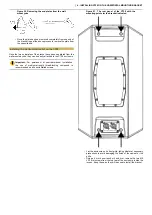
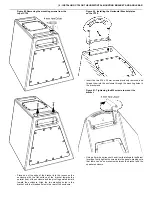
Figure 54. Tightening the M6 screws to mount the
bracket.
•
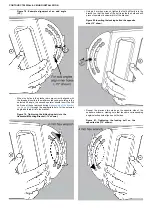
Using a 4 mm hex wrench or hex driver that allows for sufficient
leverage, firmly tighten the screws into the panels, making sure
that there can be no movement between the bracket and the
speaker enclosure.
Summary of Contents for Contour CT28
Page 1: ...Contour CT28 Wall Ceiling Installation...
Page 50: ......


