CONTOUR CT28 WALL & CEILING INSTALLATION
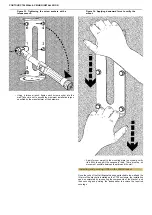
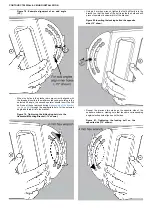
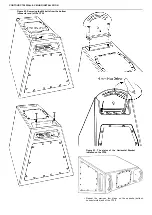
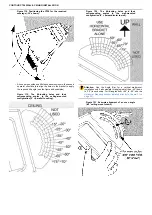
Figure 78. Example alignment of an odd angle
(-15°).
•
When the holes in the bracket ears are correctly aligned with
the threaded inserts in the wall-mounted yoke, according to the
selected tilt angle, the second operator should insert the M6
bolt (one of those removed during
) through the appropriate hole for the selected
angle and thread it into the bracket.
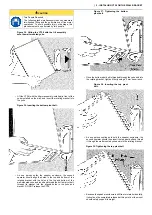
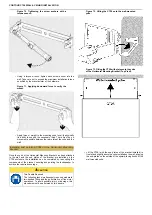
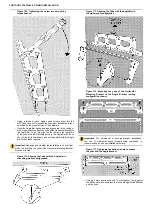
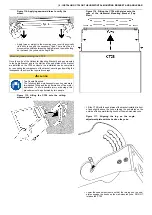
Figure 79. Tightening the tilt-locking bolt into the
Horizontal Mounting Bracket (-10° shown).
•
Using a 4 mm hex wrench, tighten the first bolt firmly into the
bracket, so that the head of the bolt is inside the hole and will
prevent upward or downward tilt of the bracket.
Figure 80. Inserting the locking bolt on the opposite
side (-10° show).
•
Repeat the previous two steps on the opposite side of the
speaker enclosure, making sure that the same corresponding
angle-selection hole aligns on both sides.
Figure 81. Tightening the locking bolt on the
opposite side (-10° shown).
Summary of Contents for Contour CT28
Page 1: ...Contour CT28 Wall Ceiling Installation...
Page 50: ......

