8
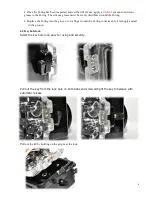
The O-ring on the underside of the plug is just to keep out dirt.
Replace the lid and make sure the lever is perpendicular to the side wall of the housing. Lock the lid by
press down the lever and turn until the lever is parallel to the side wall of the housing.
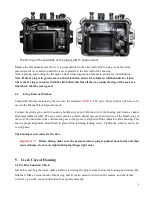
After replacing and locking the lid, make a final visual inspection of the main O-ring for contamination.
Note: If the O-ring is in good contact, a thin black line, about 0.5 to 1mm in width should be visible,
where the O-ring is in contact with the lid. Follow this line all the way round the edge of the seal, as a
final check that the seal is good.
4.6
Using External Strobes:
Compatible Strobes include any that can use the standard
580EX II
TTL sync. These strobes will have to be
used in the Manual Flash Exposure mode.
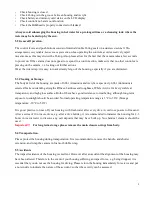
Connect the strobe sync cord to housing
’
s bulkhead sync port. On the side of the housing port notice a simple
alignment indicator [dot]. The sync cord contains a small channel [groove] between two of the female pins of
the cord. You must insert the cord into the port so the groove is aligned with the indicator of the housing. This
assures proper alignment. Hold firmly in place while fastening locking screw. Tighten the collar to secure the
cord in place.
The housing is now ready for the dive.
Important !!!
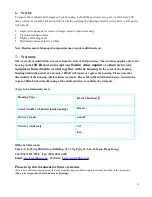
Before diving, make sure the pressure release plug is pushed back inside and then
screwed home, do not over tighten this plug (finger tight only).
5.
Use & Care of Housing
5.1 Pre Dive Function Check.
Just before entering the water, make a habit of reviewing the proper steps to close the housing and connect the
bulkhead. Make a visual check of the O-ring seal. It is also useful to switch on the camera, and check that
controls e.g. on/off, zoom, shutter functions operate normally.


