46
5.
Reconfigure System
a.
After DVR boot up, both Ignition LED (amber) and Power LED (green) should be on solid.
b.
Launch Internet Explorer
c.
Type http://192.168.1.100/ to access DVR setup
d.
Update settings to the settings previously recorded on paper
e.
Make sure the DVR name is exactly what it was before
f.
Click “Apply” to apply the new settings.
6.
Return hard drive
a.
Turn key lock to off position and wait until DVR powers off
b.
Turn key lock to on position and wait until DVR boots up
c.
Verify settings, specially the DVR Server Name
d.
Turn key lock to off position and wait until DVR powers off
e.
Insert hard drive
f.
Turn key lock to on position and wait until DVR boots up
7.
Verify functionality
a.
Launch Internet Explorer
b.
Type http://192.168.1.100/ to access DVR setup
c.
Verify new settings
d.
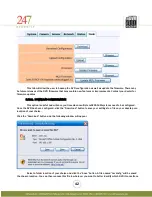
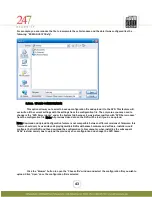
Go to “Tools” tab and click “Download” to save new working configuration of the bus and name the
configuration file to something like bus name-current date.
e.
Launch DVRViewer
f.
Connect to DVR
g.
Click “Play” and select “Live View”
h.
Connect to DVR
i.
Verify live view of cameras
j.
Verify “Record” LED on Event Marker is on, indicating that DVR is currently recording video
k.
You are done.
6.
DVRVIEWER


