Installation manual 2N® IP Force
54
/
118
•
•
•
•
Reset Button
Located among the main unit connectors, the Reset button helps you reset
the factory default values, restart the device, find the device IP address and
switch the static/dynamic mode.
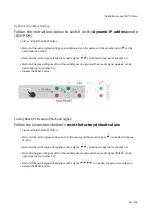
IP Address Finding
Follow the instructions below
to
identify the
current IP address
:
Press and hold the RESET button.
Wait until the red and green LEDs go on simultaneously on the device and the acoustic signal
can be
heard (approx. 15–35 s).
Release the RESET button.
The device automatically announces the current IP address.
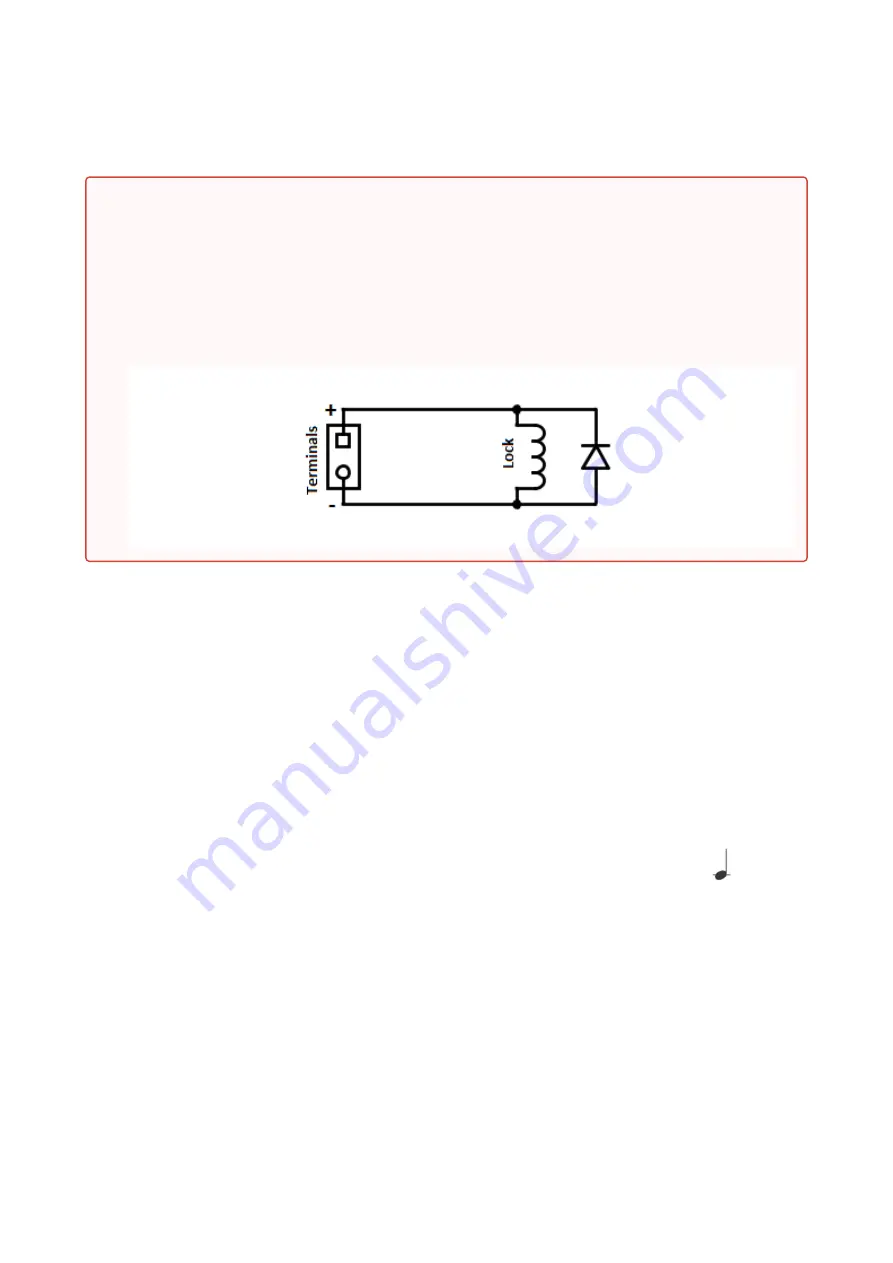
Warning
When you connect a device containing a coil, such as a relay or an
electromagnetic lock, it is necessary to protect the intercom against
voltage peak while switching off the induction load. For this way of
protection we recommend a diode 1 A / 1000 V (e.g., 1N4007, 1N5407,
1N5408) connected antiparallel to the device.
Summary of Contents for IP Force 9151101W
Page 1: ...Installation manual 2N IP Force v 2 18 www 2n com...
Page 49: ...Installation manual 2N IP Force 49 118 2N IP Force Connectors PCB Version 555v3...
Page 50: ...Installation manual 2N IP Force 50 118 2N IP Force Connectors PCB Version 555v4...
Page 65: ...Installation manual 2N IP Force 65 118...
Page 66: ...Installation manual 2N IP Force 66 118...
Page 70: ...Mounting guide...
Page 72: ...Installation manual 2N IP Force 72 118...
Page 73: ...Module setting...
Page 78: ...Installation manual 2N IP Force 78 118...
Page 79: ...Installation manual 2N IP Force 79 118...
Page 80: ...Module setting...
Page 83: ...Active output...
Page 85: ...Installation manual 2N IP Force 85 118...
Page 86: ...Installation manual 2N IP Force 86 118...
Page 87: ...Module setting...
Page 89: ...Security Relay...
Page 94: ...Installation manual 2N IP Force 94 118 Connection...
Page 98: ...Installation manual 2N IP Force 98 118...


