2N TELEKOMUNIKACE a.s., www.2n.cz
146/377
1.
2.
1.
Terminals and Connectors
1
speaker connector
5
2 microphone connectors
2
audio unit bus
6
lockable button connector (knob)
3
volume control
7
configuration jumper
4
button connector (push to talk)
8
servicing connector
Audio Unit Location
The audio unit is designed for shaft bottom installations by default.
In other cases, follow the instructions below:
Procedure
Unscrew the 4 screws using the Torx 20 spanner enclosed and remove the audio
unit front cover.
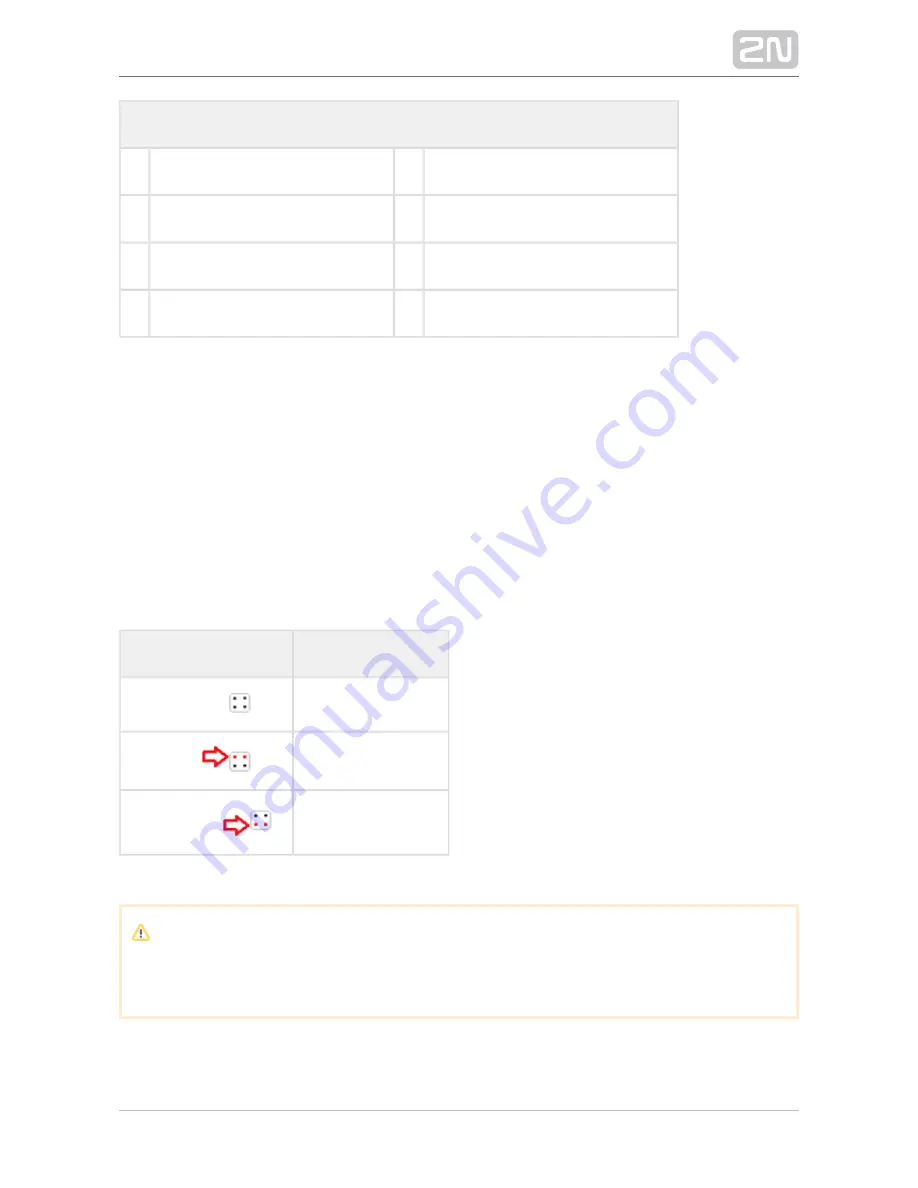
Set the audio unit location using the configuration jumper (7).
Jumper setting
Audio unit location
no jumper
shaft bottom
jumper up
over the cabin
jumper down
under the cabin
3. Replace the cover and tighten the 4 screws.
Caution
Avoid duplicate audio unit settings.
Summary of Contents for Lift8
Page 1: ...www 2n cz 2N Lift8 Communicator for lifts User Manual Firmware Version 2 3 1 ...
Page 28: ...2N TELEKOMUNIKACE a s www 2n cz 28 377 Indication Elements ...
Page 40: ...2N TELEKOMUNIKACE a s www 2n cz 40 377 Examples of Connection ...
Page 70: ...2N TELEKOMUNIKACE a s www 2n cz 70 377 ...
Page 95: ...2N TELEKOMUNIKACE a s www 2n cz 95 377 ...
Page 136: ...2N TELEKOMUNIKACE a s www 2n cz 136 377 User name Admin Password 2n ...
Page 202: ...2N TELEKOMUNIKACE a s www 2n cz 202 377 Connection two cabin lift ...
Page 210: ...2N TELEKOMUNIKACE a s www 2n cz 210 377 ...


