Assembly Instructions Beta Prusa Standard & Deluxe
01/07/14
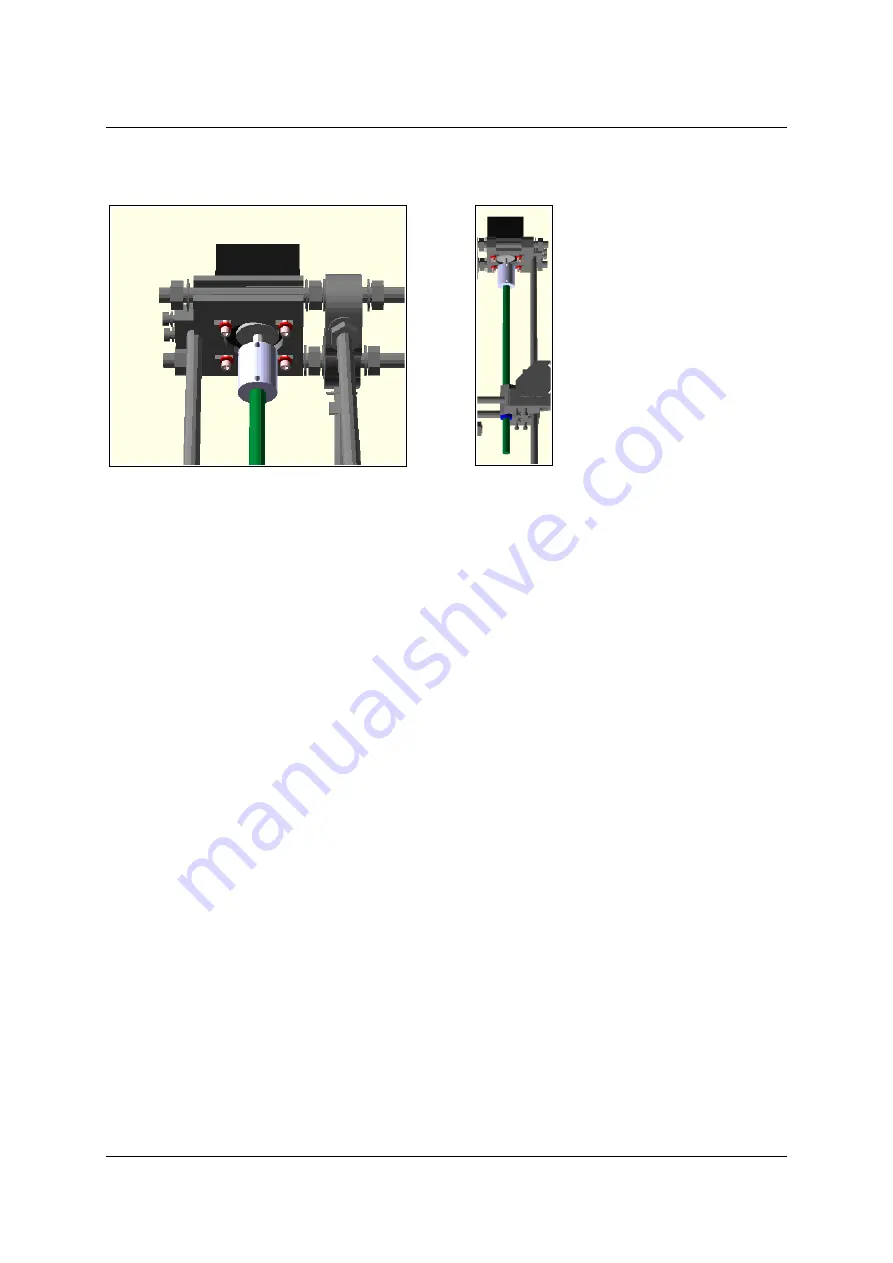
First push both motors onto the z-axis motor holders on top of the 3D printer and secure
them with four screws M3 x 20 mm and associated washers each like it is shown in the
picture above.
Motor assembly
Assembly of the z-axis drive rod
Now push a M8 nut into the bottom of the x end parts and screw the threaded drive rods from
the top through them. If the M8 nut sits too loose, wrap them with a few layers of tape until it
fits perfectly. Then connect the drive rods with the motor shafts with the z-axis couplers.
Use a z-axis coupler on each rod, use them to securely clamp together the drive rod and the
motor shaft with the integrated grub screws.
Make sure the drive rods are exactly vertical and parallel to the smooth rods of the frame
also the x-axis should be exactly horizontal.
Now check again if the axis with the nut can turn easily and drive completely up and down
without any problems.
Page 31/ 67


