Broadband Link Tab
23
Modifying DSL and ATM Settings
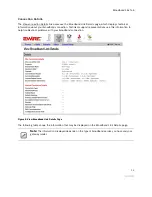
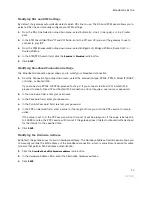
By default, the gateway automatically detects which DSL line to use. The DSL and ATM panel allows you to
select a DSL line and manually configure your ATM settings.
1.
From the DSL Line Selection drop-down menu, select Automatic, Line 1 (inner pair), or Line 2 (outer
pair).
2.
In the ATM Circuit Identifier VPI and VCI fields, enter the VPI and VCI you want the gateway to use to
connect to your ISP.
3.
From the ATM Encapsulation drop-down menu, select Bridged LLC, Bridged VC-Mux, Routed LLC, or
Routed VC-Mux.
4.
In the ATM/PVC Search field, click the
Enabled
or
Disabled
radio button.
5.
Click
SAVE
.
Modifying Broadband Connection Settings
The Broadband Connection panel allows you to modify your broadband connection.
1.
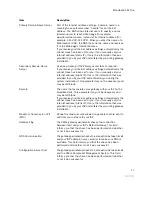
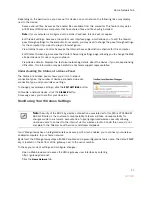
From the Connection Type drop-down menu, select the connection type: PPPoE, PPPoA, Direct IP (DHCP
or Static), or Routed IPoA.
If you connect via PPPoE or PPPoA, proceed to step 2. If you connect via Direct IP or Routed IPoA,
proceed to step 5. Direct IP and Routed IPoA connections do not require a user name or password.
2.
In the Username field, enter your user name.
3.
In the Password field, enter your password.
4.
In the Confirm Password field, re-enter your password.
5.
In the PPP on Demand field, enter a value for the length of time you wish the PPP session to remain
active.
If the value is set to 0, the PPP session will not time-out (it will be always-on). If the value is between 1
to 10080 minutes, the PPP session will time-out if the gateway doesn’t detect outbound traffic destined
for the Internet in the specified time.
6.
Click
SAVE
.
Modifying the Hardware Address
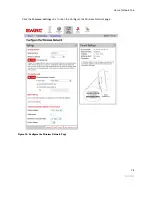
By default, the gateway uses its built-in hardware address. The Hardware Address Override panel allows you
to manually override the MAC address of the broadband connection, which is sometimes required for cable
modems that perform MAC address authentication.
1.
Click the
Override the built-in hardware address
radio button.
2.
In the Hardware Address field, enter the alternative hardware address.
3.
Click
SAVE
.


