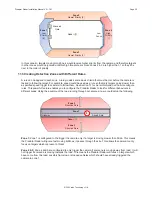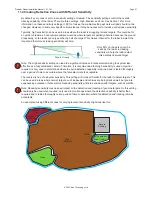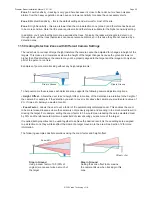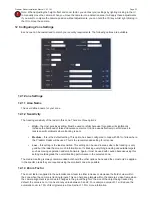
© 360 Vision Technology Ltd.
Page 13
Predator Radar Installation Manual V2.1.18.1
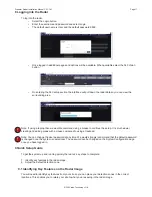
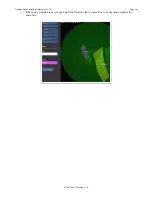
Note: When you move the camera into a detection area, if they are set, it will apply the area specific height and
zoom adjustments. Please refer to section11.5 for more information on using zone based camera adjustments.
If you want to compare the camera position without adjustments, you can hold the Ctrl key whilst right clicking in
the UI to move the camera.
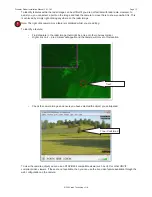
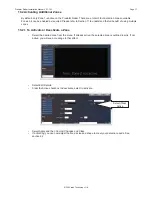
Once you have related your site to the radar image you are ready to draw your detection zone.
9.2 Adjust the Detection Zone
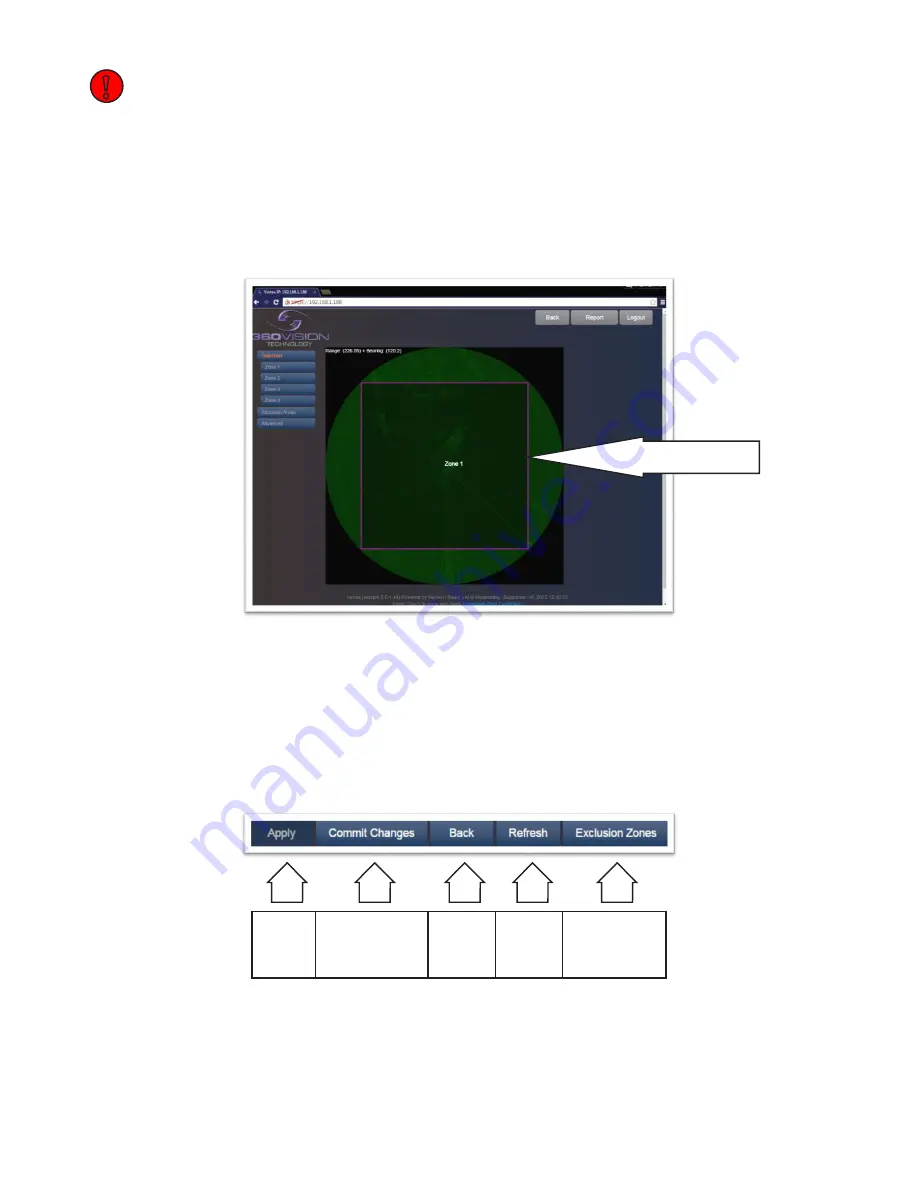
By default, the Predator Radar ships with a single active zone. To keep the setup simple this zone covers most
of the radar’s detection range. This means the system is ready to start tracking as soon as it’s powered up.
Any targets appearing in Zone 1 will be tracked and the camera will be tasked to follow them using the default
timeshare behaviour.
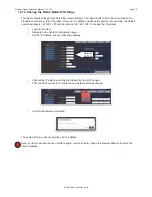
9.2.1 Changing the Default Detection Zone
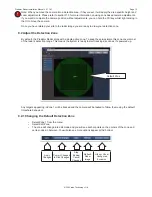
• Select Zone 1 from the menu.
• Select Edit Zone.
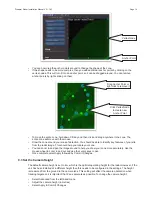
• The zone will change into edit mode and you will see anchor points on the corners of the zone and
vertex nodes in between. You will also see more options appear at the bottom:
Apply
Changes
Commit Changes
to Disk Changes
Stop
Editing/
Cancel
Changes
Refresh
Radar
Image
Hide or Show
Configured
Exclusion
Default Zone
!


