Page 14
Predator Radar Installation Manual V2.1.18.1
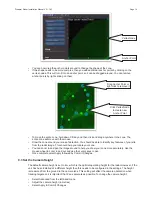
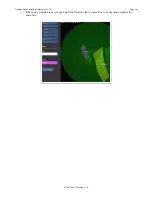
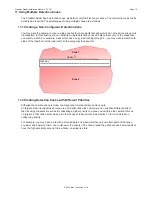
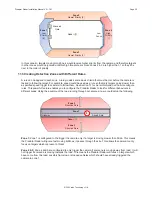
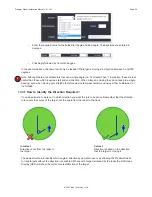
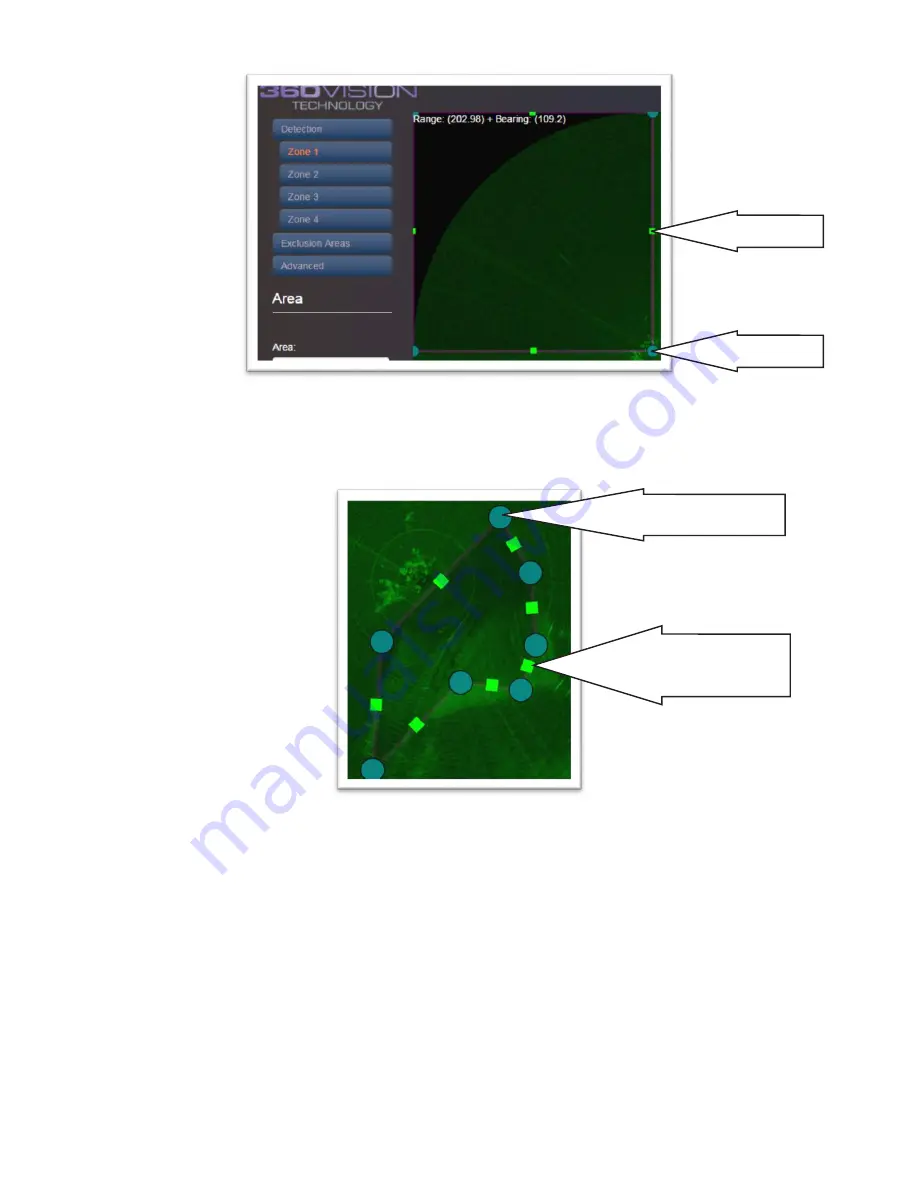
• You can now drag the anchor points around to change the shape of the zone.
• If the shape needs to be more complex, then you add additional anchor points by clicking on the
vertex nodes. This will turn it into an anchor point so it can be dragged around. You can remove
anchor points by right-clicking on them.
• To move the entire zone, hold down Ctrl key and then click and drag anywhere in the zone. The
entire zone will move with the mouse.
• Draw the zone around your area of detection. You should be able to identify key features of your site
from the radar image. This should help you locate your zone.
• You can zoom in and pan the image around to help you draw your zone more accurately. Use the
mouse wheel to zoom in and out and use the cursor keys to pan.
•
Once complete select Apply followed by Commit Changes.
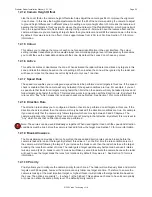
9.3 Set the Camera Height
The default camera height is set to 4m, which is the optimal operating height for the radar. However, if the
unit has been installed at a different height then this needs to be configured in the settings. The height
is measured from the ground to the camera lens. This setting will affect the camera orientation when
tracking targets so it is important that it’s as accurate as possible. To change the camera height:
• Select Advanced from the left-hand menu
• Adjust the camera height (in metres)
• Select Apply & Commit Changes
Vertex Node
Anchor Point
Drag Anchor Point or
right click to remove it
Click Vertex Node
to create new
Anchor Point


