S
OFTWARE
I
NSTALLATION AND
T
ESTING
69
19.
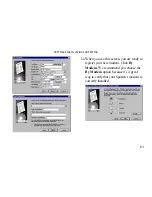
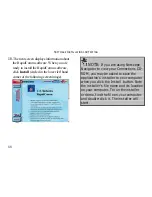
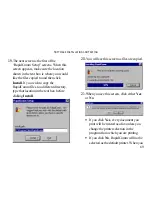
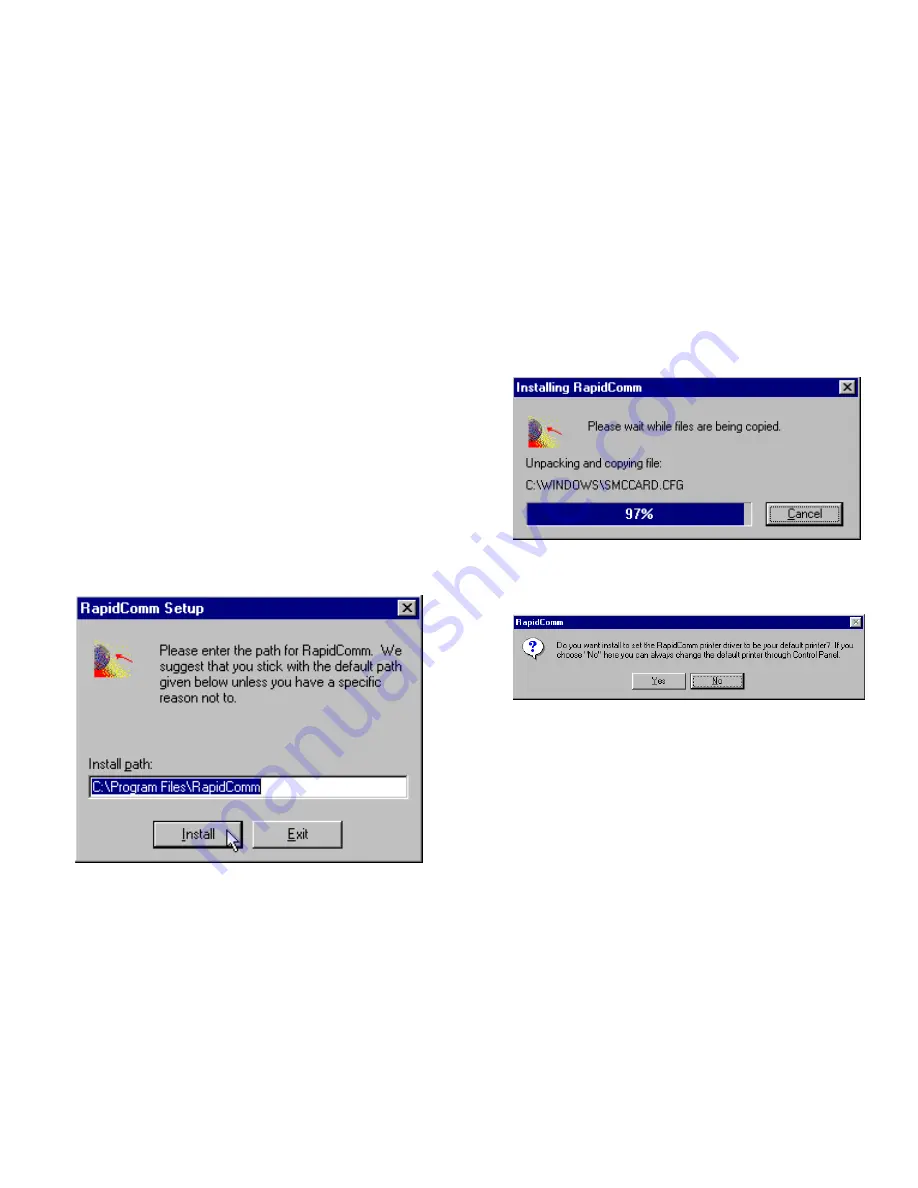
The next screen is the first of the
“RapidComm Setup” screens. When this
screen appears, make sure the location
shown in the text box is where you would
like the files copied to and then click
Install. If you wish to copy the
RapidComm files to a different directory,
type that location in the text box before
clicking Install.
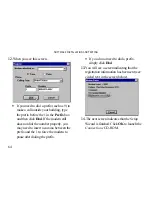
20.
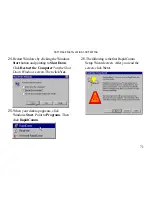
You will see this screen as files are copied.
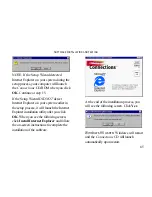
21.
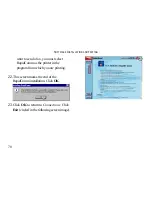
When you see this screen, click either Yes
or No.
•
If you click Yes, every document you
print will be treated as a fax unless you
change the printer selection in the
program from which you are printing.
•
If you click No, RapidComm will not be
selected as the default printer. When you


