54
C
HAPTER
5: P
ERSONALIZING
Y
OUR
T
ELEPHONE
6
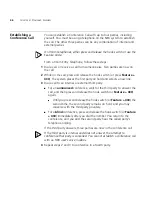
From the
Interval
drop-down list box, select the number of minutes that
you want the system to wait after each attempt before it moves to the
next attempt.
The “best” time interval depends on the Attempt method that you
choose. For instance, allow sufficient time after a Pager notification for
the usual delay at your pager supplier.
7
Click
Apply.
8
Repeat steps 4 through 7 to set up additional attempts if you want.
The cycle of notice behaviors differs depending on the method that you
select for the
first
attempt. See
“Notice Behaviors”
at the end of this
section.
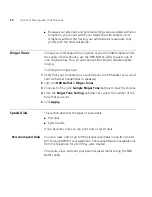
9
You do not need to configure every Attempt row. When you have
configured all of the Attempt rows that you want, click
OK.
The NBX
Messaging tab appears.
10
Test your off-site notification settings by leaving yourself a voice mail
message.
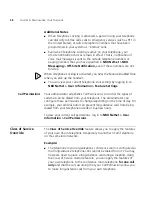
Additional Notes
■
You can use the same notification method for all five attempts, or any
combination of methods.
■
If your voice mailbox is full and someone tries to leave you a voice mail
message, the NBX system does not send you an e-mail notification.
■
When you activate the
Telephone Locking
feature on your
telephone, the NBX system sends you off-site notification messages
only if the notification number (for example, your pager number) is a
toll-free telephone number. See
“Telephone Locking”
later in this
chapter.
Notice Behaviors
These tables explain how the cycle of notice behaviors depends on the
method that you select for the
first
attempt. See the definitions as well
as
“Resetting the Off-Site Notification Cycle”
.
Summary of Contents for 3C10399A
Page 16: ...16 CHAPTER 1 GETTING STARTED...
Page 36: ...36 CHAPTER 3 NBX MESSAGING...
Page 62: ...62 CHAPTER 5 PERSONALIZING YOUR TELEPHONE...
Page 88: ...88 CHAPTER 7 FEATURE CODES...
Page 100: ...100 INDEX...

