2-8
C
HAPTER
2: I
NSTALLATION
To wall mount the unit:
1
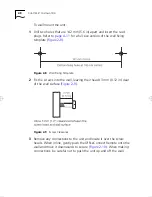
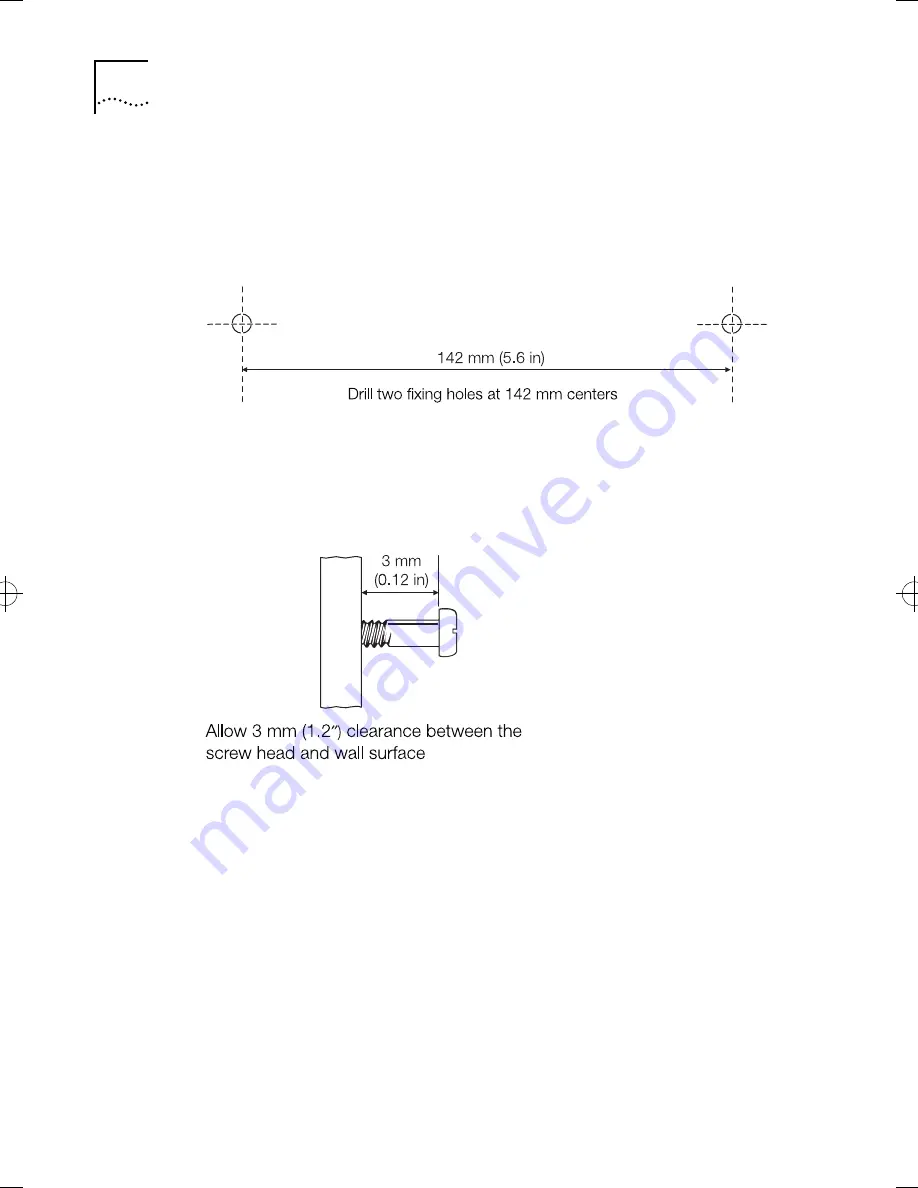
Drill two holes that are 142 mm (5.6 in) apart and insert the rawl
plugs. Refer to
page A-11
for a full size version of the wall fixing
template (
Figure 2-8
).
Figure 2-8
Wall Fixing Template
2
Fix the screws into the wall, leaving their heads 3 mm (0.12 in) clear
of the wall surface (
Figure 2-9
).
Figure 2-9
Screw Clearance
3
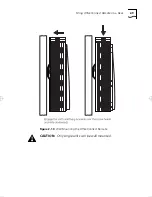
Remove any connections to the unit and locate it over the screw
heads. When in line, gently push the OfficeConnect Remote onto the
wall and move it downwards to secure (
Figure 2-10
). When making
connections, be careful not to push the unit up and off the wall.
getstart.bk : INSTALL.FRM Page 8 Friday, October 3, 1997 10:40 AM
Summary of Contents for 3C410012A - OfficeConnect Remote 531 Access Router
Page 12: ......
Page 26: ...1 10 CHAPTER 1 INTRODUCTION ...
Page 56: ...A 12 APPENDIX A TECHNICAL INFORMATION ...
Page 64: ...B 8 APPENDIX B TECHNICAL SUPPORT ...
Page 68: ...4 INDEX ...
Page 72: ......


