Configuring DS1 UNI or E1 UNI with IMA Modules
143
3
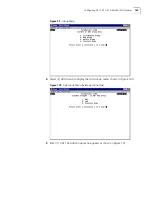
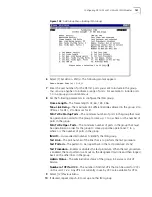
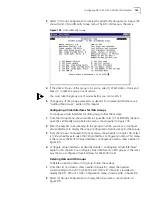
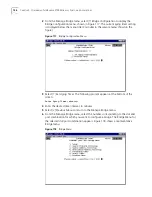
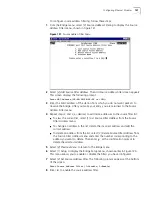
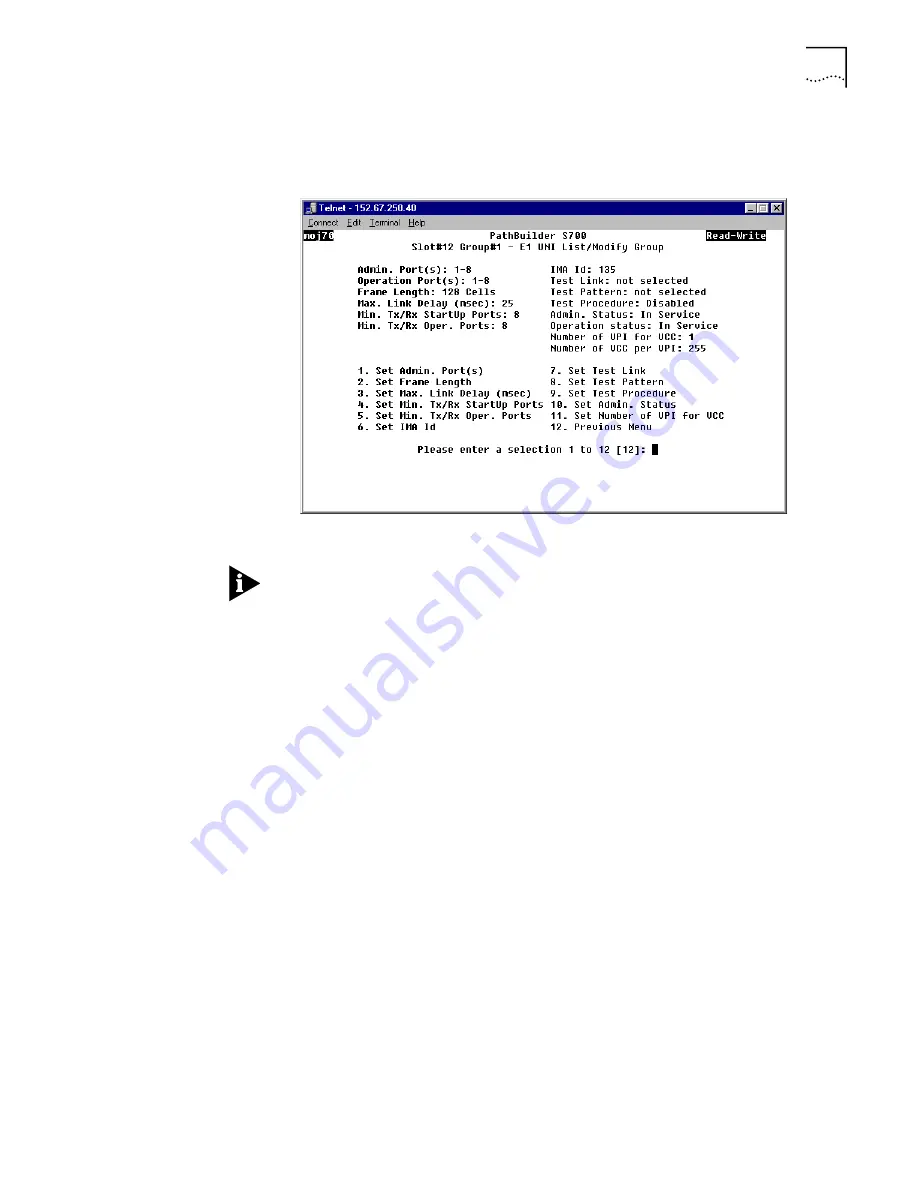
Select
[1] Group Configuration
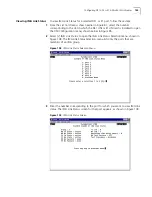
to display the List/Modify Group menu. Figure 105
shows the E1 UNI List/Modify Group menu. The DS1 UNI menu is the same.
Figure 105
UNI List/Modify Group
4
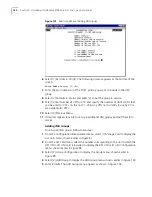
If the
Admin. Status
of the group is
In Service
, select
[10] Set Admin. Status
and
enter
[1]
to take the group out of service.
You must take the group out of service before you can modify it.
5
Change any of the group parameters as desired. For parameter definitions, see
“Adding IMA Groups” earlier in this chapter.
Configuring Virtual Interfaces for IMA Groups
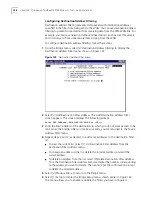
To configure virtual interfaces for IMA groups, follow these steps:
1
From the Group menu, shown earlier in Figure 99, select
[1] List/Modify Group
to
open the List/Modify Group Selection menu, shown earlier in Figure 103.
2
Enter the number corresponding to the group for which you want to configure
virtual interfaces to display the Group Configuration Options menu for that group.
3
From the Group Configuration Options menu, shown earlier in Figure 104, select
[2] Virtual Interfaces
to open the Virtual Interface Configuration menu. This menu
is the same as the MCPU Virtual Interfaces Configuration menu, shown earlier in
Figure 84.
4
Configure virtual interfaces as described under “Configuring Virtual Interfaces”
earlier in this chapter. You configure virtual interfaces for IMA groups in the same
way that you configure virtual interfaces for the MCPU card.
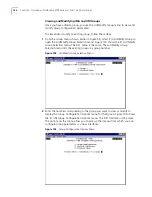
Deleting IMA and UNI Groups
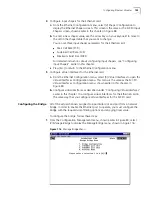
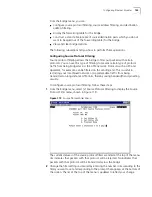
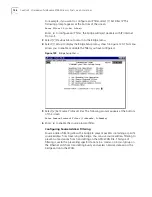
To delete an existing IMA or UNI group, follow these steps:
1
From the List Card menu, shown earlier in Figure 81, select the number
corresponding to the slot in which the DS1 UNI or E1 UNI card is installed to
display the DS1 UNI or E1 UNI. Configuration menu, shown earlier in Figure 95.
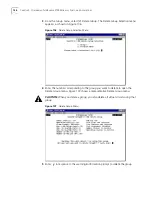
2
Select
[3] Group Configuration
to display the Group menu, shown earlier in
Figure 99.
Summary of Contents for 3C63400-3AC-C - PathBuilder S700 Switch
Page 14: ...xiv CHAPTER SUPPLEMENTARY REGULATORY INFORMATION ...
Page 18: ...4 ABOUT THIS GUIDE ...
Page 28: ...14 CHAPTER 1 SYSTEM DESCRIPTION ...
Page 88: ...74 CHAPTER 3 GETTING STARTED ...
Page 260: ...246 CHAPTER 6 PATHBUILDER S700 DIAGNOSTICS AND PERFORMANCE MONITORING ...
Page 270: ...256 INDEX ...


