2
7-S
LOT
C
HASSIS
F
AN
T
RAY
R
EMOVAL
AND
R
EPLACEMENT
G
UIDE
There are no user-serviceable parts on the fan tray. If the component
fails, remove it as described in this document and return the
component to your supplier. Keep replacement fan trays at your site so
that they are available if needed.
Removing a Fan Tray
To remove a fan tray from the CoreBuilder 9000 chassis, follow these
steps:
1
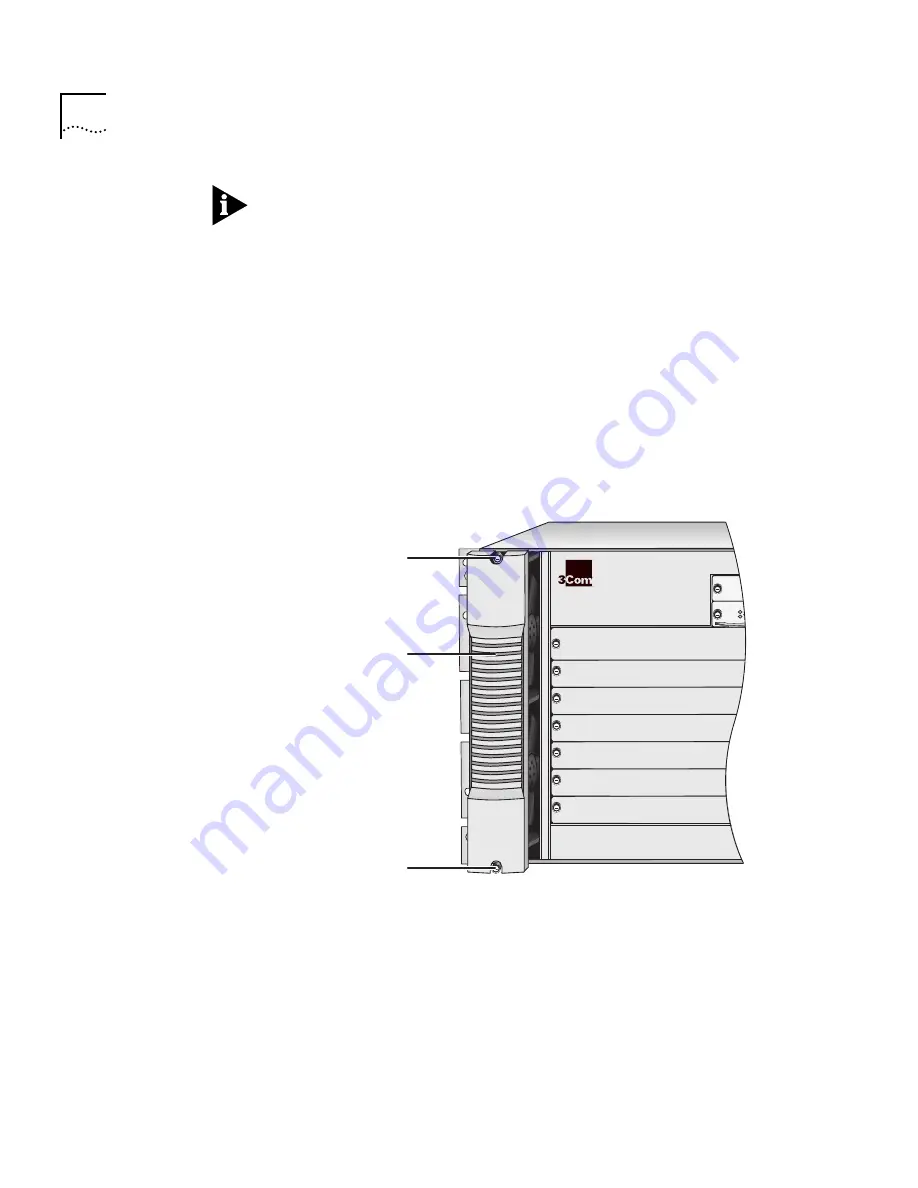
Face the front of the chassis and using a flat-blade screwdriver, loosen
the two spring-loaded screws that attach the fan tray to the chassis
(Figure 2).
Figure 2
Location of the Two Fan Tray Spring-Loaded Screws
2
Grasp the handle on the fan tray, and firmly pull the fan tray towards
you (Figure 3).
R
1
2
3
4
5
6
7
8
9
Spring-loaded
screw
Spring-loaded
screw
Fan tray
handle


