Quick Start Guide
11a/b/g Wireless Workgroup Bridge
3CRWE675075
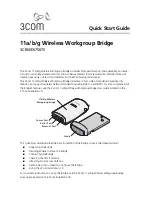
The 3Com 11a/b/g Wireless Workgroup Bridge combines high-performance, interoperability, and ease-
of-use to join isolated wired networks into a cohesive wireless local area network (WLAN). Instead of
traveling over wires, data is transmitted across the WLAN using radio waves.
The 3Com 11a/b/g Wireless Workgroup Bridge includes a robust suite of standards-based security
features, and supports wireless network standards including 802.11a and 802.11g. For a complete list of
the Bridge’s features, see the 3Com
11 a/b/g Wireless Workgroup Bridge User Guide
located on the
3Com Installation CD.
This Quick Start Guide describes the basic installation of the Bridge. It covers the following topics:
■
Unpacking the Bridge
■
Deciding Where to Place the Bridge
■
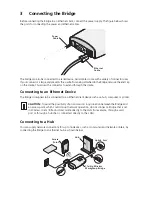
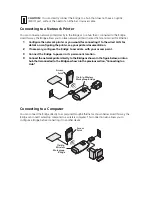
Connecting the Bridge
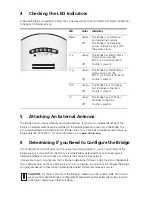
■
Checking the LED Indicators
■
Attaching An External Antenna
■
Determining if you Need to Configure the Bridge
■
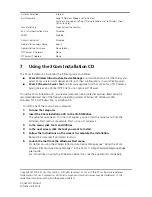
Using the 3Com Installation CD
For complete instructions on using the Bridge, see the 3Com
11 a/b/g Wireless Workgroup Bridge
User Guide
located on the 3Com Installation CD.
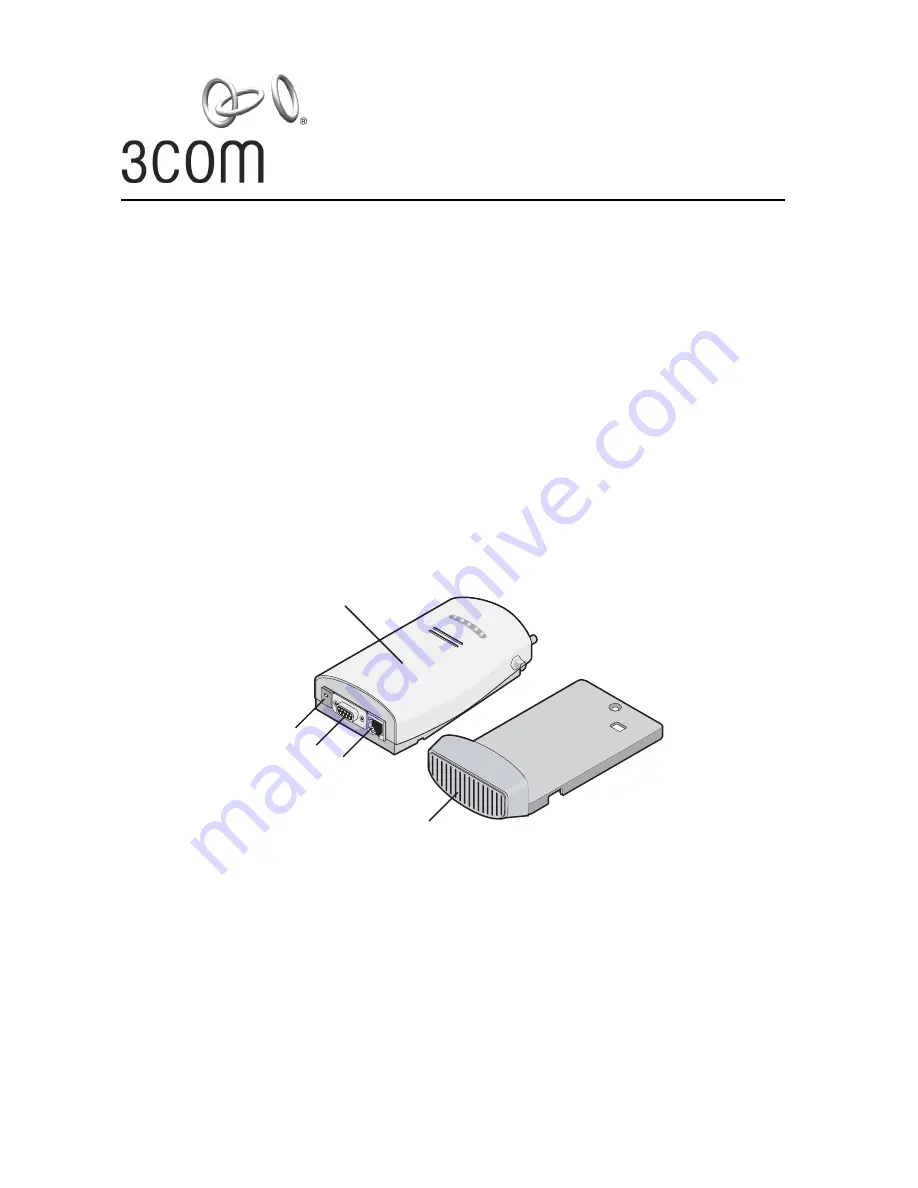
11
a/b/g Wireless
W
orkgroup Bridge
P
ow er Port
S
erial Port
E
thernet Port
C
radle


