4
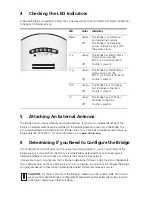
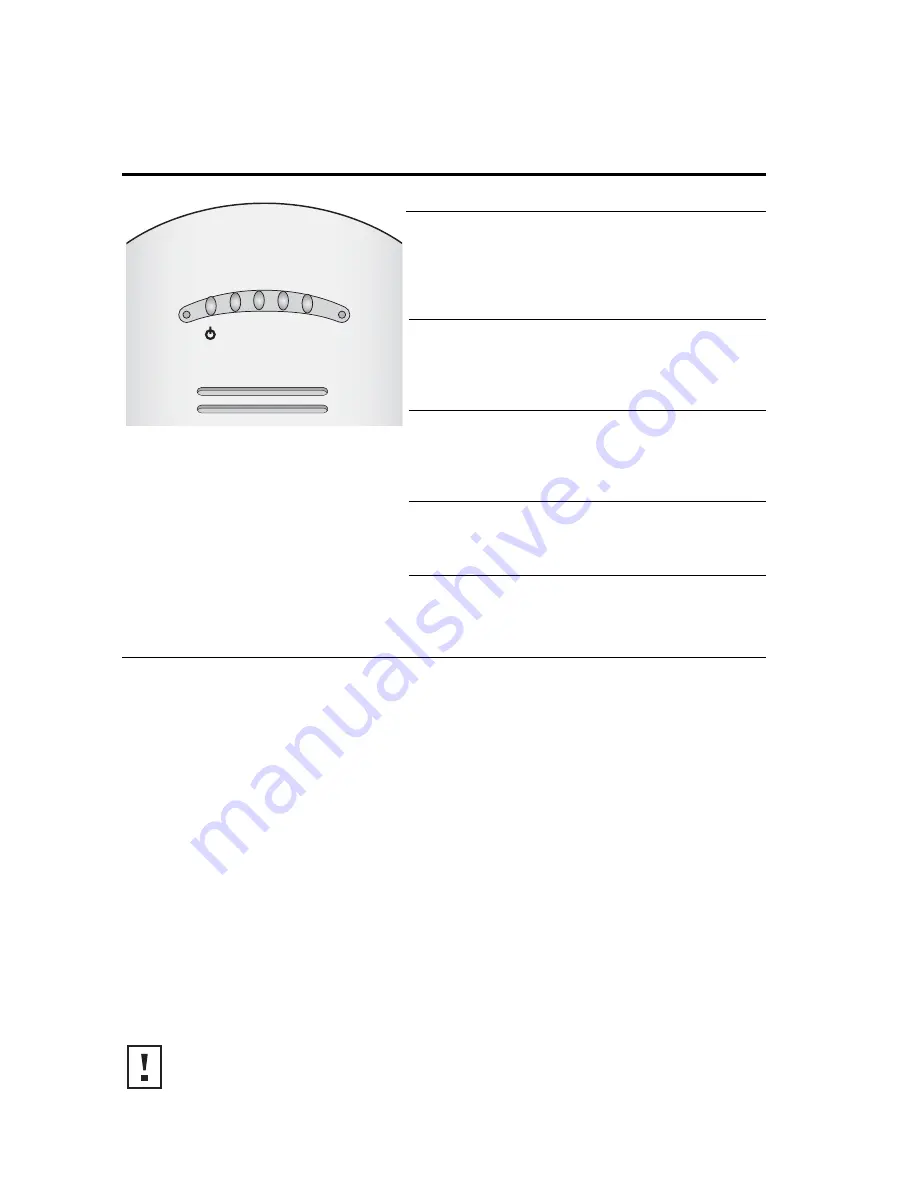
Checking the LED Indicators
When the Bridge is connected to power, LEDs indicate activity as follows (solid LED indicates connection;
blinking LED indicates activity):
5
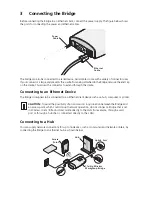
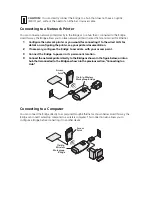
Attaching An External Antenna
The Bridge has two internal diversity dual-band antennas. If you want to increase the range of the
Bridge, an external antenna can be attached to the external antenna connector on the Bridge. The
3Com-approved external antenna for this Bridge is the 3Com 2.4/5 GHz Omnidirectional Workgroup
Bridge Antenna (3CWE501). For more information, go to
www.3Com.com
6
Determining if you Need to Configure the Bridge
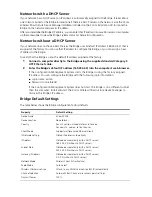
If your network has a DHCP server and no special security requirements, you can most likely use the
Bridge just as it is shipped from the factory. View the Bridge’s default settings on the next page to
determine whether or not you need to configure the Bridge for your network.
It takes about one to two minutes for the Bridge to determine if there is a DHCP server on the network.
If your network does not have a DHCP server or is more complex, you will want to configure the Bridge
and organize devices so that you can manage the wireless LAN easily and keep it secure.
LED
Color
Indicates
Power
Green
Off
The Bridge is powered up
and operating normally.
The Bridge is not receiving
power or there is a fault with
the power supply.
11a
Green
Off
The Bridge has WLAN frame
transmission over the
802.11a 5 GHz radio band.
No link is present.
11g
Green
Off
The Bridge has WLAN frame
transmission over the
802.11g 2.4 GHz radio band.
No link is present.
100
Green
Off
The Bridge has a 100 Mbps
Fast Ethernet connection.
No link is present.
10
Green
Off
The Bridge has a 10 Mbps
Ethernet connection.
No link is present.
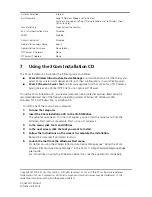
CAUTION:
For non-U.S. versions of the Bridge, you need to set the Country mode. This is done
when you first open the Bridge’s Configuration Management System. Select the Country in which
the Bridge is operating and then click
Apply
.
.11g .100 .10
.11a


