392
C
HAPTER
13: C
ONFIGURING
AND
M
ANAGING
PNNI (F
OR
THE
E
XTENDED
V
ERSION
O
NLY
)
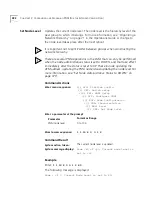
The node ID displayed can also be changed by editing the existing node
ID. This is done by pressing the BackSpace, left and/or right arrow keys at
the prompt and overwriting any of the 20 bytes of the address.
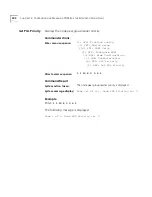
Get Node Name
Displays the name assigned to the current PNNI node.
Command Actions
Command Result
Example
Enter:
1 1 10 4 3 3 5 1
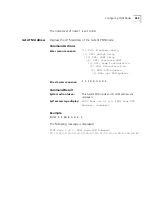
The following message is displayed:
PNNI Node 1 of 1. Node Name: 3Com World
Enter menu sequence:
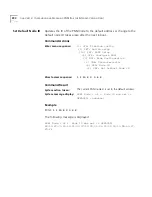
(1) SYS: Platform config
(1) SET: Switch setup
(10) PNI: PNNI Setup
(4) CFP: Configure PNNI
(3) NCF: Node Configuration
(3) CHR: Characteristics
(5) NAM: Node Name
(1) GNA: Get Node Name
Direct access sequence:
1 1 10 4 3 3 5 1
System action taken:
The current PNNI node number and name are
displayed.
System message display:
PNNI Node <x> of <y>. Node Name:
<name>
Summary of Contents for CoreBuilder 7000
Page 16: ......
Page 68: ...68 CHAPTER 3 GENERAL TASKS ...
Page 164: ...164 CHAPTER 6 ILMI CONFIGURATION ...
Page 462: ...462 CHAPTER 13 CONFIGURING AND MANAGING PNNI FOR THE EXTENDED VERSION ONLY ...
Page 468: ...468 APPENDIX A TECHNICAL SUPPORT ...
Page 472: ...472 APPENDIX B COREBUILDER 7000 FAMILY ATM SWITCH SPECIFICATIONS ...
Page 476: ...476 APPENDIX C SAFETY INFORMATION ...
Page 514: ...514 INDEX ...


