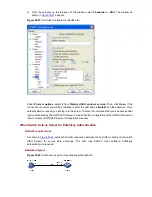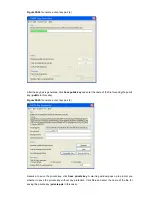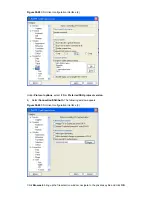
# Create a VLAN interface on the switch and assign an IP address, which serves as the SSH client’s
address in an SSH connection.
<SwitchA> system-view
[SwitchA] interface vlan-interface 1
[SwitchA-Vlan-interface1] ip address 10.165.87.137 255.255.255.0
[SwitchA-Vlan-interface1] quit
# Generate a RSA key pair
[SwitchA] public-key local create rsa
# Export the generated RSA key pair to a file named Switch001.
[SwitchA] public-key local export rsa ssh2 Switch001
After generating the key pair, you need to upload the key pair file to the server through FTP or TFTP and
complete the server end configuration before you continue to configure the client.
# Disable first-time authentication on the device.
[SwitchA] undo ssh client first-time
When first-time authentication is not supported, you must first generate a RSA key pair on the server
and save the key pair in a file named Switch002, and then upload the file to the SSH client through FTP
or TFTP. For details, refer to the above part “Configure Switch B”.
# Import the public key pair named Switch002 from the file Switch002.
[SwitchA] public-key peer Switch002 import sshkey Switch002
# Specify the host public key pair name of the server.
[SwitchA] ssh client 10.165.87.136 assign publickey Switch002
# Establish the SSH connection to server 10.165.87.136.
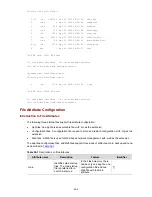
[SwitchA] ssh2 10.165.87.136
Username: client001
Trying 10.165.87.136 ...
Press CTRL+K to abort
Connected to 10.165.87.136 ...
Later, you will find that you have logged into Switch B successfully.


