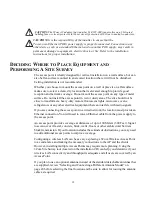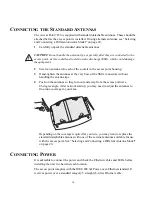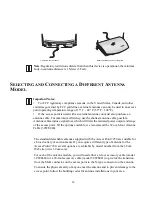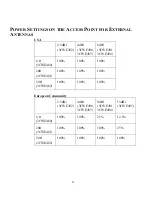
19
Alternatively, you can simply attach the Ethernet cable to the side of the unit,
allowing it to trail along the wall.
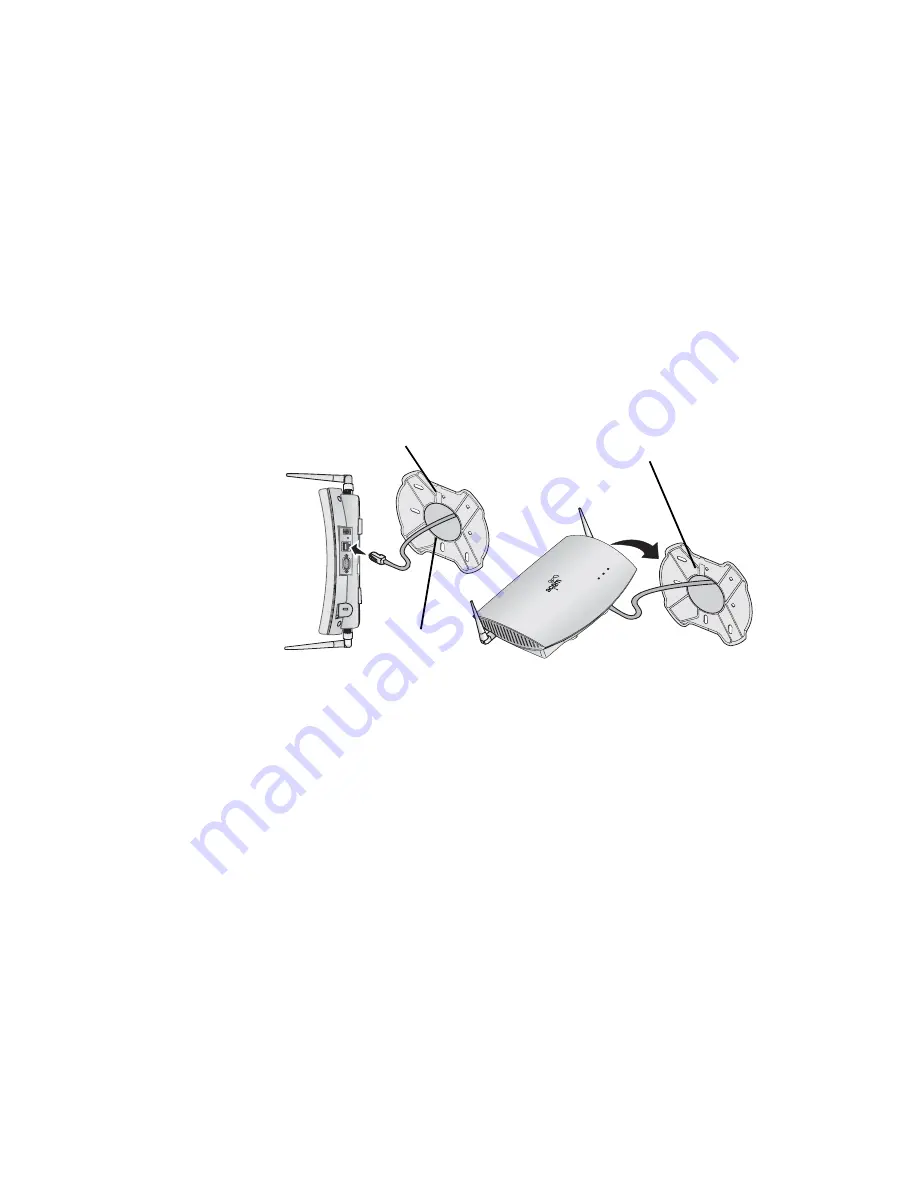
• If you have routed the Ethernet cable through the center opening, secure the
cable on the hook located on the mounting plate as shown in the illustration
below.
2
Connect the Ethernet cable to the Ethernet port on the access point.
3
Connect the power cable to power port on the rear panel of the access point.
4
Position the access point at an angle to the mounting plate bayonet connection and
turn the unit clockwise until it snaps into place, as shown below.
F
LAT
S
URFACE
I
NSTALLATION
The access point can also be placed on a flat surface such as a table, desktop or filing
cabinet. Do not install the access point on any type of metal surface. If you choose a
flat surface mount, select a location that is clear of obstructions and provides good
reception.
A
B
A
B
R
ad
io
Eth
ern
et
Po
w
er
Top opening
Center opening
Hook for securing the cable
Align with mounting plate
and rotate clockwise to lock


