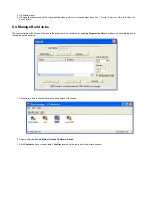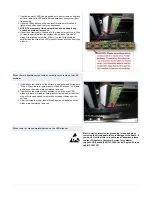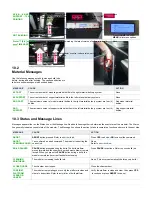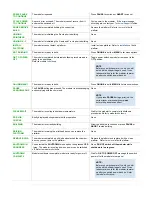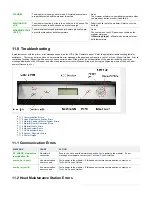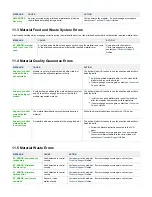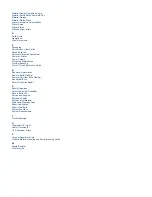
2. Using a 2mm Allen wrench, remove the four (4) screws and the electrical
cover from the board that is to be removed (middle board is shown for
depiction purpose).
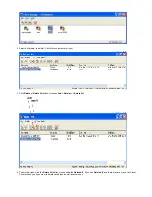
3. Remove board from UVLED holder assembly.
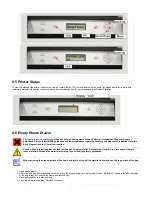
4. If cleaning is required for the UVLEDs, refer to the UVLED Cleaning
Procedures.
5. If installing a new board, reverse this procedure.
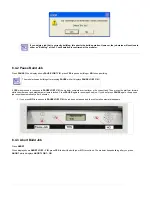
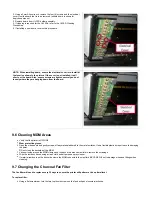
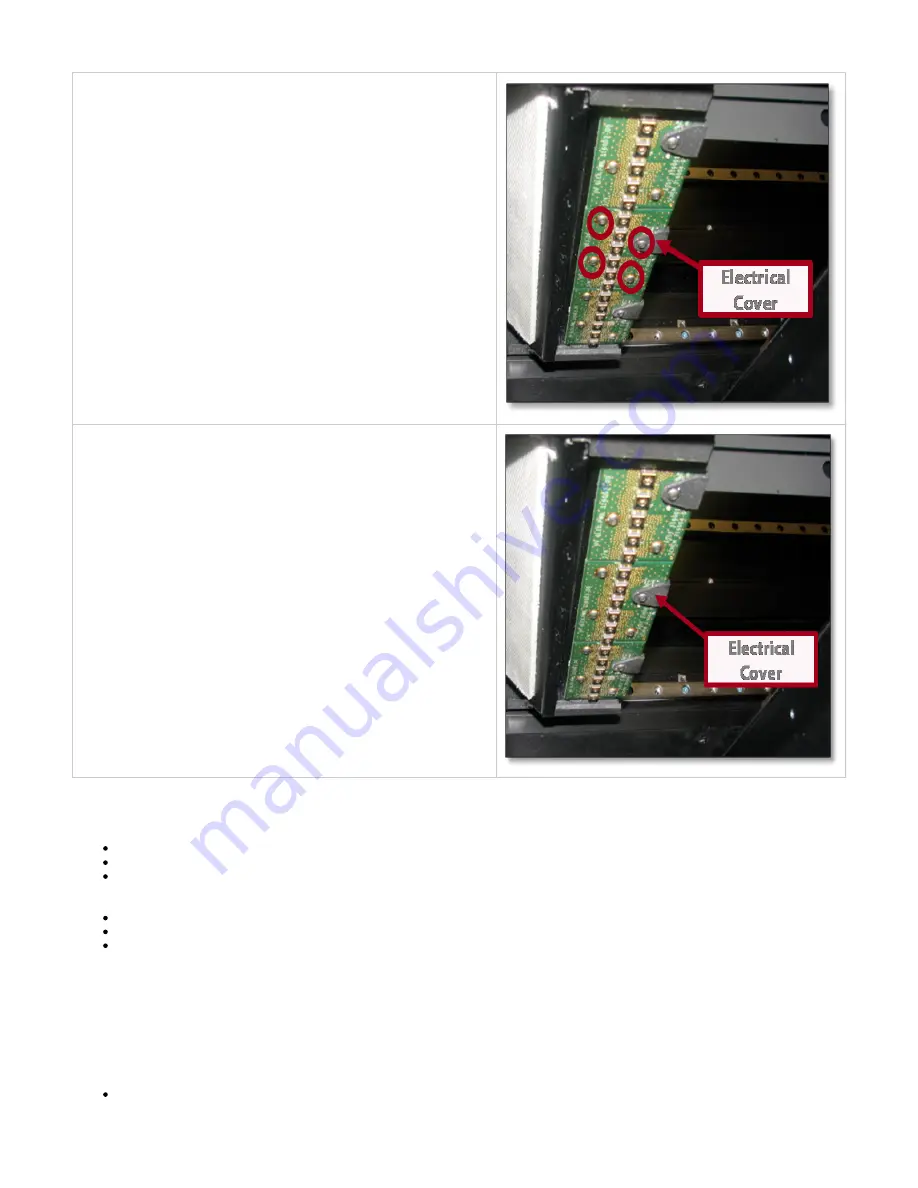
NOTE: When installing board, ensure the electrical cover is re-install at
the location shown in the picture. If the cover is not installed, it will
short out the board. Also, ensure screws are tighten securely and not
loosely where they are hanging down from the board.
9.6 Cleaning MDM Areas
Verify that the printer is OFFLINE.
Wear protective gloves.
Open the side panels and gently scrape off any material adhered to the metal surfaces. Use a flexible plastic scraper to avoid damaging
the paint.
DO not clean the backside of the MDM.
Vacuum inside around the MDM clamps and the back area around manifold to remove the scrapings.
Wipe the inside surfaces using a clean cloth and all-purpose spray cleaner.
If material residue is on the back side where the MDM connects to the manifold, BE CAREFUL not to damage wires and fittings when
cleaning.
9.7 Changing the Charcoal Fan Filter
The fan filter will need to replace every 30 days to ensure the printer will perform at it's optimal level.
To replace filter:
Using a flat screwdriver, turn the two top thumb screws on the fan back panel counterclockwise.
Summary of Contents for ProJet 5000
Page 34: ...This view point button is a back two dimensional viewpoint Bottom View ...
Page 36: ...A bounding box for a set of objects is a cuboid that completely contains the set Copy ...
Page 41: ...This view point button is a front two dimensional viewpoint Help Topics ...
Page 45: ...This view point button is a right two dimensional viewpoint Rotate ...
Page 60: ...Using a wire frame allows visualization of the underlying design structure of a part Zoom ...

