

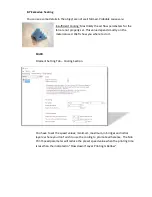
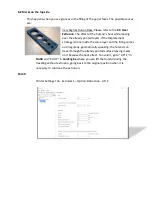


Air drafts: We recommend to keep the printer away from air drafts since many
of the materials used, especially ABS, are very sensitive to temperature changes.
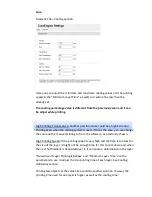
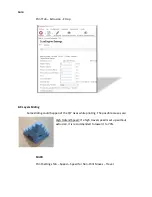
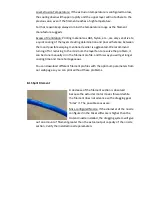
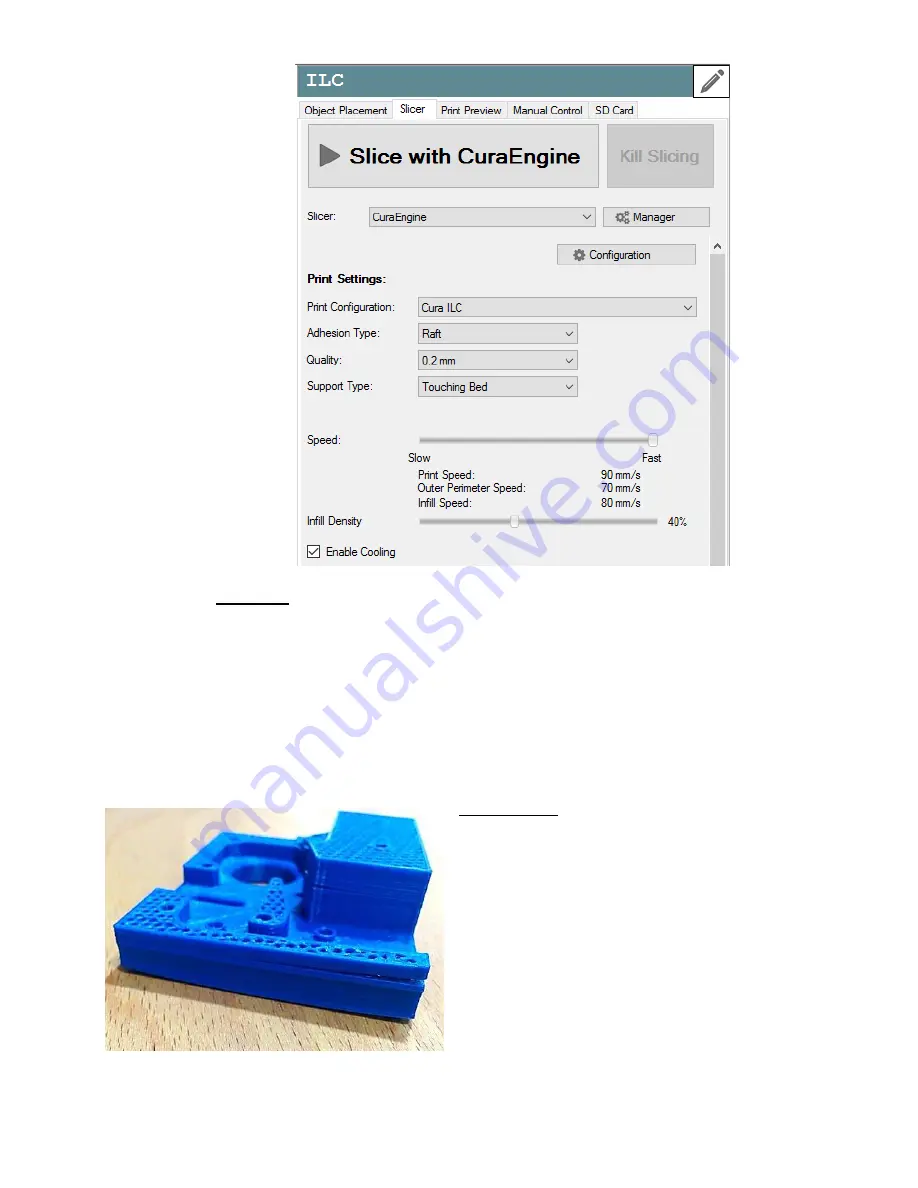
8.14 Layers Gap
You can see there are holes between the layers for lack of union among them. The
possible causes are:
Cover Height:
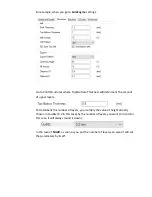
You have to keep in mind the
nozzle diameter you are using when you are
setting the cover height since if this one is
higher, the layers will not stick together. As a
general rule, you should establish the maximum
height as 20% less than the nozzle diameter.
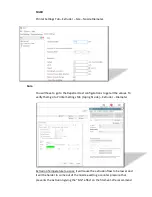
I.E.: if you use the 3D-ILC’s 0.4 mm nozzle, the
layer’s maximum height will be 0.32 mm. Nozzle
can be substituted with a higher or lower
diameter depending of the printing needs.
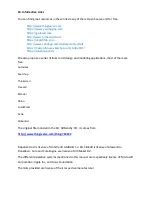
Summary of Contents for ILC
Page 1: ...Welcome to a Revolution with No Limits ENGLISH USER MANUAL Rev 1 1 ...
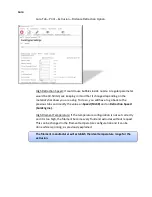
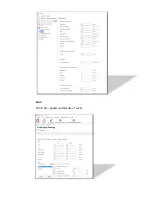
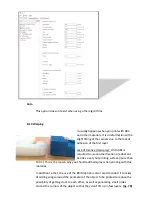
Page 24: ...On the Printer tab adjust the parameters as shown ...
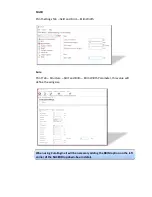
Page 25: ...On the Extruder tab adjust the parameters as shown ...
Page 29: ......
Page 30: ......
Page 34: ......
Page 35: ......
Page 36: ......
Page 37: ......
Page 38: ......
Page 53: ...Show Entirely Show One Layer ...
Page 54: ...Show Range of Layers ...


