


22
3D Systems, Inc
.
8 . (
1
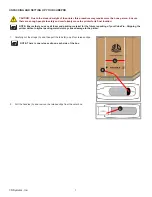
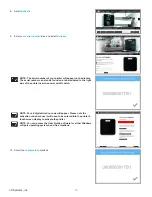
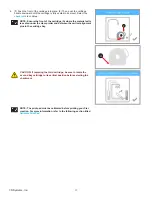
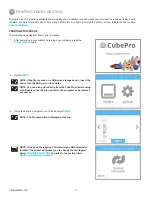
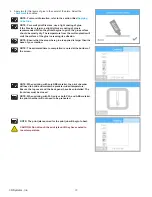
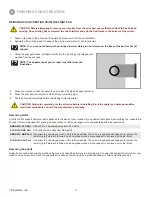
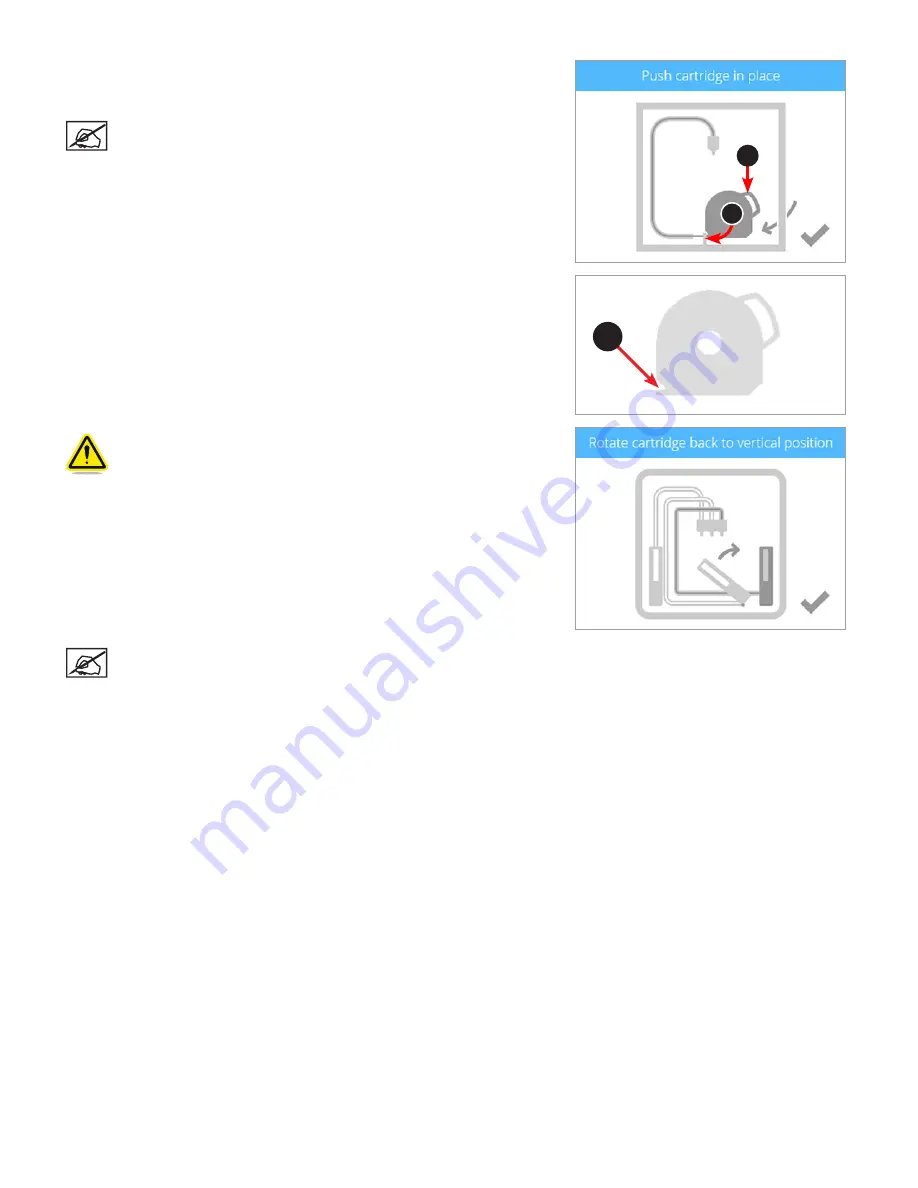
) Push the front of the cartridge into place . (
2
)
Then, push the cartridge
handle downward until the cartridge is fully seated in its mount . Select the
checkmark
to continue .
NOTE: Ensure the front of the cartridge (A) where the material exits
is seated under the clamp roller and between the vertical alignment
pins in the cartridge bay .
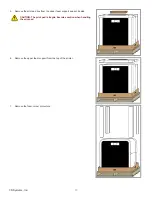
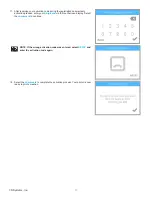
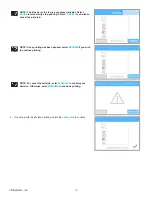
CAUTION: If replacing the third cartridge, be sure to rotate the
second bay cartridge to its vertical position before selecting the
checkmark .
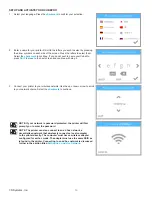
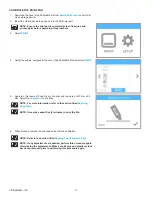
NOTE: The print pad must be calibrated before printing your first
creation . For more information, refer to the following section titled
Calibrate Print Pad
.
A
1
2


