


14
INSTALLING MATERIAL CARTRIDGE
NOTE: The REPLACE functions will take you through the process of installing the material cartridge.
1 . Press REPLACE on the touchscreen and select the bay that the cartridge will be
installed . Print Jet 1 represents bay 1, Print Jet 2 represents bay 2 and Print Jet 3
represents bay 3 . Press “Next” on the touchscreen, a message “Heating Print Jet
Please Wait…” will appear on the control panel . (Fig . 31)
CHECKING THE Z-GAP BETWEEN THE PRINT JET TIP AND THE PRINT PAD
CAUTION: Do not overdrive the print jet tip into the print pad. Doing so can cause damage to the print jet.
NOTE: If more than one print jet is equipped on your CubeX, use the first print jet to set the gap.
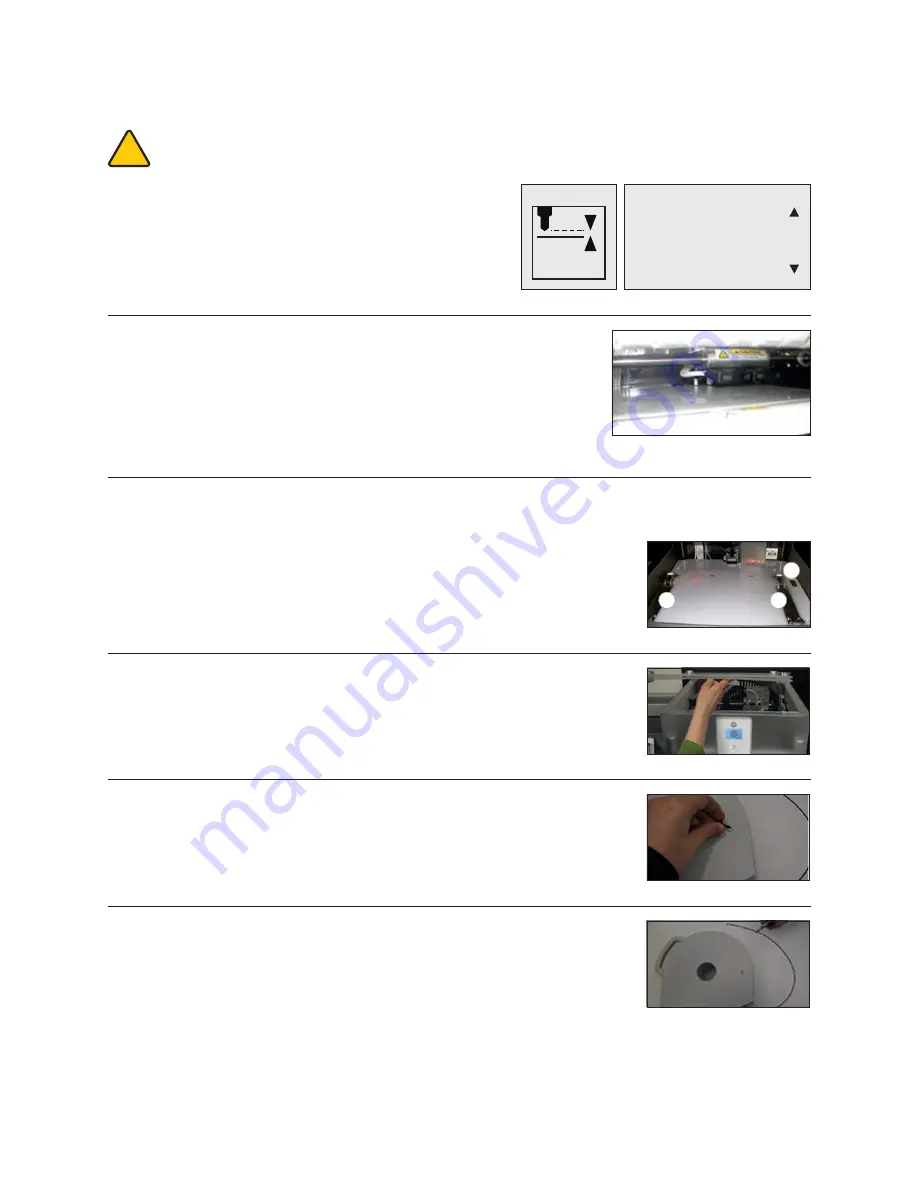
1 . Scroll to “Z GAP” using the arrows on the touchscreen . Select
Z GAP and using the “Up / Down” arrows, move the print pad
up so that it is just touching the tip of the print jet . (Fig . 28 &
29)
!
Fig . 28
Fig . 29
Fig . 30
Fig . 32
Fig . 31
Fig . 33
Fig . 34
1
3
2
2 . Using the “Down” arrow, lower the printpad down by 0 .1 from the print jet tip .
Click on the Control button, the next screen will allow you to save the setting .
Click on the check mark to save or the X to cancel the setting . (Fig . 30)
2 . If the top cover is on, remove cover from the CubeX by lifting up . (Fig . 32)
3 . Remove the thumbscrew from the new cartridge and retain thumbscrew to use when
storing the used cartridge that has material inside . This will prevent the material from
unraveling when stored . (Fig . 33)
4 . Pull 300mm (11”) of material from the new cartridge .
5 . Cut 50mm (1.5”) from the end of the filament. (Fig. 34)
Z GAP
Z
SET Z HEIGHT
Offset:-19.82


