3D Systems, Inc.
16
8.
Go to Settings by clicking
Settings
to register the position of the connected scanners.
9.
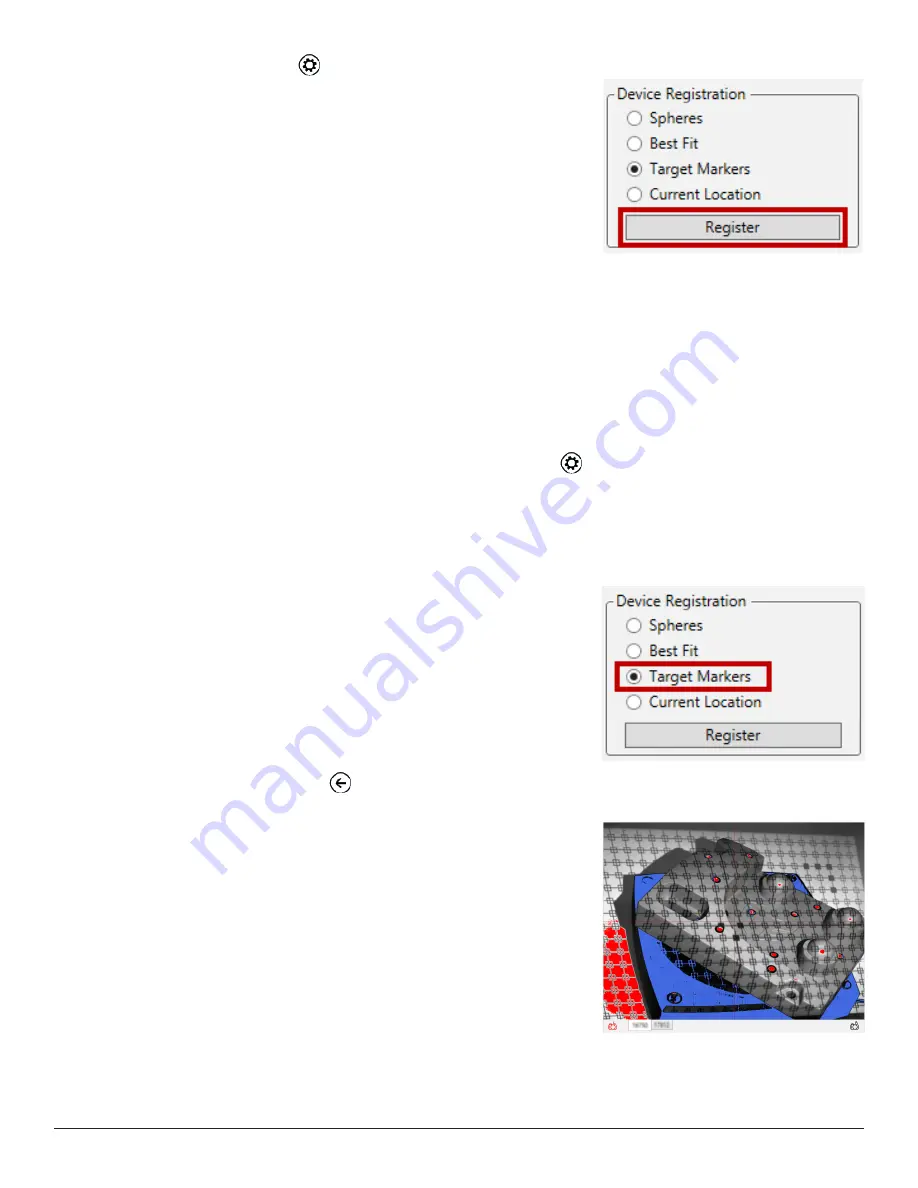
In the Device Registration, select the
Target Markers
registration method, then click
Register
.
10. Once the registration process is completed, you will receive a “
Registration successful
” message. Check the results and click
OK
to accept the registration results.
Note: If the registration failed, you can manually align scans in your Geomagic application, and then in Geomagic
Capture use the current position to register the position of the scanners.
Perform the following steps to manually update transforms:
a) Click
Accept
(or
OK
) to keep the scans.
b) Go to the alignment command provided in your Geomagic application.
c) Manually align the scans by using the alignment command.
d) Enter the scanning command, then go to Settings by clicking
Settings
to update the transforms to the application.
e) In the Device Registration, select
Current Location
, then click
Register
to update the transforms that has been
created from the last scan alignment.
The alignment results will be updated and used for later scanning.
In the Device Status, check the registration status in each device if it says
OK
.
11. Check if the Target Markers registration method is selected.
12. Go back to Scan menu by clicking
Back
.
13. Reposition the part and click
Scan
to take another scan.
Note: Keep in mind that at least four target markers must be visible to cameras
in the connected scanners, and that scan alignment requires that at least four
target markers are found between scans. While capturing multiple scans, do
not rotate or move the part too far, so that the scanner is unable to match target
markers between consecutive scans for alignment.
14. Continue scanning until the project is completed and click
Accept
(or
OK
) in your application.


