


3D Systems, Inc.
34
p/n 76-D020 Rev. A
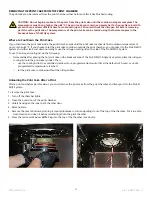
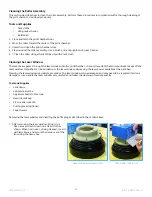
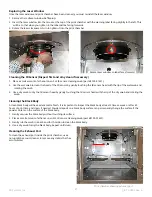
Cleaning the Roller Assembly
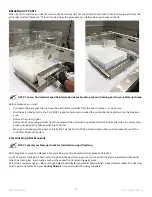
This section describes how to clean the roller assembly . Perform these procedures in conjunction with a thorough cleaning of
the print chamber, described previously .
Tools and Supplies
•
Tack cloths
•
Lab-grade ethanol
•
Bottled air
1 . Close and latch the print chamber door .
2 . Move the roller toward the center of the print chamber .
3 . Unlatch and open the print chamber door .
4 . Clean around the roller assembly . Use a brush and a non-ignition vacuum cleaner .
5 . * Clean the roller using ethanol . Wipe dry with a tack cloth .
Cleaning the Laser Window
The laser beam passes through the laser window into the print chamber . It is very important that all impurities are kept off the
laser window . Impurities can be burned onto the laser window, decreasing the laser power available at the print bed .
Cleaning the laser window is a delicate procedure . The laser window can be damaged and may need to be replaced if serious
damage occurs . Handle the laser window very carefully and follow the cleaning procedure exactly .
Tools and Supplies
•
Lens tissue
•
Lab-grade acetone
•
Applicator bottle for acetone
•
Dawn liquid soap
•
2 .5 mm Allen wrench
•
Cotton gloves (optional)
•
Paper towels
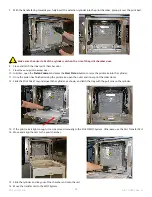
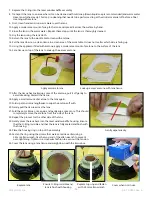
Removing the laser window and inserting the baffle plug as described in the section above.
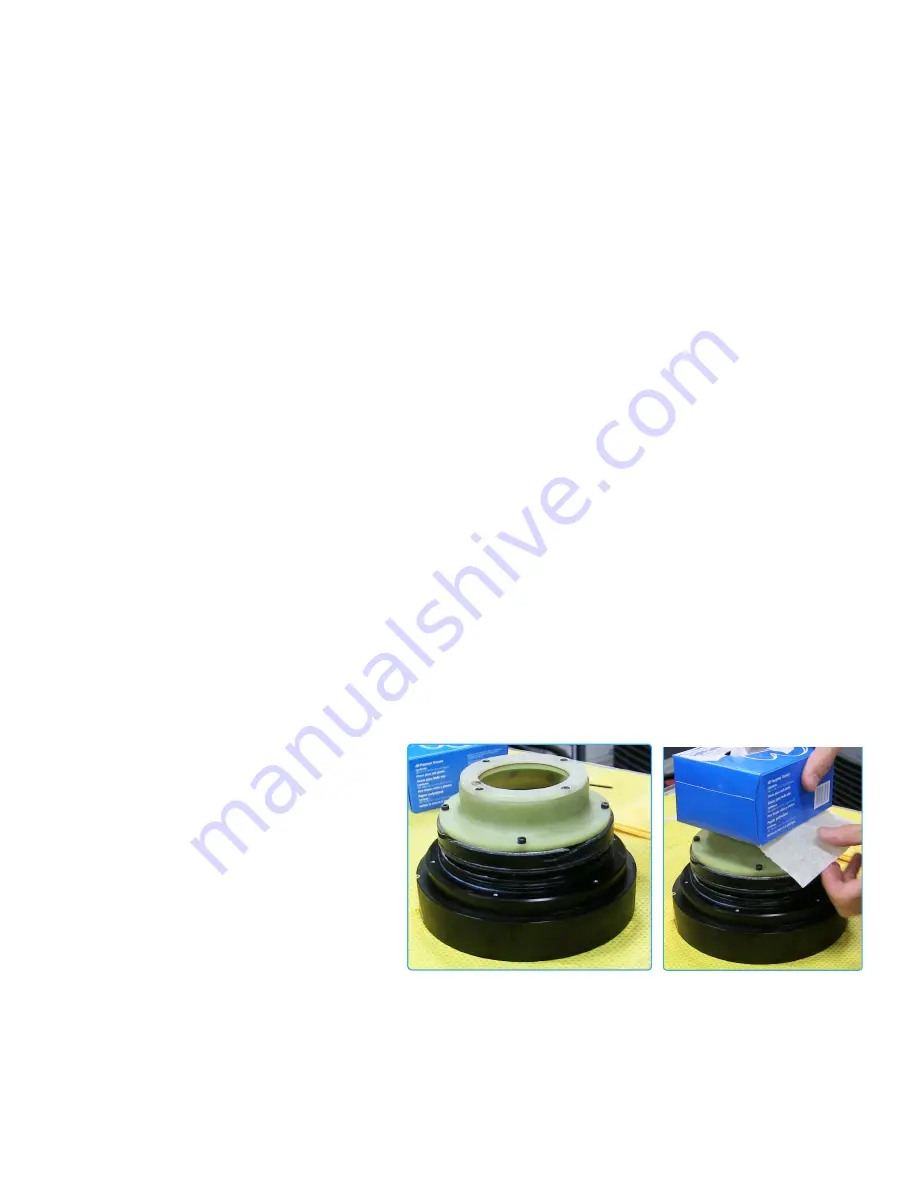
1 . After removing the laser window, bring it to a
clean area and set it down on a clean cloth as
shown . When not in use or being cleaned, cover it
with lens tissue and secure the tissue over of the
lens using the tissue box .
Laser window on clean cloth
Cover when not in use


