3dscentral.3dsystems.com
7
3. Setup Your Build And Print
Now that your printer is clean, you need to open up the 3D file
using ZPrint, and select your printing parameters.
1.
If you have not already done so, start ZPrint and select
File
> Open
. Choose a file to print.
2.
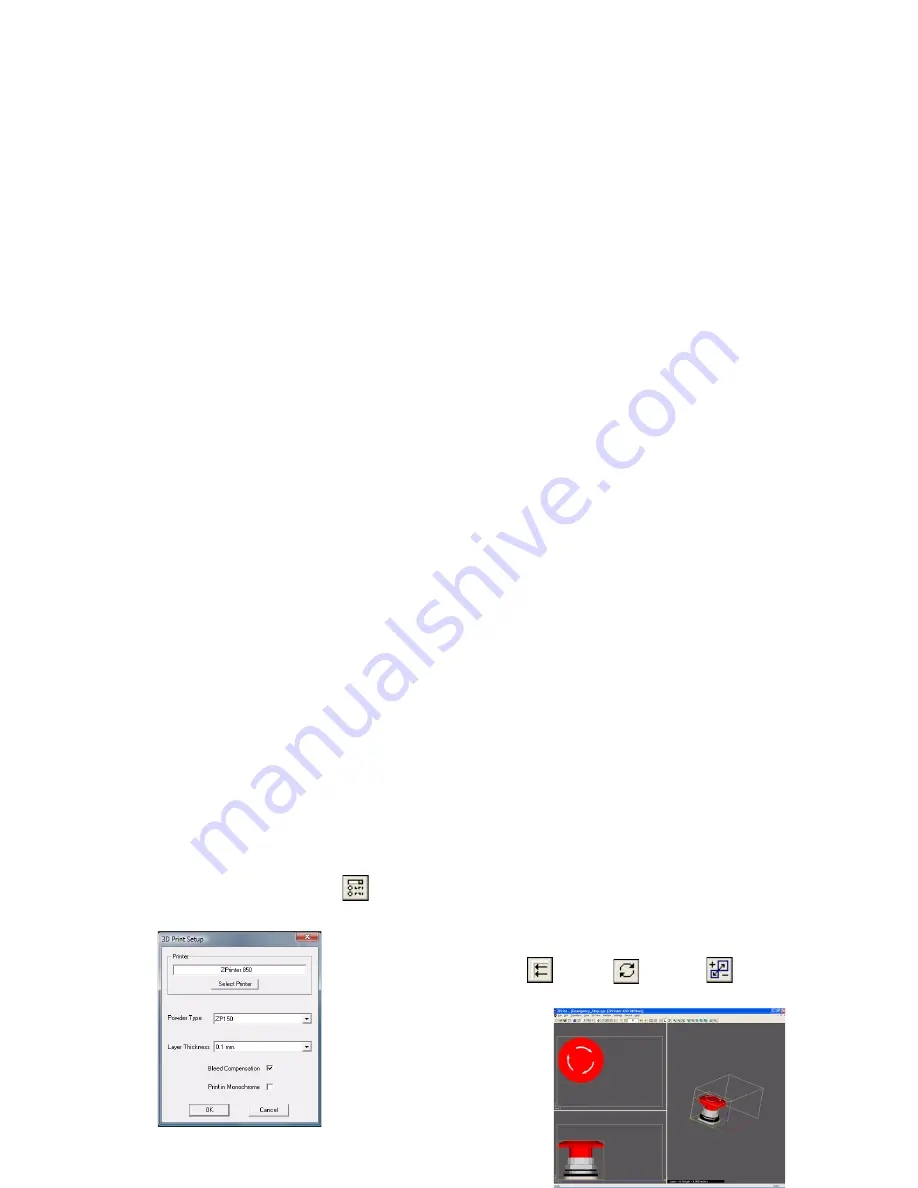
Check your printer settings.
•
Select
File > 3D Print Setup
, or click
on the Tool-
bar to open the
3D Print Setup
dialog.
•
Check your
Printer Selection
, the
Powder Type
(zp150) and
Layer Thickness
setting (0.004” or
.1mm).
•
Check the
Bleed Compensation
option, if it isn’t
checked already.
•
If you want to print all in one color, check the
Print in
Monochrome
option.
•
Click
OK
.
3.
ZPrint orients the part in the Build Bed for the fastest print
time. If you need to transform the part prior to printing, you
have a couple of options, otherwise proceed with
Step 4
.
•
In the Top or Side views of ZPrint, select the part (left-
click on the part), then drag and drop it to a new posi-
tion.
•
In any ZPrint view, select the part and use the
Justify
,
Rotate
, or
Scale
features to change
the orientation, or scale of the part.


