

Assembly 3D-Printer » Calibration of the Extruder
Version 1.0
23 von 25
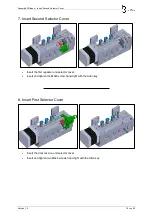
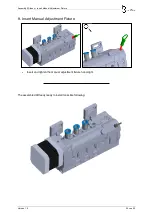
5.
Calibration of the Extruder
•
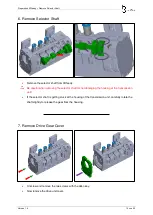
If you unplugged the extruder drive motor cable from the mainboard for installing the extruder
motor, replug it to the mainboard.
Make sure the 3D-printer is disconnected from the power supply.
i
Make sure to use the right plug on the mainboard.
•
Plug in the 3D-printer to the power supply.
•
Calibrate the extruder steps using the document “3Dfeedy Calibration Instruction Manual”.
i
As there are many different options for different 3D-printers, several different possibilities are
described in the document “3Dfeedy Calibration Instruction Manual” for the determination of the
correct value for the E-steps, for the saving of the settings to your 3D-printer as well as for
reversing the rotation direction.
i
Although we have used our best efforts to create this document, there is a small possibility that
your exact configuration is not covered, so please let us know and we will give our best to cover
those cases as well.
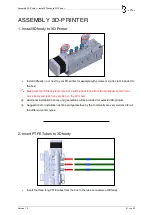
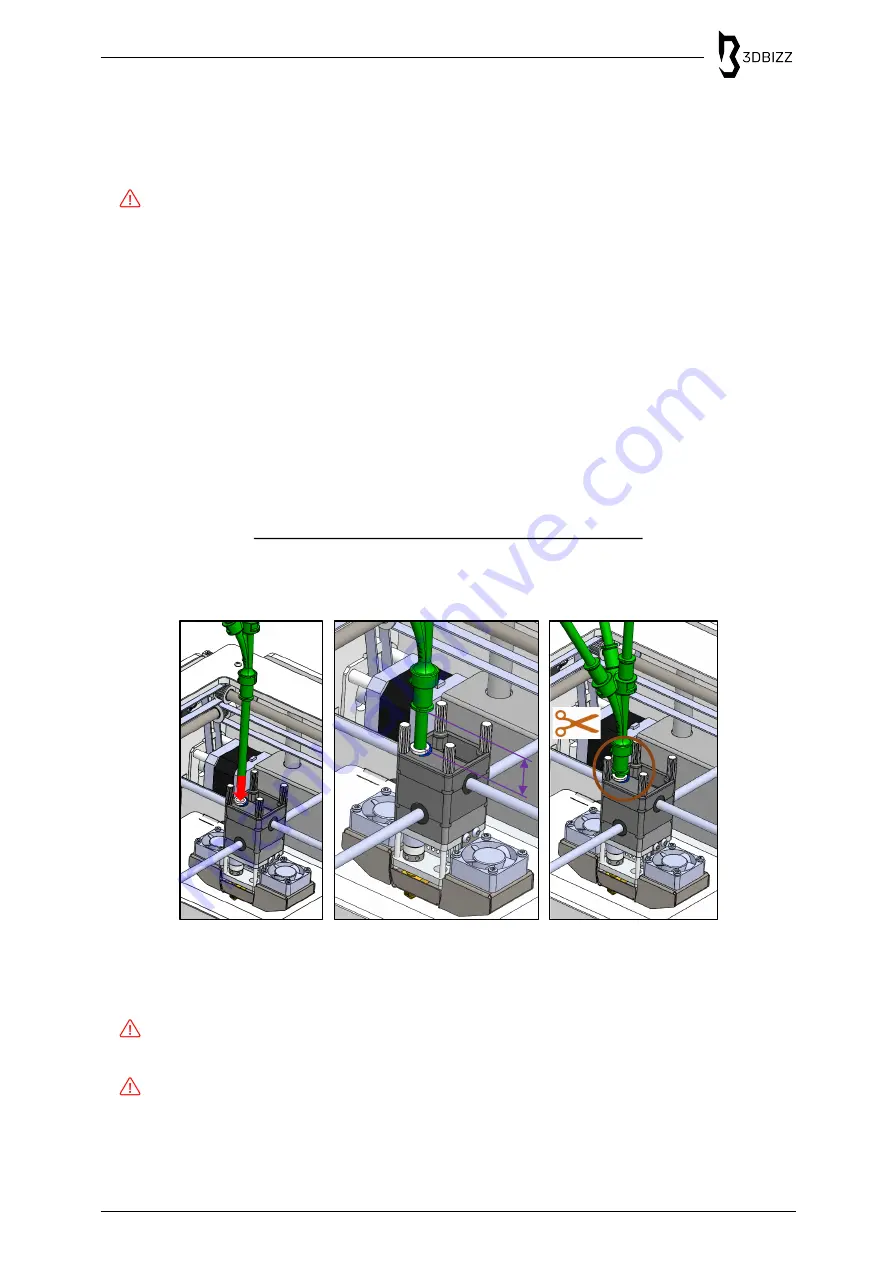
6.
Insert PTFE Tube to Printhead
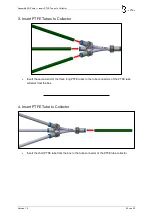
•
Insert the second end of the short PTFE tube to the connector of your printhead.
•
Measure the shortest distance of the connector on your printhead and the tube connector of the
PTFE tube connector.
Make sure the PTFE tube is fully inserted to the printhead.
•
Remove the PTFE tube from the printhead.
For unplugging the PTFE tube, usually a release button has to be used.
•
Cut off the measured length on the short PTFE tube and reinsert the PTFE tube to the
printhead.
l


