LEVELING THE PRINT BED
Prior to first printing is imperative to check for correct nozzle height.
IMPORTANT
: improper height will result in a fail print or damaged glass and/or nozzle.
Setting the build to low and the filament will not stick to the build plate, setting it too high the nozzle will be blocked and the
filament will jam.
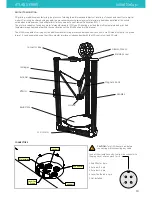
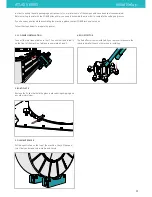
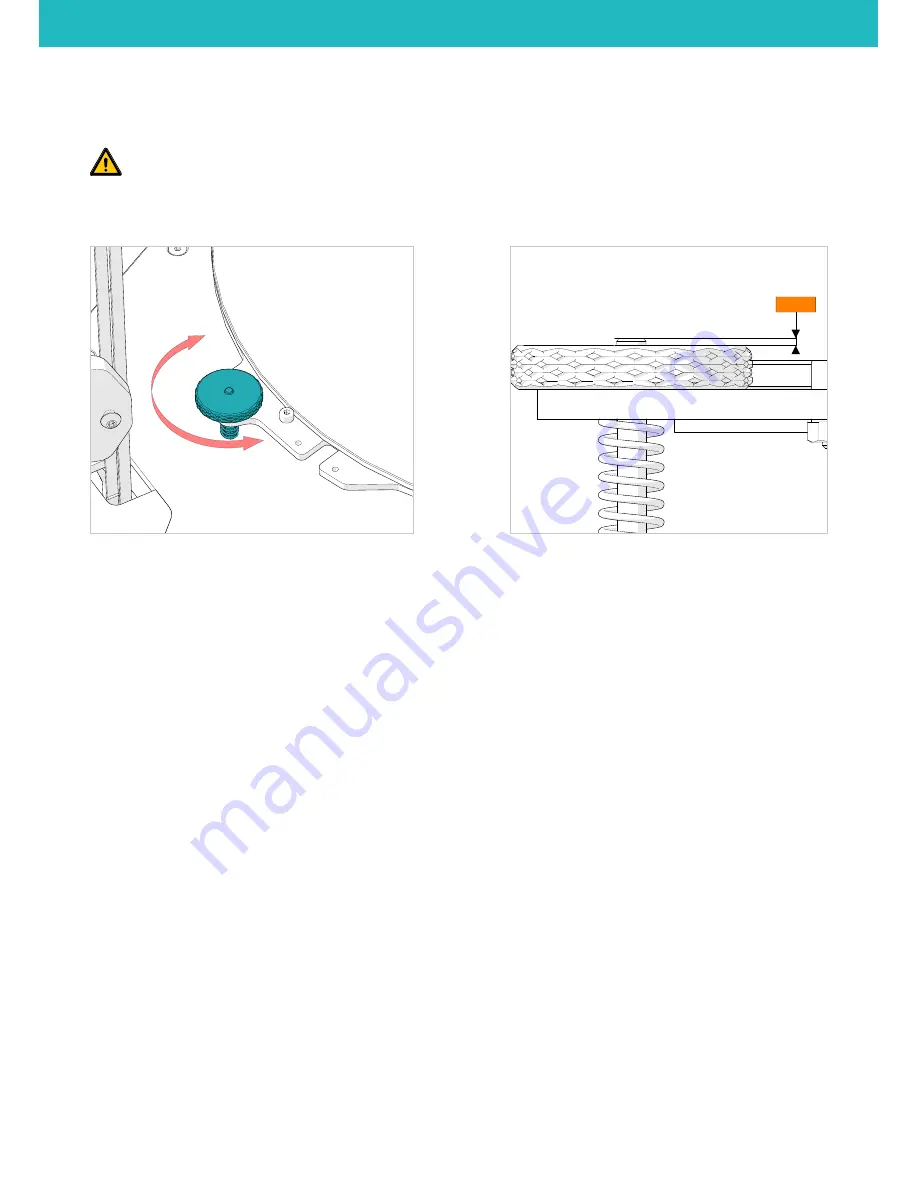
To change the height of the build plate use the three knobs. Turn clockwise to lower the build plate and counteclockwise to raise it.
1. Each regulation knob must have the screw above the knob of 1mm. This will give enought room for regulation up and down later.
2.
Home the effector so the printer know its position in space :
LCD > PREPARE > HOME ALL AXIS
3.
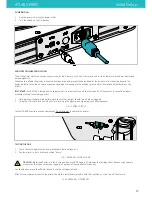
With a piece of regular paper on the build plate move the effector down until you get the nozzle near the glass barely pinching the
paper. Go down until you can feel slight resistance while sliding the paper, for fine adjustment you can select finer jog increments
LCD > JOG > MOVE 1mm > MOVE Z
4. Tell the printer how far in Z is the build plate from home position:
LCD > CUSTOM > SET Z0
Now the printer will home and store the new height information ( into Config Override file on the internal memory )
5.
Move the effector to Z0
LCD > CUSTOM > CALIBRATE CENTER
6. Check and correct build plate height at each tower beginning with the alpha tower
LCD > CUSTOM > CALIBRATE ALPHA
LCD > CUSTOM > CALIBRATE BETA
LCD > CUSTOM > CALIBRATE GAMMA
7.
Repeat step 6 to refine the calibration as each regulation affects the others two
To maximize adhesion It is reccomended to fine adjust the bed height regulation on the fly when printing first layer.
Take into account temperature varations, for best result calibration should be run with a hot machine as elements change dimensions
with temperature.
1,00 mm
ATLAS SERIES
Initial Setup
14


