background image

3Dconnexion Keyboard Pro with Numpad | 6 

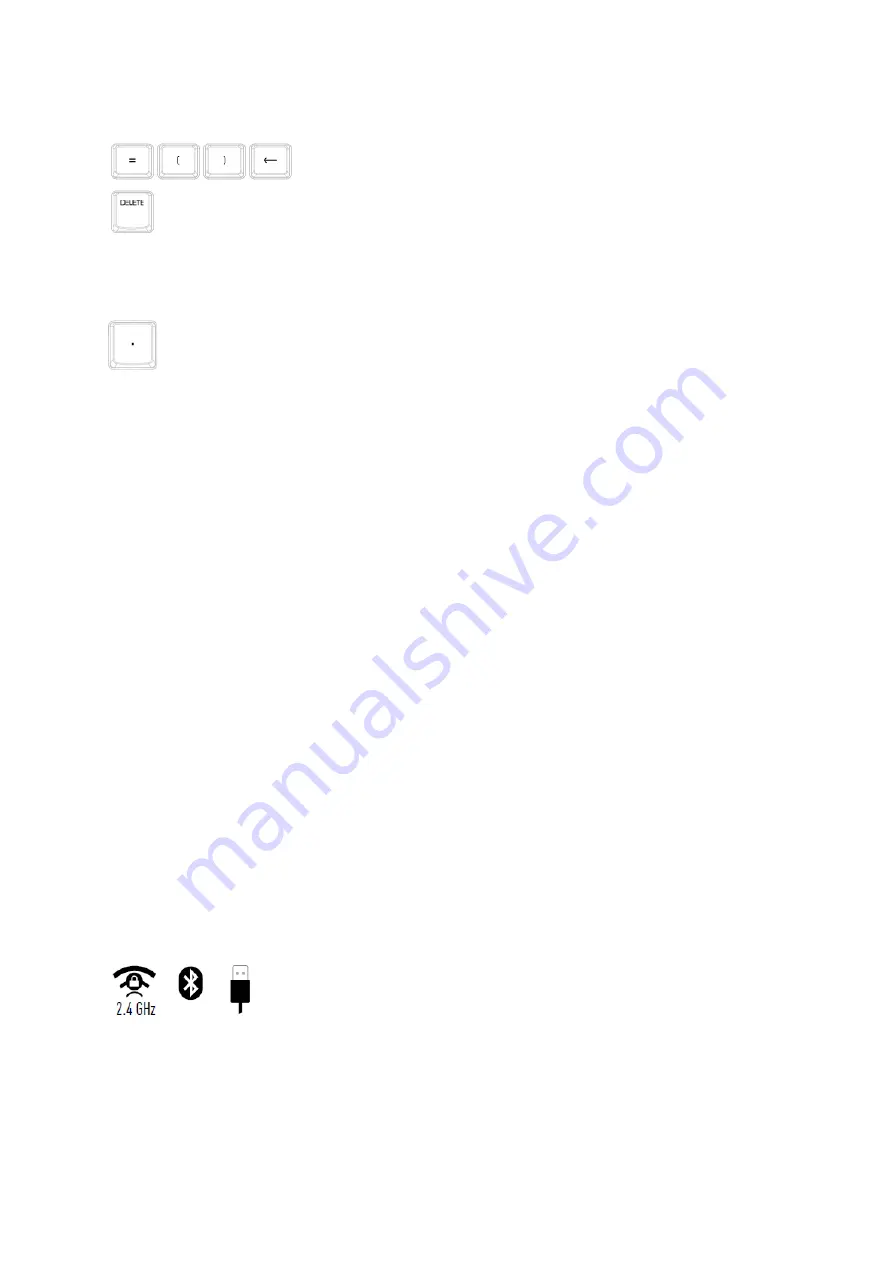
Globally Programmable Keys


In addition to the 3Dconnexion Keys, your Numpad Pro provides  five  Globally 
Programmable Keys, whose function remains the same system-wide (no matter in 
which application you are currently working). They can be easily personalized in the 

3Dconnexion Settings

.  


Decimal Separator 

You can adjust the Decimal Separator of your Numpad Pro to suit your preferences in the 

3Dconnexion Settings


Status LED 

The Numpad Pro features a status LED that shows the battery status and the connection status as well. 


Battery status: 
Immediately after turning on the device or after wake-up from sleep, the LED will show the current charge level: 

Green


The Numpad Pro is sufficiently charged. 

Red


The Numpad Pro has less than 10% charge and requires charging.  


Pairing and connection status: 
After the battery status is displayed, the device will show the current connection and pairing mode. 

- White (steady) 

Successfully connected in 3Dconnexion wireless mode. 

- White (pulsing) 

Ready for 3Dconnexion wireless connection.  

Blue

 (steady) 

Successfully connected in Bluetooth mode. 

Blue

 (pulsing) 

Ready for Bluetooth connection. 

After the device has been successfully connected, the LED turns off. 


Charge your Numpad Pro 

Connect your Numpad Pro to a charging port on your computer by using the included USB cable. As long as the Numpad Pro is 
charging, the status LED will flash green and it will turn solid green when it is fully charged.  


Connect your Numpad Pro 

The Numpad Pro can be connected via your Keyboard Pro, Bluetooth

®

 (Swift Pair included) or 

USB cable. The wireless connection between your Keyboard Pro and your Numpad is always 
encrypted in order to ensure the security of your data. 

 
Note: Since your Numpad is factory paired with the Keyboard, you must first remove this connection, before you can pair it via 
Bluetooth. This can be done by opening 3Dconnexion Settings, selecting the Keyboard Pro and going to 

Paired Devices

Afterwards turn on the device and the status LED on your Numpad Pro will start flashing blue. Next, make sure Bluetooth is 
active on your PC and in discover mode. Now choose your device from the list and pair it to your PC.  

Summary of Contents for Keyboard Pro with Numpad

Page 1: ...Manual 3Dconnexion Keyboard Pro with Numpad Driver Version 3DxWare 10 8 0 and higher ...

Page 2: ...ature Guide 4 3Dconnexion Keyboard Pro 4 3Dconnexion Numpad Pro 5 3Dconnexion Settings 7 Advanced Settings 8 Buttons 9 Assigning Quick Macros to buttons 9 Assigning Commands using the flyout window 10 Creating Macros 10 Creating Radial Menus 11 Paired Devices 11 3Dconnexion Home 12 Technical Specifications 13 ...

Page 3: ...posite side of your CadMouse Installation 1 Connect Make sure the Keyboard Pro is connected to an USB port of your PC 2 Turn on the Numpad Pro Turn on the device with the power switch located on the right rear side of the Numpad 3 Download and install the latest software package Make sure you have the latest 3Dconnexion software installed The latest version can be downloaded at 3dconnexion com dri...

Page 4: ...y After installing the driver the On Screen Display OSD will appear on your desktop providing a convenient visual reminder of the commands assigned to the 3Dconnexion Keys You can easily drag and drop the OSD to a different position where it is more convenient e g on the taskbar near the systray FN Key Press the FN Key to control the Media Keys Press and hold the FN Key to assign a set of convenie...

Page 5: ...ou connect the 3Dconnexion Numpad and up to five additional 3Dconnexion devices of the SpaceMouse and CadMouse product lines to your PC Open the 3Dconnexion Settings panel click on the Paired Devices button and follow the instructions 3Dconnexion Numpad Pro 3Dconnexion Keys The Numpad Pro features four additional programmable function keys located above the standard keys It instantly recognizes th...

Page 6: ...eless mode White pulsing Ready for 3Dconnexion wireless connection Blue steady Successfully connected in Bluetooth mode Blue pulsing Ready for Bluetooth connection After the device has been successfully connected the LED turns off Charge your Numpad Pro Connect your Numpad Pro to a charging port on your computer by using the included USB cable As long as the Numpad Pro is charging the status LED w...

Page 7: ...the icon in your notification area systray or the Windows start menu The name of the active application is displayed at the top of the panel Any setting change is relevant to this application only If multiple 3Dconnexion devices are connected you can select the desired product to configure by clicking on the flyout button at the top left of the panel ...

Page 8: ... repeat delay the time between when you press and hold a key and when the computer detects the keystroke as multiple keystrokes and the repeat rate the speed at which the computer outputs the multiple keystrokes In the field below you can test your changes Disabled Keys Caps Lock by checking this box the Caps Lock Key is deactivated Windows by checking this box the Windows Key is deactivated Inser...

Page 9: ...tivity Some applications feature environment sensitive key mapping In those applications you can have different key assignments depending on the current active environment Numpad Pro Decimal Separator You can decide whether the decimal separator is automatically selected based on the system settings or whether you manually choose the Comma or Dot setting for a certain application Assigning Quick M...

Page 10: ...ands in different categories such as 3Dconnexion or application commands When you select a command by clicking on it it is automatically assigned to the Keyboard Numpad key Creating Macros First click on the arrow on the right hand side of the key field then expand the Macro category and click on New Macro This opens the macro editor where you can assign a name for your macro and a sequence of key...

Page 11: ...menu will be automatically assigned to the key from where you opened the panel Paired Devices As your Keyboard Pro has an integrated 3Dconnexion Receiver you can connect the 3Dconnexion Numpad and up to five additional 3Dconnexion devices of the SpaceMouse and CadMouse product line via the Paired Devices panel First click the Add Device or button then choose your device and follow the instructions...

Page 12: ...or all 3Dconnexion products Settings Open the settings panel to customize your 3Dconnexion devices Viewer Use the 3Dconnexion Viewer to review 3D models Collage 3Dconnexion Collage lets you create high resolution picture collages with your SpaceMouse Demo Test and practice your skills by assembling the landing gear of an aircraft Registration Register your product after the installation to benefit...

Page 13: ... Weight 250 g 0 55 lb 8 8 oz Battery 3Dconnexion Numpad Pro Rechargeable lithium polymer battery with a capacity of 350 mAh Supported Operating Systems Microsoft Windows More information Package Contents 3Dconnexion Keyboard Pro 3Dconnexion Numpad Pro 3Dconnexion Cable USB A USB C 1 5m Certifications and Registrations CE UKCA EAC FCC RCM WEEE RoHS EU REACH SVHC RoHS CN More information Warranty 3 ...

Reviews: