3DGence INDUSTRY F340 | 49
version 1.0/07.2017
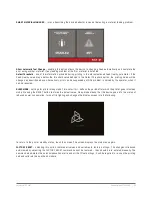
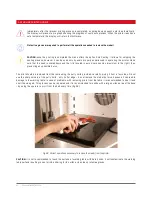
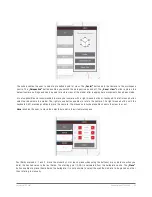
7. Close the extruder, paying special attention to proper filament positioning in the knurl groove.
8. The printer starts automatically heating of the working head. Once the preset material temperature is obtained, the
process of filament loading starts automatically.
9. Watch carefully the active head nozzle. When the new material starts flowing from the head, confirm it by pressing
the „Continue” key.
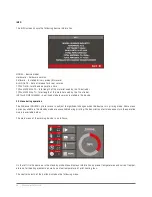
10. Confirm the successful installation of new material by pressing „Yes”. If the material is not loaded successfully, select
the option „No”, and follow the instructions provided on the display.
4.1.1. Material installation is unsuccessful
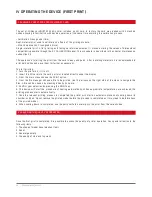
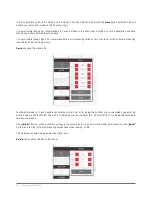
1. Open the extruder.
2. Remove manually the whole filament length inserted in the head. If necessary, clean the knurl surface.
3. Repeat the procedure of material loading. Make sure that the end of the filament is not deformed. Cut it at an angle of
45 degrees to make material loading easier.
4.2. Removing the material
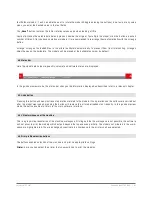
1. Printer bed positions automatically in its central position. Prior to starting the procedure make sure that it is empty.
2. Cut the material right in front of the filament cleaner at an angle of 45 degrees. Remove the spool from the holder.
Please remember to store the filament in a dry place not exposed to sunlight.
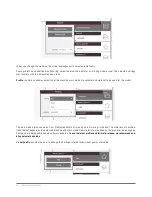
3. The printer will start heating the active head. Once the appropriate temperature is obtained, the process of material
unloading starts automatically. At the beginning the material is extruded – it will make easier to retract the material from
the head at the next step.
4. Open the extruder and remove the remaining filament by hand. Confirm successful operation by pressing the „OK” key.
Summary of Contents for INDUSTRY F340
Page 1: ...USER MANUAL 3DGence INDUSTRY F340 ...
Page 2: ...2 3DGence INDUSTRY F340 ...
Page 39: ...3DGence INDUSTRY F340 39 version 1 0 07 2017 ...
Page 43: ...3DGence INDUSTRY F340 43 version 1 0 07 2017 ...
Page 86: ...86 3DGence INDUSTRY F340 ...
Page 87: ......

