52 | 3DGence INDUSTRY F340
3. REMOVING PRINTED MODELS
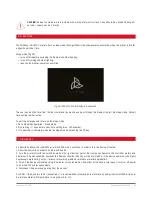
Immediately after the relevant printing process is completed, a cooling down sequence starts automatically.
The display will present a pie graph showing the progress of cool down process. When the printer reaches a
safe temperature, the display will return to MAIN menu.
Protective gloves are required to perform all the operations needed to remove the model!
CAUTION:
once the printing is completed the menu offers the option Skip Cooling. It allows for skipping the
cooling process, however it can be used only by users properly experienced in operating the printer. Make
sure that the head is cooled down and that it is located in axis X zero position (maximum to the right), thus
preventing any possible burns.
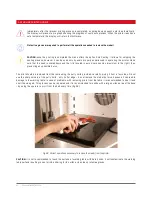
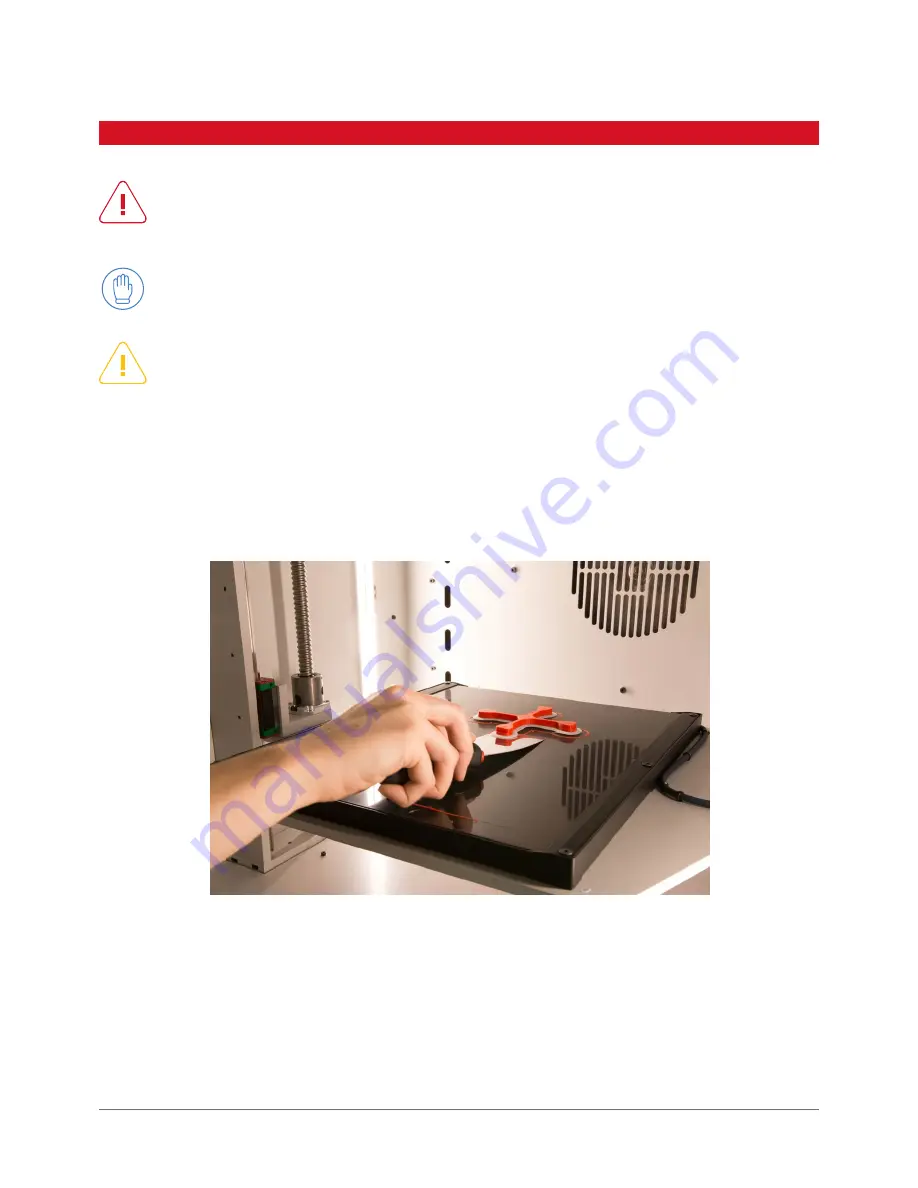
The print should be removed from the table using the putty knife provided, carefully prying it from a few sides. Do not
use the sharp corners of the putty knife – only its flat edge – do not remove the model by force, because it can lead to
damage to the working table. In case of problems with removing prints from the table it is recommended to heat it and
cool it down again. This process can be repeated and it is recommended for solids with a large surface area of the base
– by using the spatula to pry it from the bed every time (fig. 28).
CAUTION:
it is not recommended to touch the surface of working table with bare hands. It will contaminate the working
table surface resulting in next prints adhering to its surface. Use clean protective gloves.
Fig. 28. Correct operations necessary to remove the model from the printer.
Summary of Contents for INDUSTRY F340
Page 1: ...USER MANUAL 3DGence INDUSTRY F340 ...
Page 2: ...2 3DGence INDUSTRY F340 ...
Page 39: ...3DGence INDUSTRY F340 39 version 1 0 07 2017 ...
Page 43: ...3DGence INDUSTRY F340 43 version 1 0 07 2017 ...
Page 86: ...86 3DGence INDUSTRY F340 ...
Page 87: ......


