PANNORAMIC® SCAN RX 1.1
INSTALLATION
NOVEMBER 18, 2021
28
FOR RESEARCH USE ONLY. NOT FOR USE IN DIAGNOSTIC PROCEDURES.
Warning!
Only connect external devices that are safety extra low voltage rated to the instrument to
avoid the risk of electrical shock.
2.4
Coupling the Lumencor SOLA U-NIR unit with the scanner
To operate the Lumencor SOLA U-NIR fluorescent illumination unit, it has to be connected
to the Pannoramic® SCAN RX base unit.
1.
Turn the control computer and the Pannoramic® SCAN RX unit off.
2.
Connect both ends of the fiber optic cable to the coupling ports of the scanner and the
illumination unit (see
Figure
2
–
option A
in chapter
3.
Connect the power supply cables of both the scanner and the illumination unit.
2.5
Coupling the Lumencor Spectra 6 unit with the scanner
To operate the Lumencor Spectra 6 Light Engine fluorescent illumination unit, it has to be
connected to the Pannoramic® SCAN RX base unit, the camera, and the control computer.
1.
Turn the control computer and the pco.edge 4.2 bi camera off.
2.
Attach Lumencor SPECTRA 6 fluorescent illumination unit to the coupling adapter of the
Pannoramic® SCAN RX scanner (see
Figure
2
–
option B
in
chapter
3.
Connect power supply cables of both the scanner and the illumination unit.
4.
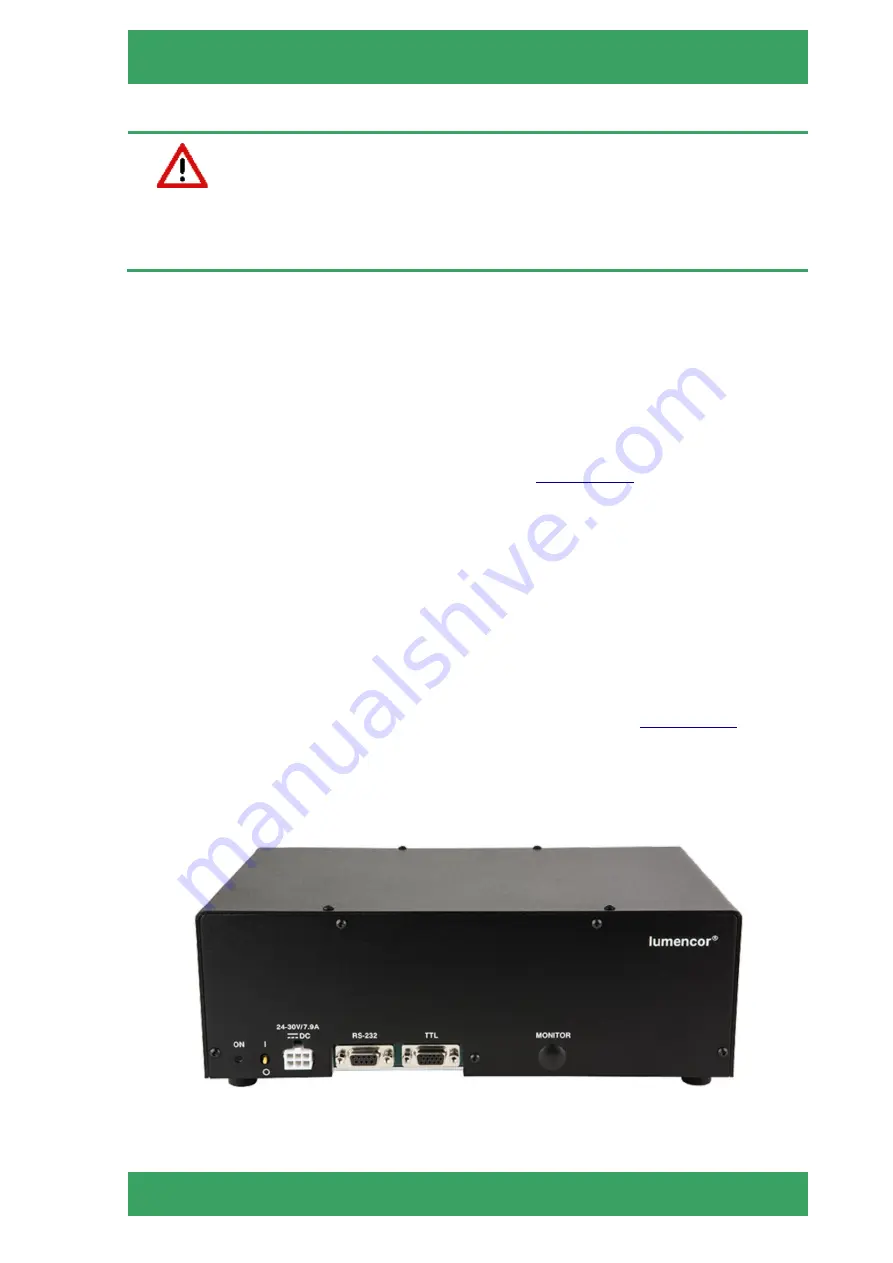
Connect TTL trigger cable between pco.edge 4.2 bi camera (out 4) and the Lumencor
SPECTRA 6 unit (TTL port), and USB-to-RS232 communication cable between the
Lumencor SPECTRA 6 unit and the computer.
Figure 5. Lumencor SPECTRA 6 Light Engine connecting ports


