THERMAL GIMBAL FOR 3DR SOLO MANUAL
Attaching the Gimbal
10
ATTACHING THE GIMBAL ASSEMBLY TO THE 3DR SOLO:
Attaching the Gimbal to the 3DR SOLO:
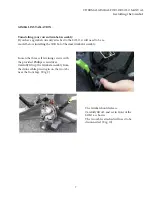
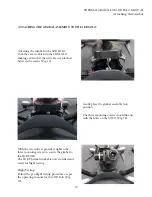
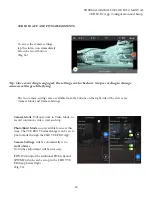
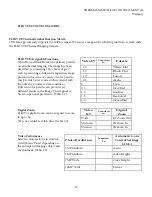
Tuck the excess cable into the 3DR SOLO
making certain that the wires are not pinched
between the seams. (Fig. 17)
With the screwdriver provided, tighten the
three mounting screws to secure the gimbal to
the 3DR SOLO.
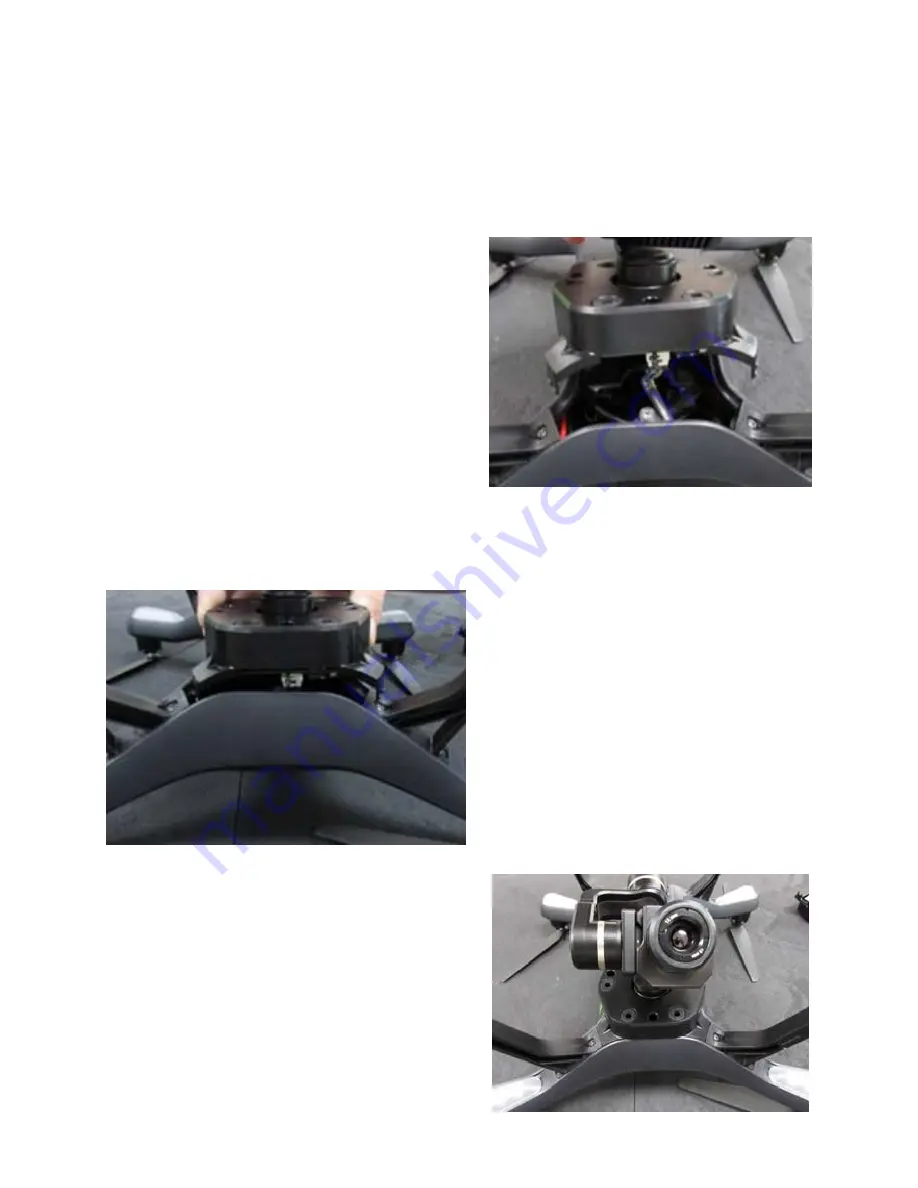
The 3DR Thermal Gimbal is now installed and
ready for flight testing.
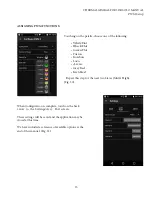
Flight Testing:
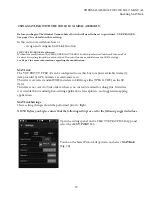
Follow the pre-flight testing procedures as per
the operating manual for the 3DR Solo. (Fig.
19)
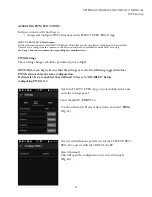
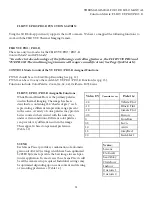
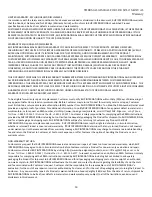
Gently place the gimbal assembly into
position.
The three mounting screws should line up
with the holes on the SOLO. (Fig. 18)


