4
THERMAL GIMBAL FOR 3DR SOLO MANUAL
FLIR VUE/VUE PRO Installation
CONNECTING THE GIMBAL TO THE VUE/VUE PRO SERIES THERMAL CAMERAS:
In this section we will show how to:
•
Connect the FLIR VUE Thermal Camera to the Gimbal
•
Connect the FLIR VUE PRO / PRO-R Thermal Camera to the Gimbal
NOTE: THE VUE SERIES CAMERAS SHOULD BE INSTALLED TO THE GIMBAL BEFORE
ATTACHING THE GIMBAL TO THE 3DR SOLO.
Before installing the camera to the Gimbal, please remove the battery and any other power source
that may be connected.
FLIR VUE PRO-R USERS:
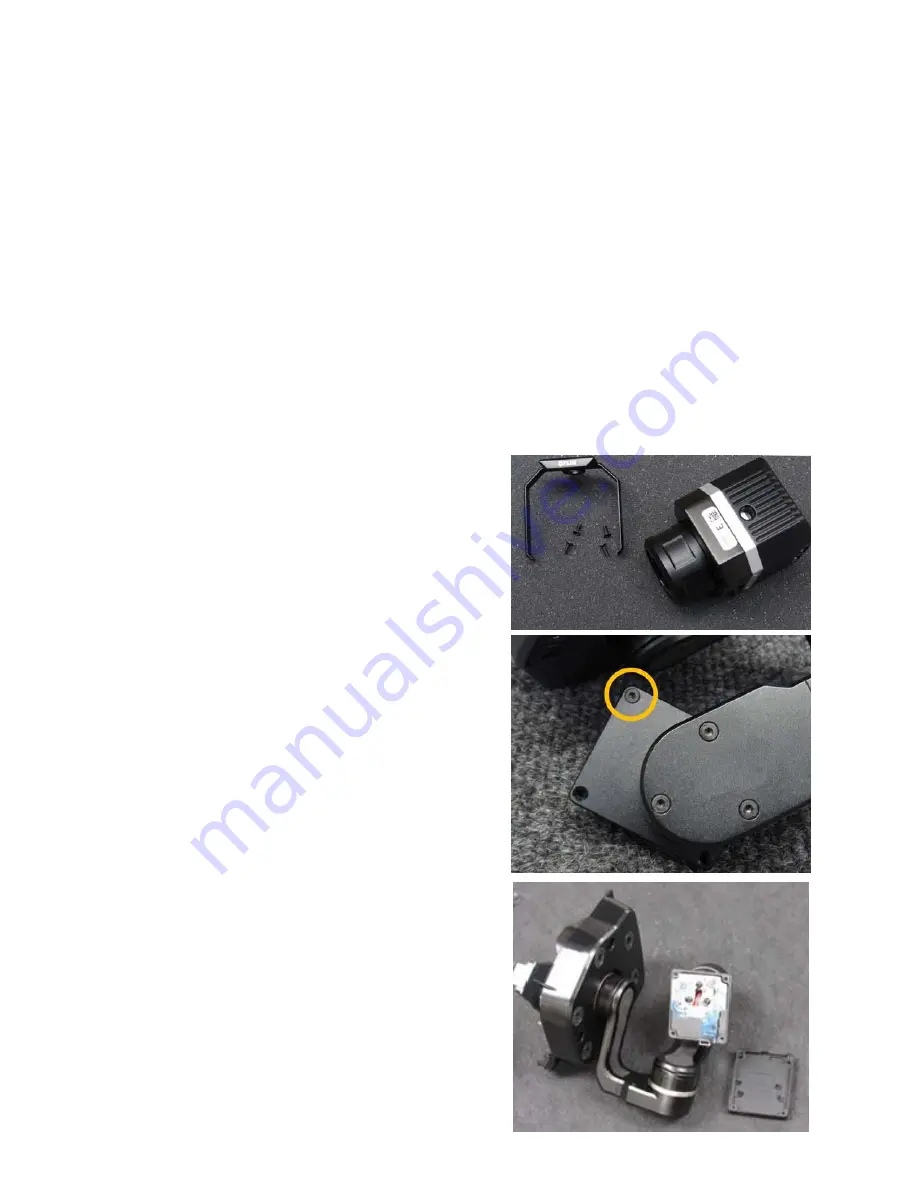
Before you begin, please remove the FLIR
band attached to the outside of the Thermal
Camera. There are four allen screws. Store in
a safe place for future use.(Fig. 1)
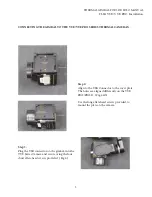
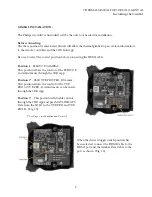
There are three steps for attaching the FLIR VUE
Series Thermal imaging camera to the Gimbal.
Step 1:
With the supplied allen key, detach the cover plate
by removing the short allen-head screw on the side
of the gimbal and set aside. (Fig. 2&3)


