


Don’t Panic If You See This!
If you can’t see through the plastic, please
don’t panic!
What you’re seeing is just the
plastic or paper protective covering.
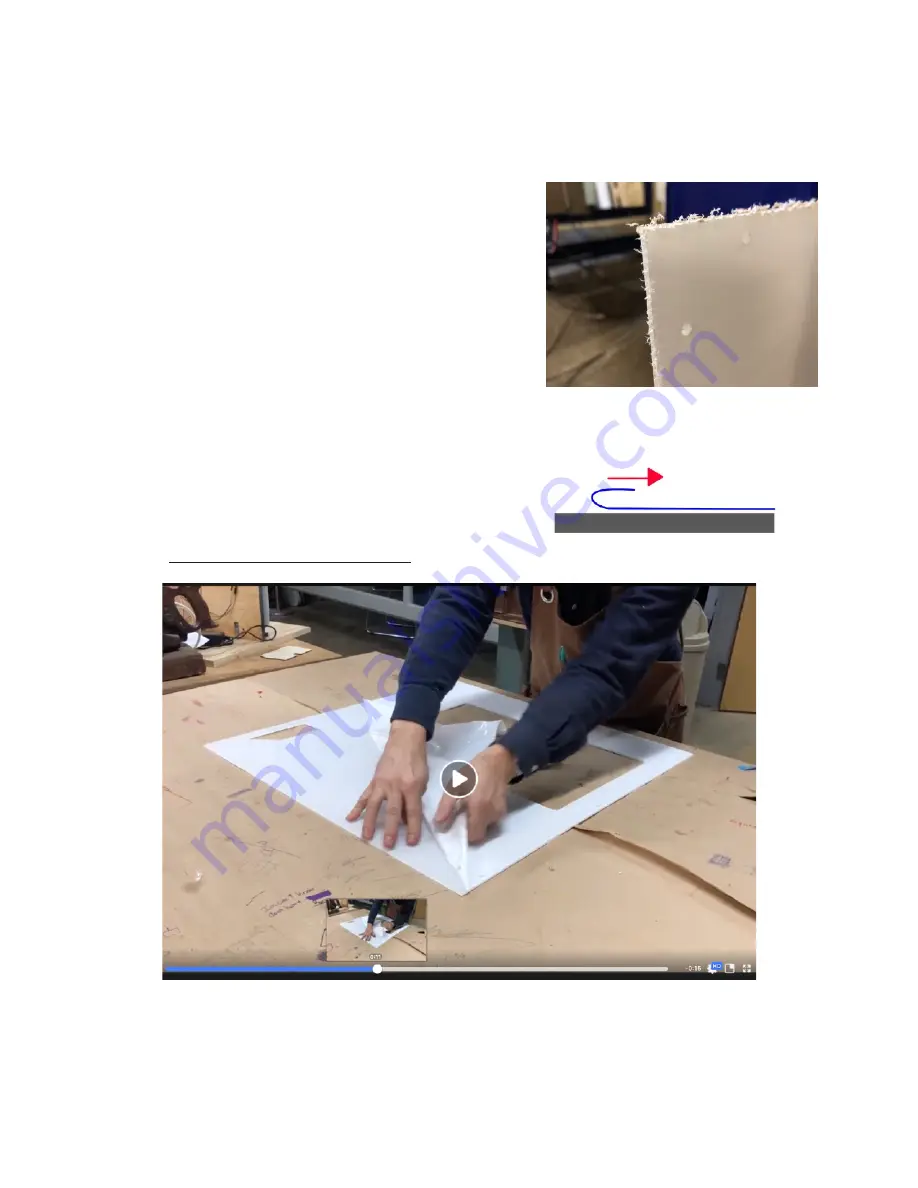
When plastic sheets are manufactured they
are covered by either a paper (brown
colored) or plastic (white) covering to protect
against scratches. Follow the directions
below to remove the cover and discover the
beautiful plastic underneath.
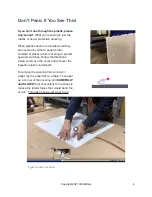
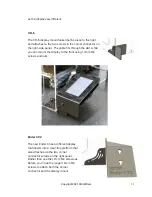
To remove the covering from an acrylic
panel, lay the panel flat on a table. Then peel
up a corner of the covering and
CAREFULLY
and SLOWLY
pull horizontally to the sheet to
reduce the lateral forces that would bend the
acrylic. This video shows just what to do.
Copyright 2021 3DUpfitters
4
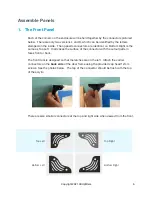
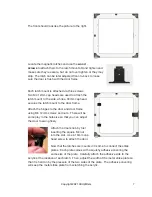
Type to enter a caption.


