6
3e-250 Bluetooth to RS-232 Cordless Adapter
7
User's Guide
At this point, you have completed the communication setup between
the 3e-250 Adapter and the other Bluetooth device.
To verify the connection, type some characters in the Hyper Terminal
window on one of the computers. The same characters should be visible
in the Hyper Terminal window on the other computer. Whole files can be
transferred using the
Transfer
à
Send File
option in the Hyper Terminal
window.
Connecting to a Test Instrument
Connecting to a test instrument can be a bit more complex than con-
necting from PC to PC, because you will need to know the RS-232 signals
supported by the particular instrument. Each test instrument has its own
mechanism which that instrument uses for hardware flow control (RTS/
CTS and DTR/DSR).
Before installing the 3e-250 Adapter on a test device, research the
required settings for that test device in its documentation.
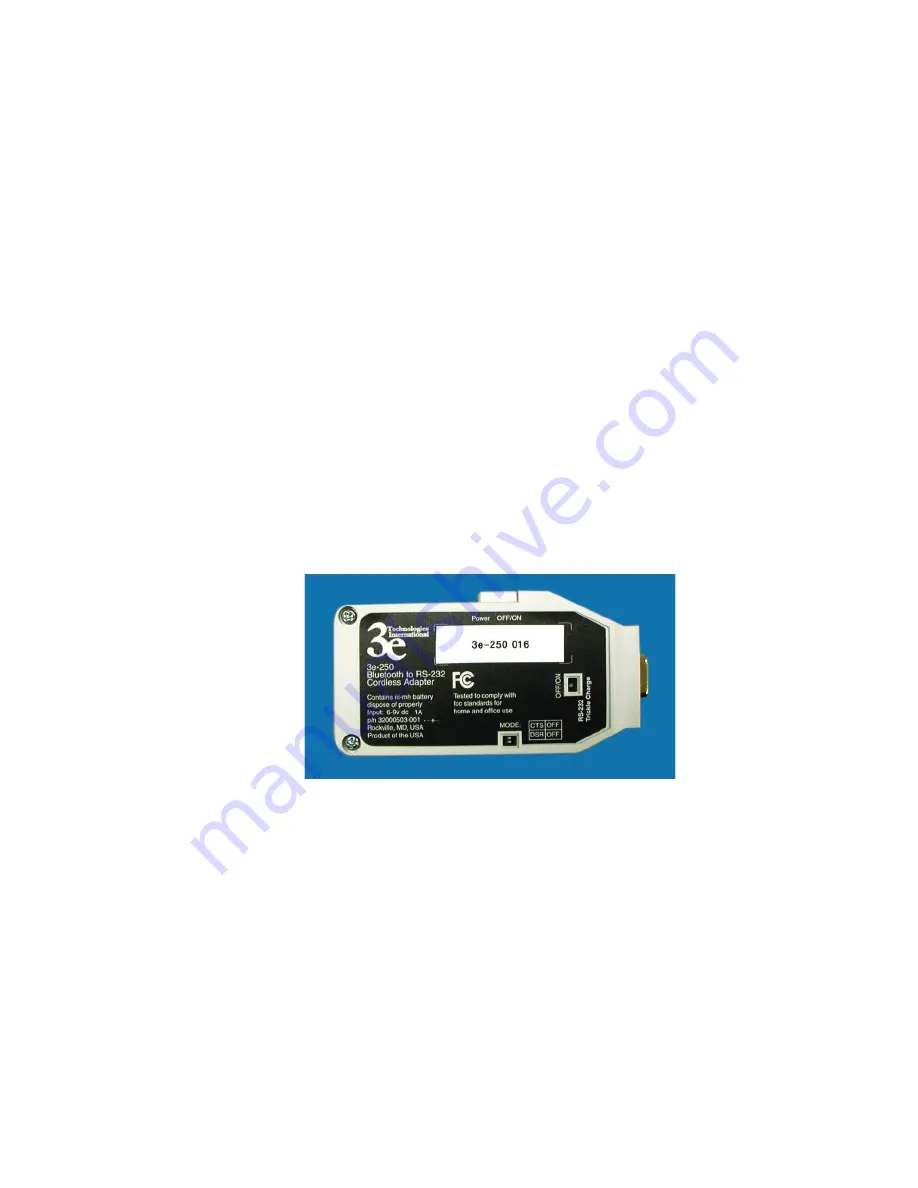
The 3e-250 Adapter has two dipswitch settings accessible on the back
(bottom) of the device.
The dipswitches allow you to configure for the particular device.
The DTR/DSR switch is set to the ON position by default. The RTS/CTS
switch is set OFF by default.
Once you have configured the dipswitches, connect the 3e-250 to
the DB9 connector on the test instrument. If there is not enough space to
directly connect to the DB9 connector, use a 9-pin straight cable with a
male connector at one end and a female connector at the other. (This is not
included in the install kit.)
You can now communicate to the 3e-250 from the Bluetooth device on
the host PC.
Using the LEDs
There are three LEDs on the 3e-250.
• Bluetooth Link Activity Indicator
• Battery Status Indicator
• Battery Charging Indicator


