3M 3x4 in. OS
Revision 022508
Product Configuration/Specifications: 0,000 OPM Orbital Sander
Operating Instructions
PRIOR TO THE OPERATION
The tool is intended to be operated as a hand held tool. It is always recommended that while using the tool operators stand on a solid
floor in a secure position with a firm grip and footing. Be aware that the sander can develop a torque reaction. See the section “SAFETY
PRECAUTIONS”.
Use a clean lubricated air supply that will give a measured air pressure at the tool of 6.2 bar (90 psig) when the tool is running with the
lever fully depressed. It is recommended to use an approved 0 mm (3/8 in) x 8 m (25 ft) maximum length airline. Connect the tool to
the air supply as shown in Figure . Do not connect the tool to the airline system without an easily accessible air shut off valve. It is
strongly recommended that an air filter regulator and lubricator (FRL) be used, as shown in Figure , as this will supply clean lubricated
air at the correct pressure to the tool. In any case appropriate air pressure regulators shall be used at all times while operating this tool
where the supply pressure exceeds the marked maximum of the tool. Details of such equipment can be obtained for your tool distribu-
tor. If such equipment is not used the tool should be manually lubricated. To manually lubricate the tool disconnect the airline and put 2
to 3 drops of suitable pneumatic motor lubricating oil such as 3M™ Air Tool Lubricant PN 205, Fuji Kosan FK-20 or Mobil ALMO 525
into the hose end (inlet) of the tool. Reconnect tool to the air supply and run tool slowly for a few seconds to allow air to circulate the
oil. If the tool is used frequently, lubricate it on a daily basis or lubricate it if the tool starts to slow or lose power. It is recommended that
the air pressure at the tool be 6.2 bar (90 psig) while the tool is running so the maximum RPM is not exceeded. The tool can be run at
lower pressures but should never be run higher than 6.2 bar (90 psig). If run at lower pressure the performance of the tool is reduced.
Recommended Airline
Recommended Maximum
Air Pressure
Size - Minimum
Hose Length
0 mm
3/8 in
8 meters
25 feet
Maximum Working Pressure 6.2 bar 90 psig
Recommended Minimum
Safety Precautions
. Read all instructions before using this tool. All operators must be fully trained in its use and aware of these safety rules.
2. Make sure the tool is disconnected from the air supply. Select a suitable abrasive and secure it to the back-up pad. Be careful to
center the abrasive on the back-up pad.
3. Always wear required safety equipment when using this tool.
. When sanding always start the tool on the workpiece.
This will prevent gouging due to excess speed of the abrasive. Stop air flow to the tool as it is removed from the workpiece.
5. Always remove the air supply to the sander before fitting, adjusting or removing the abrasive or back-up pad.
6. Always adopt a firm footing and grip and be aware of torque reaction developed by the sander.
7. Use only 3M approved spare parts.
8. Always ensure the material being sanded is firmly fixed to avoid movement.
* Declared noise levels; measurements carried out in accordance with standard EN ISO 57:2002.
** Declared vibration levels in accordance with EN2096; measurements carried out in accordance with standard EN ISO 8662-8:997.
The noise and vibration values stated in the table are from laboratory testing in conformity with stated codes and standards and are
not sufficient risk evaluation. Values measured in a particular work place may be higher than the declared values. The actual exposure
values and amount of risk or harm experienced to an individual is unique to each situation and depends upon the surrounding environ-
ment, the way in which the individual works, the particular material being worked, work station design, as well as upon the exposure
time and the physical condition of the user. 3M cannot be held responsible for the consequences of using declared values instead of
actual exposure values for any individual risk assessment.
Note: All Vacuum machines use Ø 28 mm (1 in.) Vacuum Hose Fittings
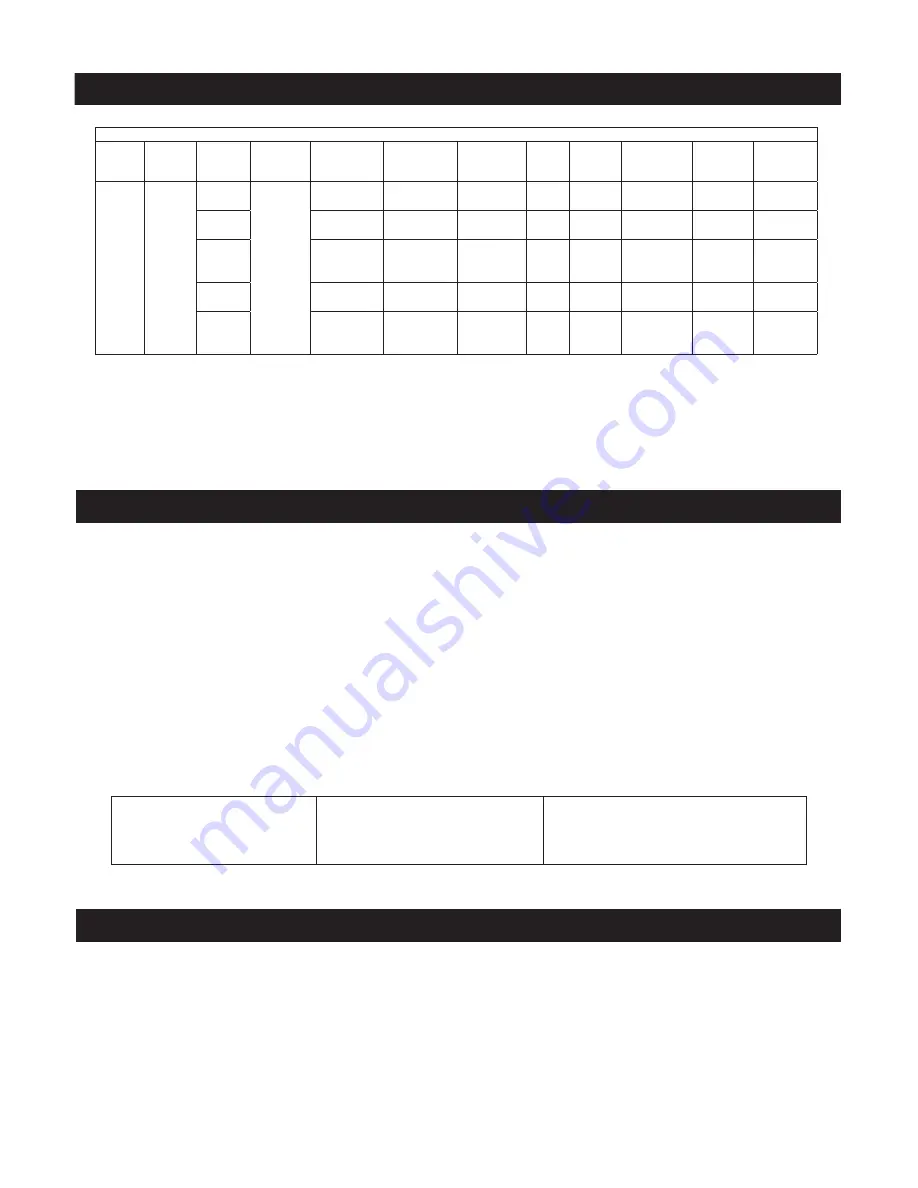
Orbit
Pad
Face
Vacuum
Type
Pad Type
Model Number.
Pad Part
Number
Product Net
Weight kg (lb)
Height
mm
(in.)
Length
mm (in.)
*Noise Level
dBA Pressure
(Power)
**Vibration
Level m/s
2
(ft/s
2
)
**Uncertainty
K
m/s
2
3 mm
(1/8 in.)
Hookit™
Non-
Vacuum
Standard
20331
20433
0.65 (1.43)
83.5
(3.28)
139.3
(5.48)
73 (81)
3.0 (9.84)
1.5
Central
Vacuum
20430
20435
0.69 (1.53)
83.5
(3.28)
139.3
(5.48)
72 (82)
3.0 (9.84)
1.5
Self-
Gen.
Vacuum
20431
20435
0.72 (1.58)
83.5
(3.28)
142.3
(5.60)
85 (92)
3.0 (9.84)
1.5
Central
Vacuum
01814
20242
0.69 (1.53)
83.5
(3.28)
139.3
(5.48)
72 (82)
3.0 (9.84)
1.5
Self-
Gen.
Vacuum
01813
20242
0.72 (1.58)
83.5
(3.28)
142.3
(5.60)
85 (92)
3.0 (9.84)
1.5


