background image

3

3.6 

 Install the 3M

 Locator Plate and the 

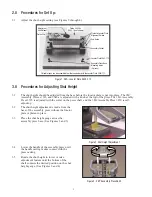
appropriate platen on the assembly press. The 

platen should be positioned parallel with the 

connector body and cover.

Note:  See the chart on page 1 for shut height 

settings.

Figure 4:  3M

 Assembly Press 3335

4.0   Procedures for Adjusting Shut Height

4.1 

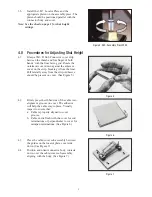
 Grasp a 3M

 D Sub Connector cover strip 

between the thumb and forefinger of both 

hands, with the liner facing you. Rotate the 

outermost cover down against the adjacent 

cover on the strip, breaking it from the liner. 

Pull laterally away from the strip. Adhesive 

should be present on cover. (See Figure 5)

Figure 5

4.2 

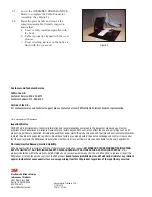
 Firmly press the ribbed side of the cable into 

alignment grooves on cover. The adhesive 

will help the cable stay in place. Visually 

inspect to ensure that:

a.  Cable is properly aligned to cover

  grooves.

b.  Cable end is flush with the cover for end

  terminations or perpendicular to cover for

  midspan terminations. (See Figure 6)

Figure 6

4.3 

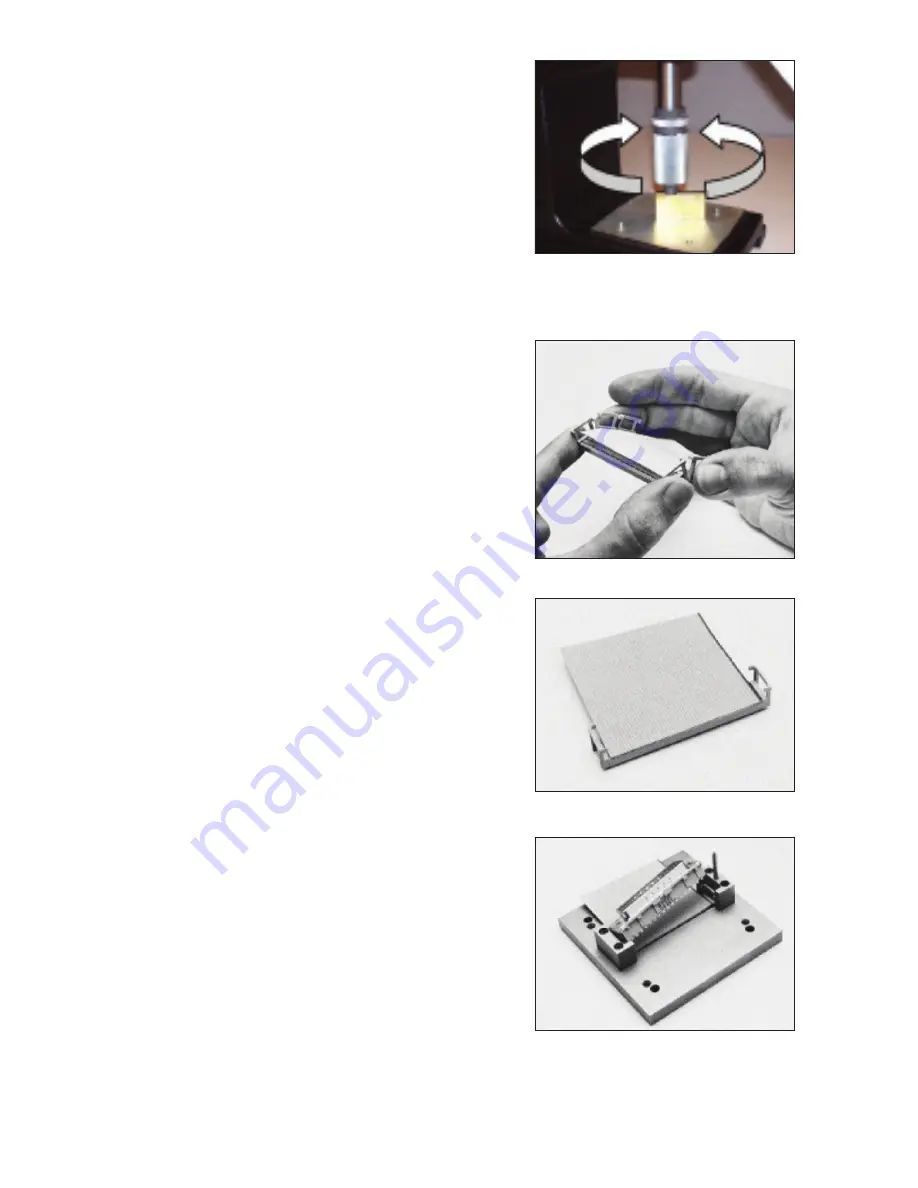
 Place the cable/cover sub assembly between 

the guides on the locator plate, cover side 

down. (See Figure 7)

4.4 

 Position and orient connector body, contacts 

down, over the cable/cover sub-assembly, 

aligning with the body. (See Figure 7)

Figure 7

Summary of Contents for 3443-112

Page 1: ...mbly and to help reduce assembly error The 3M Locator Plate 3443 112 and 3M Platen 3442 44 were designed to assemble the D Sub Connector 8250 The Locator Plate 3443 112 is used with the 3M Platen 3443 1A to assemble the D Sub Connector 8350 Connector Part Number Locator Plate Number Platen Part Number 3436 1F Shut Height Setting Assembly Press Assembly Presses 3640 3316 Assembly Presses 3335 3339 ...

Page 2: ...e 3M Assembly Presses 3316 and 3640 are adjusted with a knob at the top of the press The 3M Assembly Press 3335 is adjusted with the collar on the press shaft and the 3M Assembly Press 3830 is self adjusting 3 2 The shut height adjustment is made from the base of the assembly press without the locator plate or platen in place 3 3 Place the shut height gauge across the assembly press base See Figur...

Page 3: ... it from the liner Pull laterally away from the strip Adhesive should be present on cover See Figure 5 Figure 5 4 2 Firmly press the ribbed side of the cable into alignment grooves on cover The adhesive will help the cable stay in place Visually inspect to ensure that a Cable is properly aligned to cover grooves b Cable end is flush with the cover for end terminations or perpendicular to cover for...

Page 4: ...t for a particular purpose and suitable for the user s application Warranty Limited Remedy Limited Liability 3M s product warranty is stated in its Product Literature available upon request 3M MAKES NO OTHER WARRANTIES INCLUDING BUT NOT LIMITED TO ANY IMPLIED WARRANTY OF MERCHANTABILITY OR FITNESS FOR A PARTICULAR PURPOSE If this product is defective within the warranty period stated above your ex...

Reviews: