Chapter 3 Installing a 3M Touch Systems Touch Screen
23
Fitting the Touch Screen
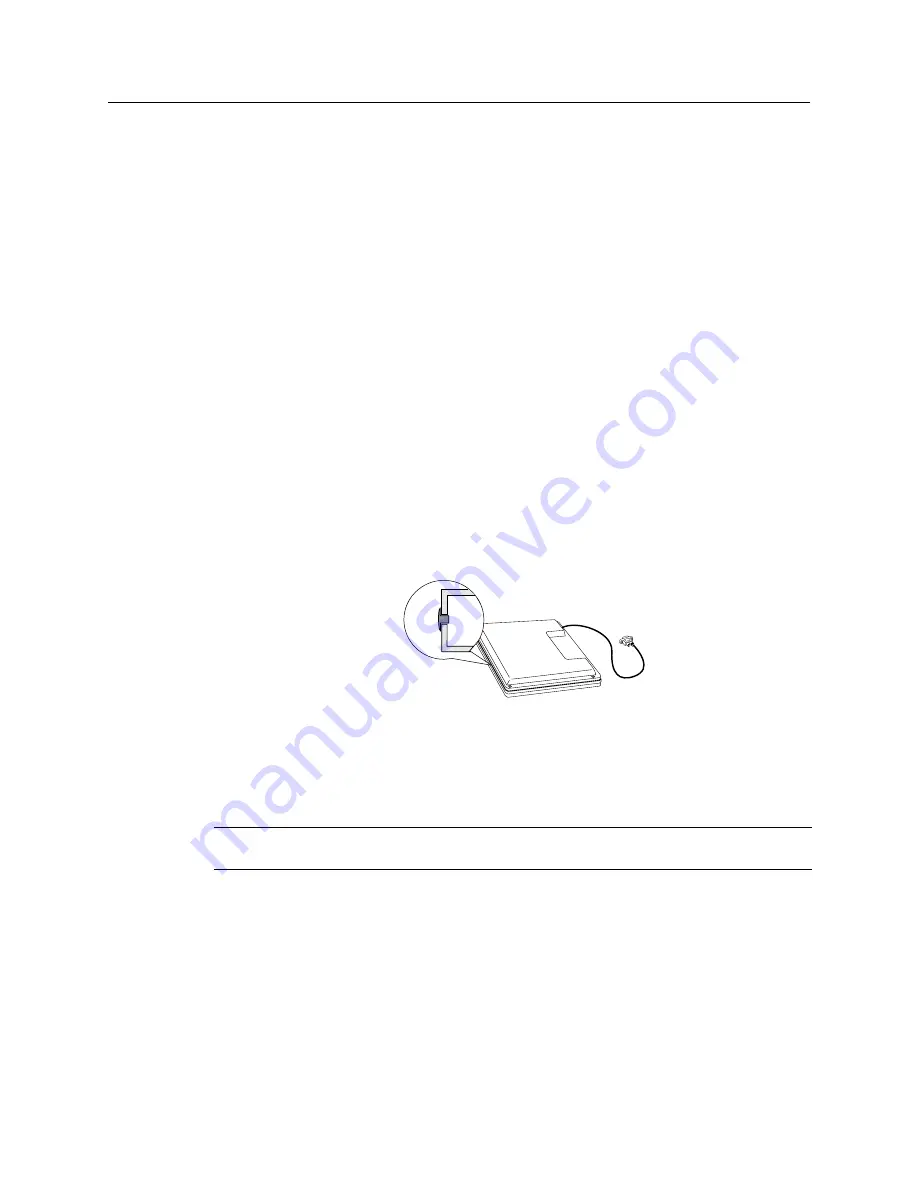
The sealing gasket and mounting tape add approximately 1/16 to 1/8 inch (1.587 to 3.175
mm) and the touch screen adds approximately 1/8 inch (3.175 mm) to the thickness of the
display assembly. You will need to make sure there is enough space to reassemble the
display once the gasket, tape, and touch screen are fully integrated.
Checking for Adequate Space
1. Inspect the inside of the rear display cover.
2. Note the clearance between the inside surface of the rear cover and the rear of the
LCD panel or chassis. You may be able to look through the vents and openings in
the cover to check the available space.
3. You must be able to move the LCD panel or chassis about 3/16 inches (4.7 mm) into
the rear of the housing. If there is not enough space, you may not be able to
reassemble the display once the touch screen is installed. Here are a few solutions:
a.
You can trim some plastic sections from inside the housing making sure you do
not compromise the mechanical integrity of the display.
b.
You can reassemble with a gap between front and back housings. This gap is a
result of the thickness added by the touch screen. For aesthetic purposes, a plastic
“belly band” can be inserted in the gap. This band is a T-shaped strip (usually
made of Teflon) that fills in the gap and smoothes the edge.
Modifying the Bezel
You now need to determine if the sealing gasket and touch screen fit into the bezel. If
necessary, you must trim the ribs and fins on the bezel that are in direct contact with the
touch screen or the touch screen cable.
Note:
When trimming the bezel, make sure you do not compromise the mechanical
integrity of the display.
1. Place the bezel face down on an anti-static pad. Be sure to orient the top of the bezel
closest to you.
2. Place the touch screen face down against the inside of the bezel opening. Be sure to
orient the touch screen so the flex tail exits from the correct side of the bezel. Refer
to the mechanical drawing of the touch screen for details of your specific touch
screen.
3. Align and center the viewing area of the touch screen. Make sure the limits of the
viewing area do not extend into the bezel opening.
3M Touch Systems Proprietary Information
Summary of Contents for MicroTouch ClearTek II
Page 20: ......


