Downloaded from Projector.com
3M IPC 2000
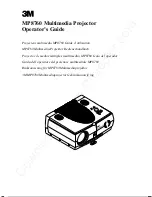
3M
Multimedia Projector MP8760
5
ENGLISH
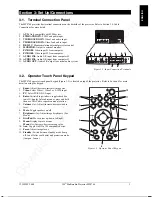
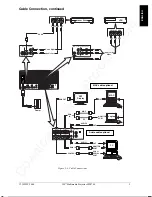
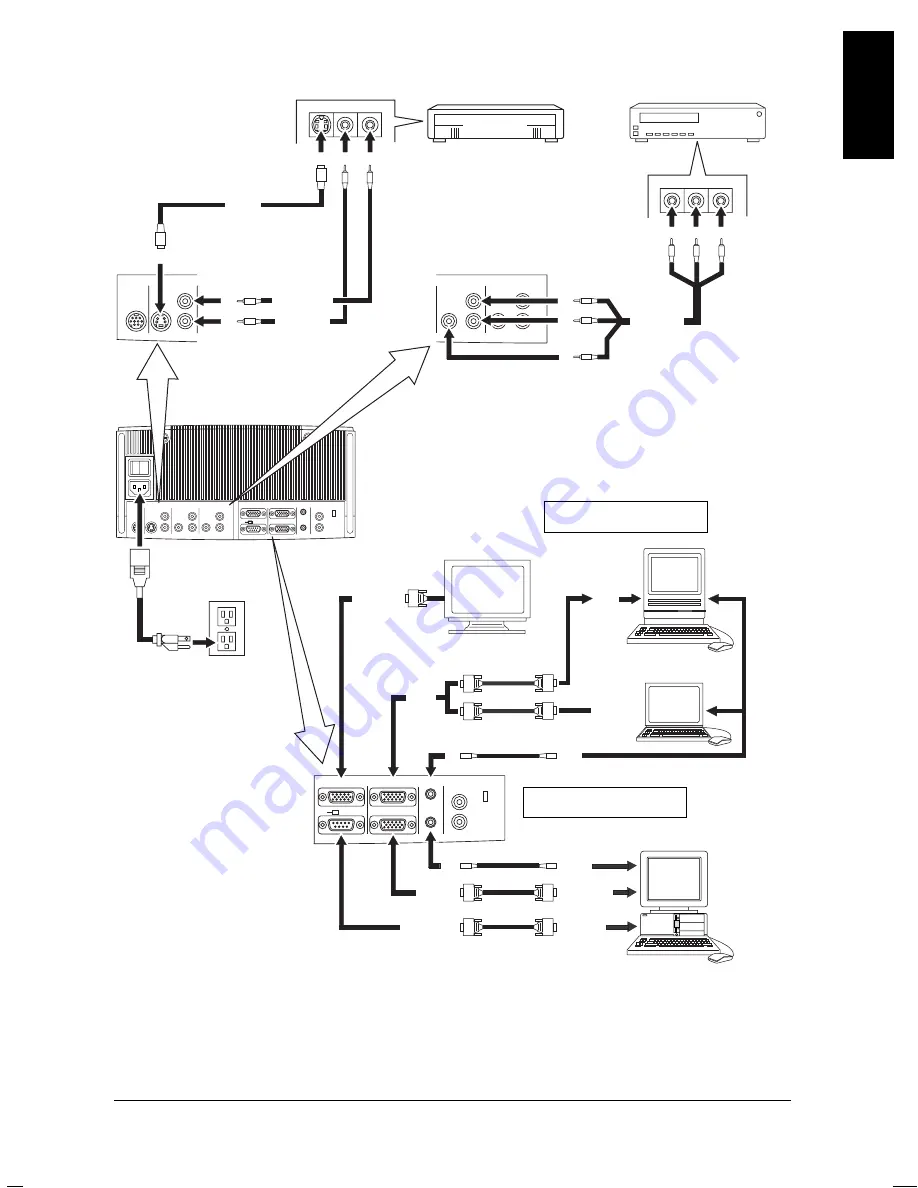
Cable Connection, continued
AUDIO 2
AUX
SVHS / AUDIO IN
VIDEO 1 / AUDIO IN VIDEO 2 / AUDIO IN
MONITOR
RS232
PC / RGB 2
PC / RGB 1
AUDIO IN AUDIO OUT
O
I
VIDEO 1 / AUDIO IN VIDEO 2 / AUDIO IN
VCR
Audio L/R
Video
IN
OUT
OUT
OUT
RED
WHT
YEL
IN
IN
RGB IN
MONITOR
RS232
PC / RGB 2
PC / RGB 1
AUDIO IN AUDIO OUT
EPS-49A
MONITOR
PORT
CRT
Display
PC
PC
Laptop
MAC
OUT
IN
IN
OUT
OUT
MONITOR
PORT
PS/2 or
SERIAL
PORT
RGB
IN
CONTROL
RGB OUT
Power
AUX
SVHS / AUDIO IN
Laser Disc
OUT
OUT
RED
WHT
OUT
IN
IN
IN
S-VHS
Audio Left
AUDIO 1
Audio Right
MAC
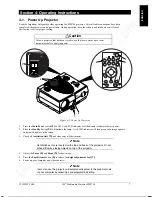
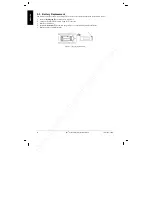
Figure 3-4. Cable Connections
Audio cable optional
MAC cable optional


