12
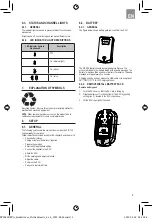
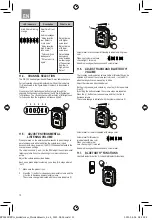
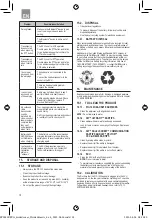
LED indicators
Description
What to do
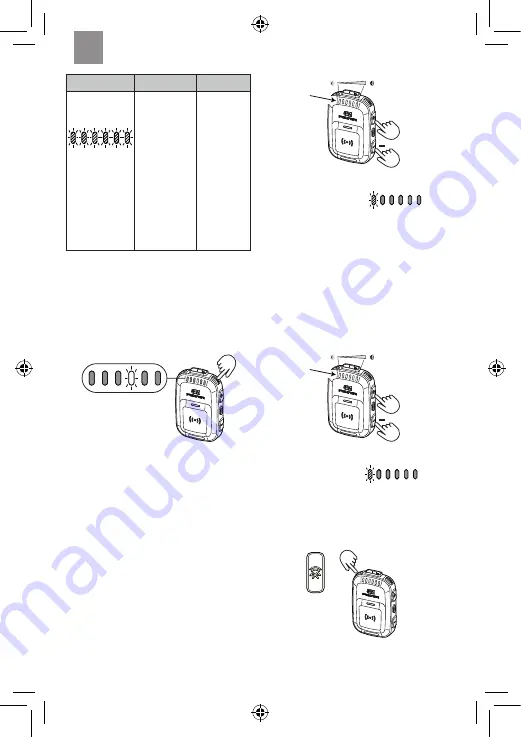
All LEDs are blinking
orange
Real-time fit test
error.
Audio messages:
“Noise level too
low. Retest in
more noise.”
“Noise level too
high. Retest in
less noise.”
“Test conditions
inadequate”.
“Fit test error, try
again”.
Retest in area
with higher
noise level.
Retest in area
with lower
noise level.
Retest where
background
noise includes
a wider range
of frequencies
from low to
high pitches.
Retest.
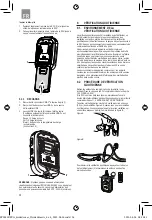
11.4. CHANNEL SELECTION
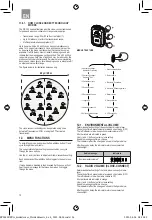
The PIC-100 headset provides 6 different 2-way radio channels.
Current selected channel is displayed in white by the indicators
(1–6) as showed in the figure below. Number 4 is illuminated in
this figure.
Quick press the Fit test/channel button to cycle through the
channels. While changing the channel, the LED will illuminate at
full brightness. The chosen channel LED will stay at full brightness
for 2 seconds, then the brightness will reduce by half.
1 2 3 4 5 6
11.5. ADJUST ENVIRONMENTAL
LISTENING VOLUME
When powered on, the earpieces allow sounds to pass through in
quiet environments while restricting the volume level in loud
environments. Upon power on, the PIC-100 headset defaults to the
user’s previous settings.
The volume controls (+ and -) on the SCU adjust the environmental
listening volume if no other streaming or communications are
active.
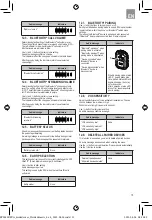
Adjust the volume as described below:
Each quick press adjusts volume by one step (0–6 steps where 0
is off).
1. Make sure the product is on.
2. Press the (+) button to increase environmental volume and the
(-) button to decrease environmental volume.
The volume change is indicated with the volume indicators (1).
1
+
Volume level for environmental listening is indicated with green
color.
When your volume is at zero,
channel light 1 turns red.
An audio message will announce each volume level.
11.6. ADJUST RADIO AND BLUETOOTH
®
VOLUME
The incoming communication volume (radio or Bluetooth
®
) can be
adjusted by means of the volume controls (+ and -) on the SCU
when the respective communication is active.
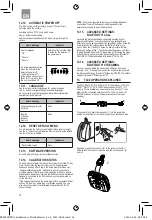
Adjust the volume as described below:
Each quick press adjusts volume by one step (0–6 steps where
0 is off).
By holding the button pressed, the volume steps are repeated.
Press the (+) button to increase volume and the (-) button to
decrease volume.
The volume change is indicated with the volume indicators (1).
1
+
Volume level for radio is indicated with orange color.
Volume level for Bluetooth
®
is indicated with blue color.
When your volume is at
zero, channel light 1 turns red.
An audio message will announce each volume level.
11.7. BLUETOOTH
®
FUNCTIONS
Use the Bluetooth
®
button (1) to handle Bluetooth
®
functions.
1
EN
FP3881REVA_6sidedcover_32sidedinserts_4 x 6_2022-08-24.indd 12
FP3881REVA_6sidedcover_32sidedinserts_4 x 6_2022-08-24.indd 12
2022-08-24 08:30:28
2022-08-24 08:30:28


