

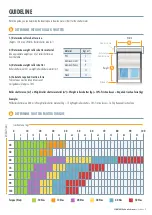

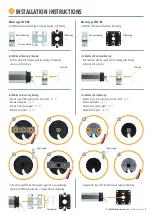


Motor type 3T45-RB
(For shafts from 60 mm)
3T45-10RB
3T45-20RB
3T45-30RB
3T45-40RB
Motor type 3T35-RB
(For shafts from 40 mm)
3T35-10RB
3T35-13RB
www.3t-components.de
|
WEEE-Reg.-Nr.: DE 77028333
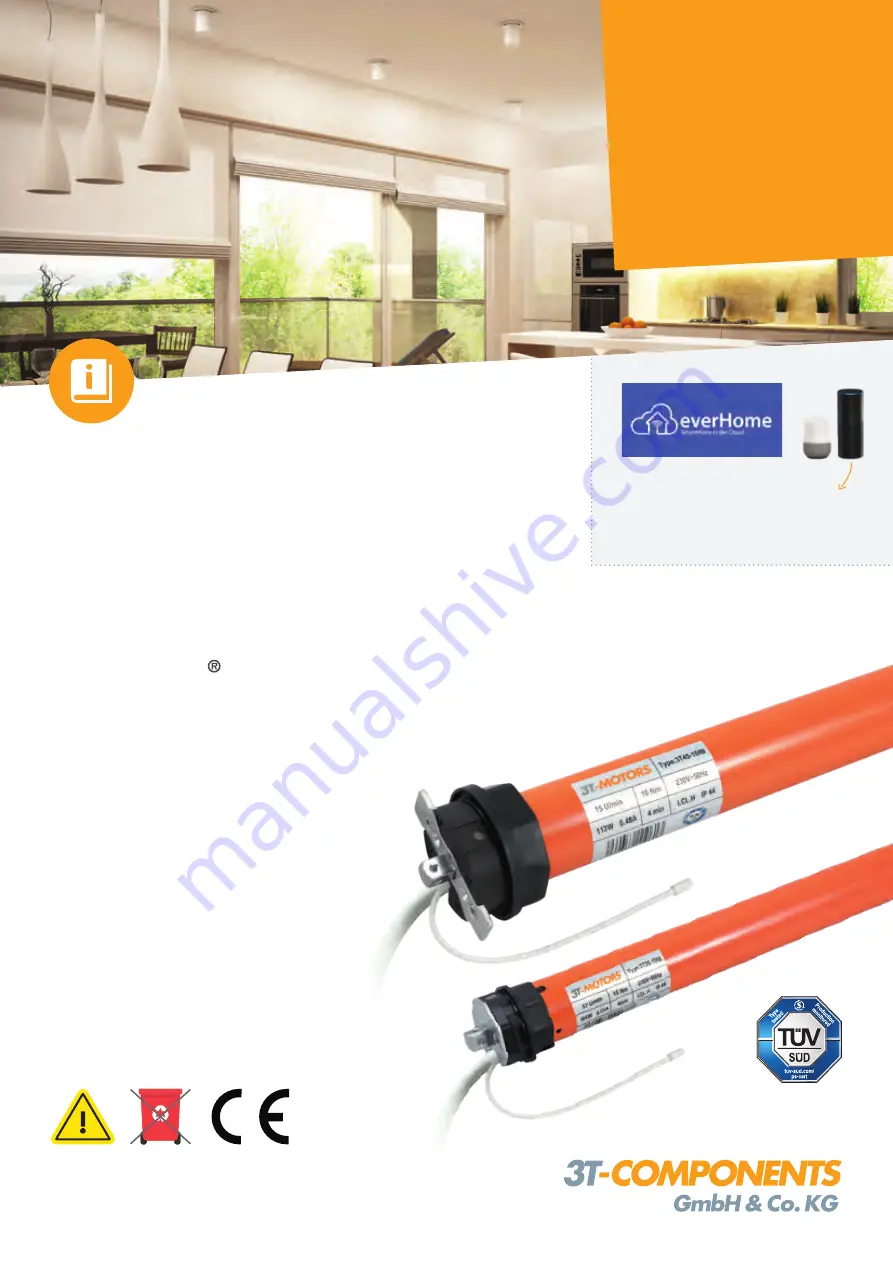
Smart Home Ready with everHome
Control via smart phone, tablet, PC or via
voice commands with Alexa or Google Assistant
INTELLIGENT
DRIVES &
CONTROLS
FOR SHUTTERS
AND AWNINGS
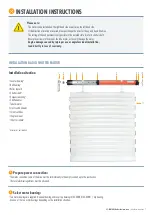
INSTALLATION &
OPERATING INSTRUCTIONS
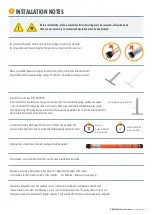
Instructions and notes for installation and operation
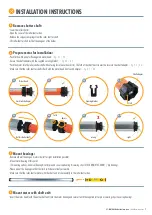
3T-MOTORS Radio shutter / awning motors
with electronical limit switches
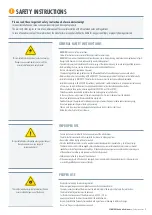
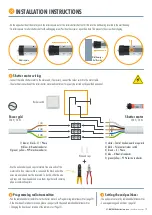
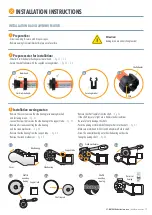
Attention:
It is important for the safety of persons
to follow these instructions.
Keep these instructions for future reference.


