3ware Disk Array Configuration Utility
44
3ware Escalade ATA RAID Controller User Guide
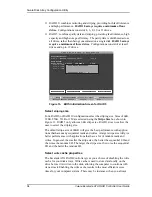
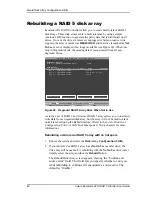
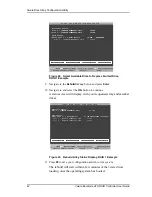
2 Add a different disk drive to rebuild the array.
3 Press Alt + 3 at Boot time to enter 3ware BIOS.
4 Select the degraded array and the newly added drive.
5 If you want the rebuild to continue even if ECC errors occur on the source
disks, then indicate this in the 'Force continue on source errors' option.
6 Select Rebuild.
7 Press F8 to start a rebuild with this drive.
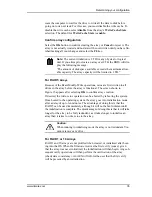
Rebuild starts about 10 minutes after the driver loads in the
operating system.
Note:
If the rebuild is not started in the 3ware BIOS, the new
drive cannot be used to rebuild the degraded array unless it is
made into a hot spare.
Booting with the drive attached when not
defined as a hot spare will make the drive appear as a single disk
(JBOD) to the operating system.
You can use the CLI to remove a JBOD unit and add it back as a
hot spare. For more information, see the
3ware CLI User’s Guide.
Summary of Contents for 3W-7410 - Escalade 7410 RAID Controller
Page 6: ...iv 3ware Escalade ATA RAID Controller User Guide ...
Page 14: ...Before You Begin 6 3ware Escalade ATA RAID Controller User Guide ...
Page 24: ...Quick Installation Guide 16 3ware Escalade ATA RAID Controller User Guide ...
Page 68: ...Windows Installation 60 3ware Escalade ATA RAID Controller User Guide ...
Page 86: ...FreeBSD Installation 78 3ware Escalade ATA RAID Controller User Guide ...
Page 104: ...3DM Disk Management Utility 96 3ware Escalade ATA RAID Controller User Guide ...
Page 116: ...Troubleshooting Problems and Solutions 108 3ware Escalade ATA RAID Controller User Guide ...
Page 126: ...Index 118 3ware Escalade ATA RAID Controller User Guide ...

