Installation Manual
|
VISIX Network Camera
10225 Westmoor Drive, Suite 300, Westminster, CO 80021 | www.3xlogic.com | (877) 3XLOGIC
50
6)
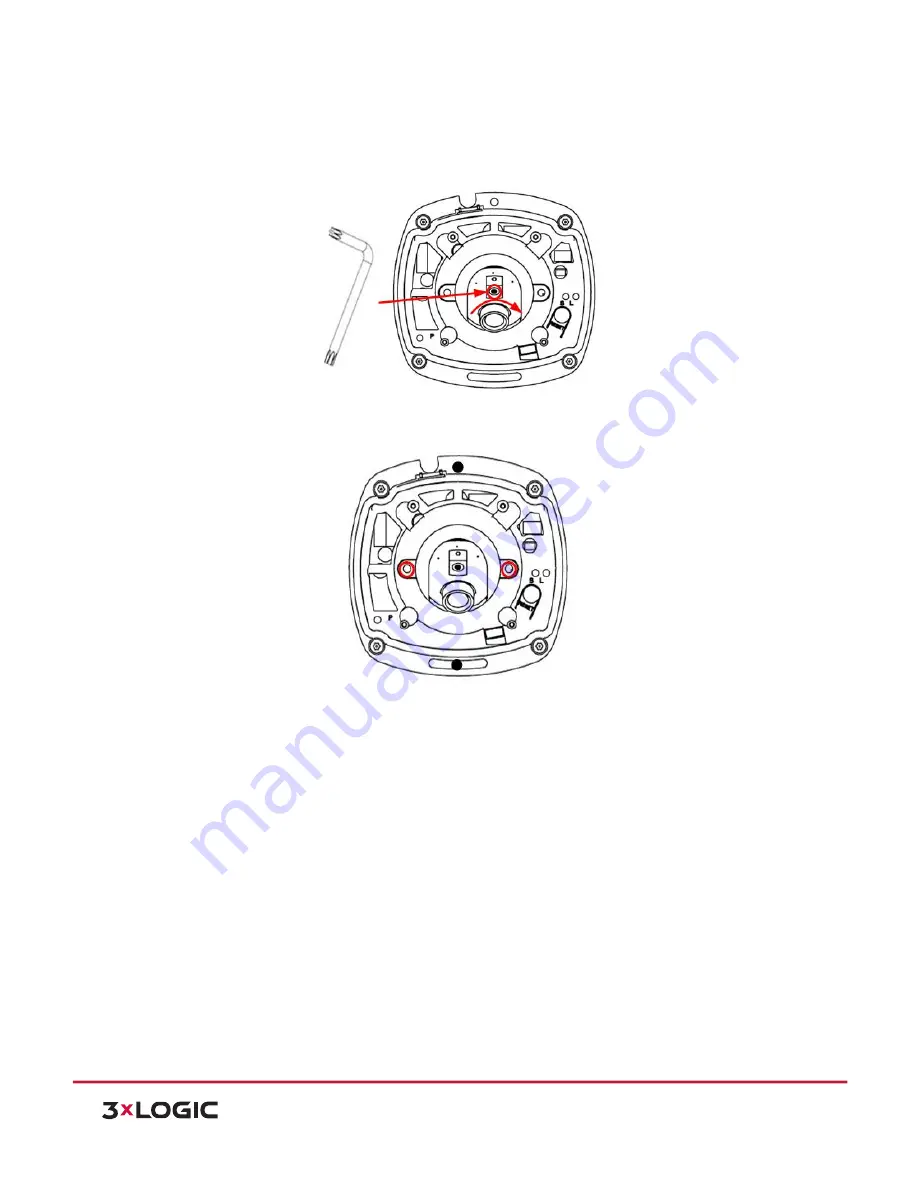
Insert the hex key into the hole marked in the picture and rotate the hex key to adjust the panning
position and tilting position until the desired surveillance angle is achieved. Tighten the set screws to
lock the angle.
Figure 5-‐34
Adjust Panning Position
Figure 5-‐35
Adjust Tilting Position
NOTE:
As the lens of camera has already been factory adjusted to the best image, you just need to adjust
the panning position and tilting position to get the desired surveillance angle.
7)
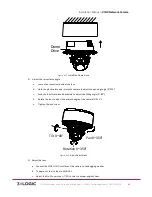
Reinstall the cover before viewing the image so that the image you receive will appear the same as it
would after final installation.
8)
Install the cover, and tighten the set screws.


