Installation Manual
|
VISIX Network Camera
10225 Westmoor Drive, Suite 300, Westminster, CO 80021 | www.3xlogic.com | (877) 3XLOGIC
79
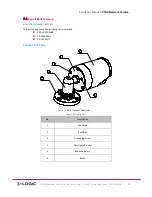
Overview
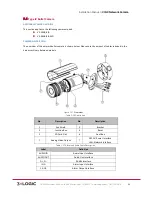
Table 1-‐25
No.
Description
1
Sun Shield
2
Front Cover
3
Zoom and Focus Lever
4
IR LED
5
Lens
6
Air Vent
7
Video Output Interface
8
Integrated Bracket
9
Reset Button
10
Micro SD Card Slot
11
Power Interface
12
Network Interface
NOTE:
Press and hold RESET for 10s when the camera is powering on or rebooting to restore the
default settings, including the user name, password, IP address, port No., etc.
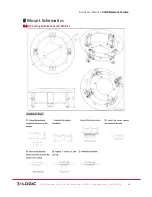
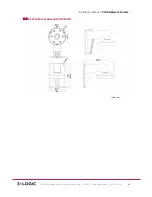
AVAILABLE MOUNTS
!
Universal Corner Mount (3xLOGIC Product #:
VX-‐CM
)
!
Universal Pole Mount ( 3xLOGIC Product #:
VX-‐POLE
)
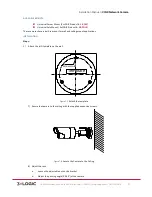
This line of cameraa have a built-‐in mount for wall and ceiling mount applications.
INSTALLATION
SD Card Installation
Steps:
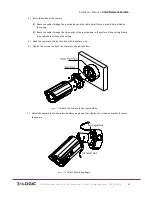
1)
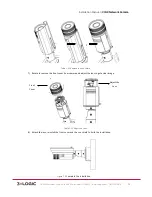
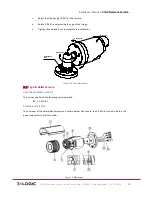
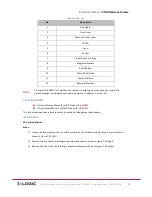
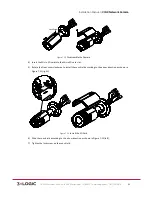
Loosen the lock screw on the sun shield to slide the sun shield according to the arrow direction as
shown in Figure 7-‐10 (left).
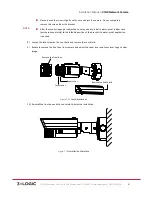
2)
Remove the sun shield according to the arrow direction as shown in Figure 7-‐10(right).
3)
Remove the front cover by rotating it counterclockwise as shown in Figure 7-‐10 (right).


