24
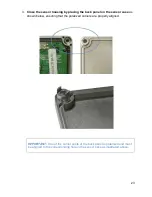
4.
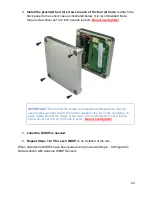
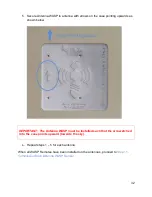
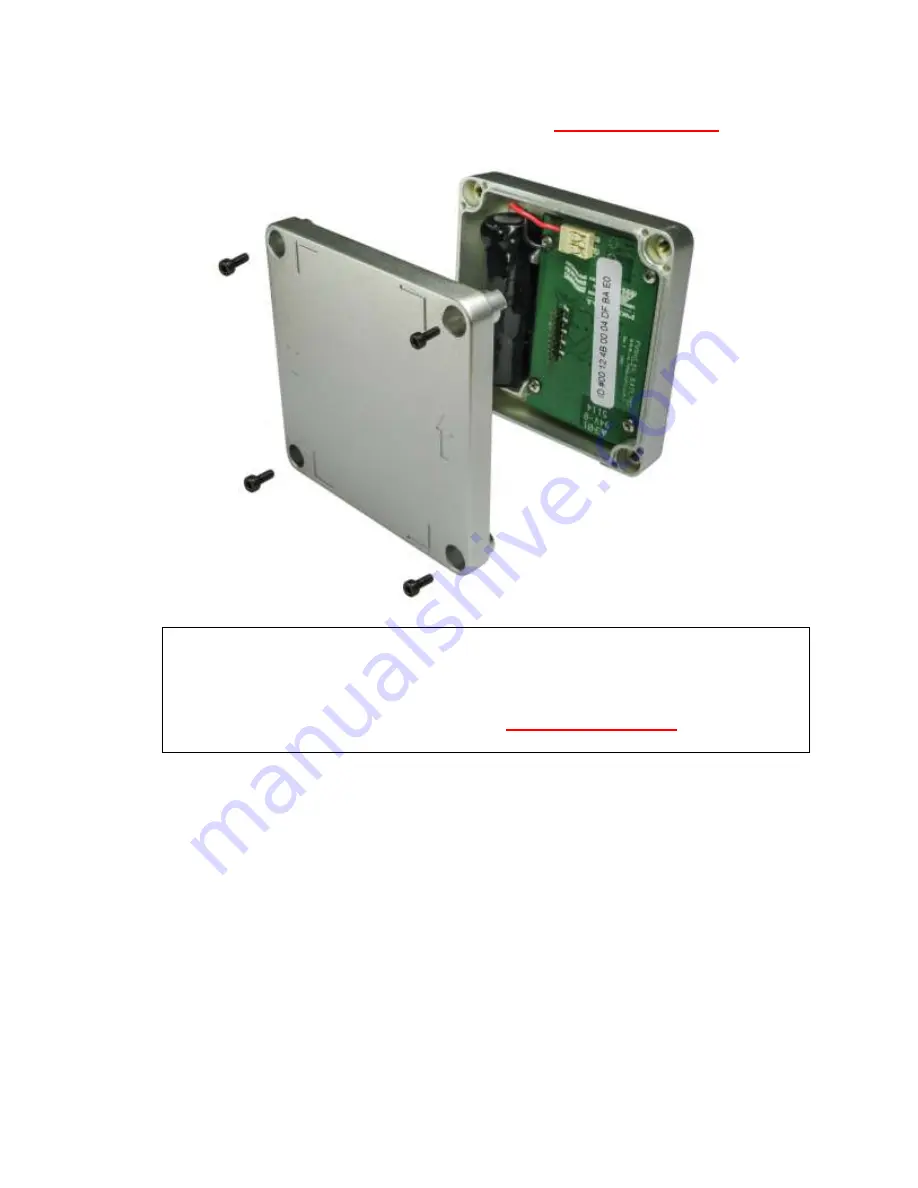
Install the provided four (4) screws in each of the four (4) holes
to attach the
back panel to the sensor case as illustrated below. It is recommended that a
torque screw driver set to 8 inch pounds is used.
Do not overtighten!
IMPORTANT:
Ensure that the screws are tightened sufficiently so that the
case makes a proper seal to the rubber gasket in the lid. There should be no
gaps visible around the edges of the case. It is recommended that a torque
screw driver set to 8 inch pounds is used.
Do not overtighten!
5.
Label the WASP as needed.
6.
Repeat Steps 1 to 5 for each WASP
to be installed at the site.
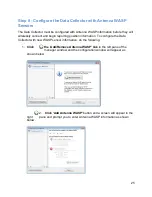
When all Antenna WASPs have been powered on proceed to
Data Collector with Antenna WASP Sensors
Summary of Contents for Antenna W.A.S.P.
Page 1: ...Antenna W A S P User s Guide...
Page 5: ...5 CE Mark Conformity...
Page 59: ...59 Technical Support Contacts...


