153
User Manual ENGLISH
WHG-Series Wireless WLAN Controller
Copyright © 2017, 4ipnet, Inc. All rights reserved. All other trademarks mentioned are the property of their respective owners.
WHG802
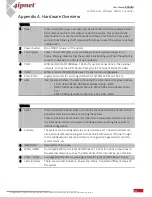
1
Reset
Press and hold the Reset button for about 5 seconds and status of LED on front
panel will start to blink before restarting the system. Press and hold the Reset
button for more than 10 seconds and status of LED on the front panel will start
to speed up blinking before resetting the system to default configuration.
2
LCD Display
Allows network administrator to check important system settings such as
network interface, SZ configurations, etc. The navigations buttons from left to
right respectively are “Esc”, “Up”, “Down”, and “Enter”.
3
USB
Reserved for future use.
4
Console
The system can be configured via a serial console port. The administrator can
use a terminal emulation program such as Microsoft’s Hyper Terminal to login
to the configuration console interface to change admin password or monitor
system status, etc.
5
Mgmt
For management use only, it will always open WMI (Web Management
Interface) homepage where its default IP address and subnet mask are
172.30.0.1 and 255.255.0.0.
3
LED Indicators
There are three LED indicators, Power, Status and Hard-disk, to indicate
different status of the system.
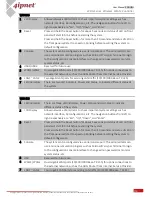
4
WAN 10GbE
(SFP+)
1 x 10Gb SPF+ WAN port to connect to the external network, such as the ADSL
Router from your ISP (Internet Service Provider).
5
LAN 10GbE
(SFP+)
1 x 10Gb SFP+ for client machines to connect to WHG Controller
6
WAN1/ WAN2
(SFP)
Two combo WAN ports (SFP) are connected to the external network, such as
the ADSL Router from your ISP (Internet Service Provider).
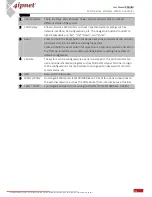
7
LAN1 ~ LAN6
(SFP)
Client machines connect to WHG Controller via these LAN ports (SFP).
8
LED Indicators
There are eight LED indicators to indicate the traffic status of the SFP ports.
P/N: V34300171213

