74
User Manual ENGLISH
WHG-Series Wireless WLAN Controller
Copyright © 2017, 4ipnet, Inc. All rights reserved. All other trademarks mentioned are the property of their respective owners.
7.1
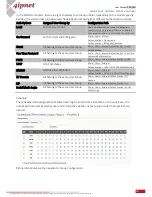
AP List and Overview
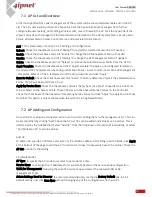
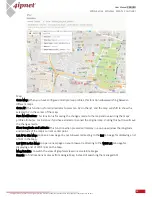
All of the supported APs under management of the system will be shown Overview table and in the AP
List. The AP's name will be shown as a hyperlink. Click the hyperlink of each managed AP to further
configure (General Setting, LAN Setting, Wireless LAN, Layer 2 Firewall) the AP. Click the hyperlink of the
shown Status of each managed AP for detailed status information of the AP (System Status, Service Zone
Status, Wireless Status, Access Control Status, and Associated Client Status).
Add: This is elaborated in Section 7.2 AP Adding and Configuration
Reboot: Check the checkboxes and click "Reboot" to restart the selected Access Points if needed
Enable: Check the checkboxes and click "Enable" to change the AP Management Status if needed
Disable: Check the checkboxes and click "Disable" to change the AP Management Status if needed
Delete: Check the checkboxes and click "Delete" to remove the selected Access Points from the AP List
Apply Template: Check the checkboxes and click "Apply Template" to apply a pre-configured template to
the selected APs. Templates can be configured at Main Menu › Access Points › Local Area AP Management
› Templates. Select 1 of the 3 templates from the drop-down list and click "Apply”
Reset to Default: Check the checkboxes and click "Reset" to factory default and restart the selected Access
Points. The AP will be erased from AP List.
Apply by Service Zone: Check the checkboxes and click "Apply by Service Zone" to specify which VAPs are
to be enabled on the Access Points. These VAPs map to the enabled Service Zones on the Controller.
Check the checkboxes of the desired corresponding Service Zones and click "Apply" to apply Service Zones.
Note that this option is only available when the system is in Tag-Based Mode.
7.2
AP Adding and Configuration
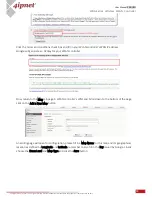
Once all AP’s are properly connected, admin can then start adding them to the management list. This can
be accomplished by clicking “Add” above the AP List. APs can be added individually or in batches. This is
determined by the Add Method; Select “Add AP” from the drop-down list to add APs individually, or select
“Find Multiple APs” to add in batches.
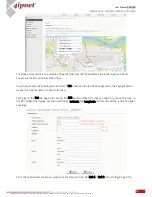
Add AP
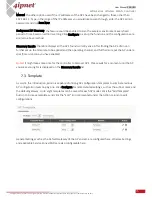
To add an AP, specify an AP Name and enter its IP and MAC address. After filling in all the fields, click Apply
at the bottom of the page to add the AP (to add an AP, it doesn’t necessarily have to be online). Check the
AP List to confirm the adding.
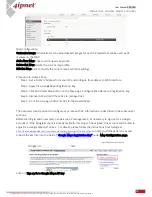
Find Multiple APs
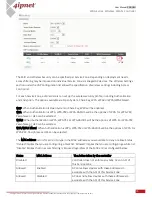
AP Type: to specify the AP model, only select one model at a time
Service Zone: to re-assign the IP addresses for scanned APs based on the Service Zone configuration
VLAN for Management: following the specific Service Zone and select the allowed VLAN as AP
management VLAN
Admin Settings Used to Discover: the recommended discovery method is Factory Default due to AP’s
default setting. Just click Scan Now without changing any of the configurations on their AP’s.

